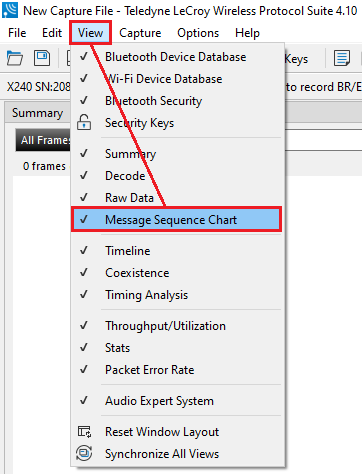
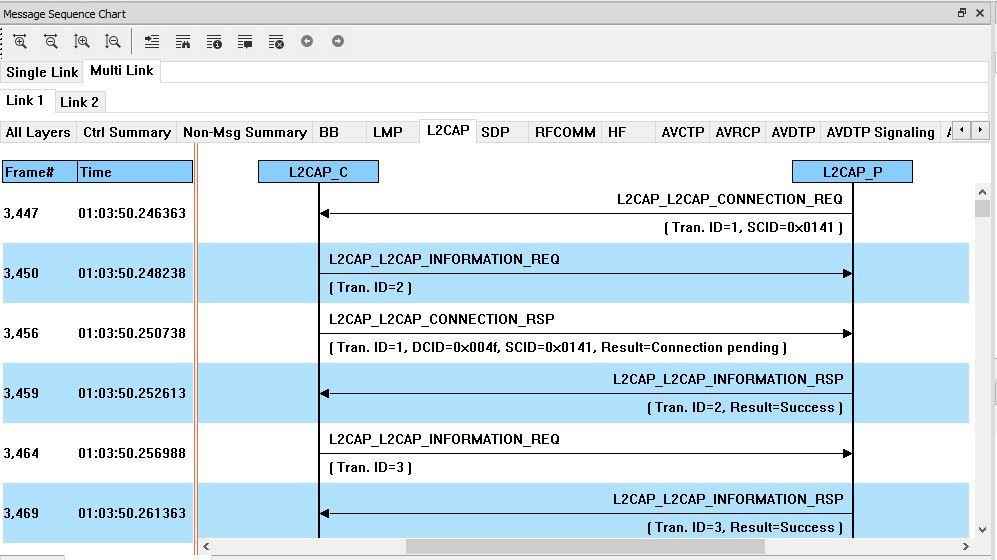
The Message Sequence Chart (MSC) displays information about the messages passed between protocol layers. MSC displays a concise overview of a Bluetooth connection, highlighting the essential elements for the connection. At a glance, you can see the flow of the data including role switches, connection requests, and errors. You can look at all the packets in the capture, or filter by protocol or profile. The MSC is color coded for a clear and easy view of your data. You access the Message Sequence Chart from the View tab on the main toolbar.
Navigating the Message Sequence Chart
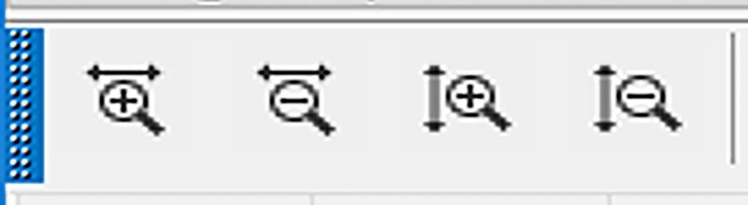
At the top of the window, you see four icons that you use to zoom in and out of the display vertically and horizontally.
There are also navigational icons on the toolbar (below).

|
Go to Frame - opens dialog to enter a frame number 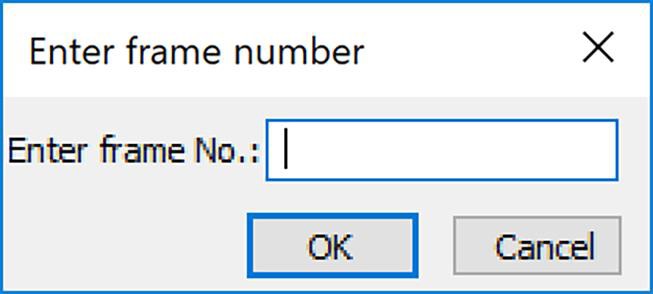
|

|
Search - opens dialog to select Protocol Layer and enter Protocol Message 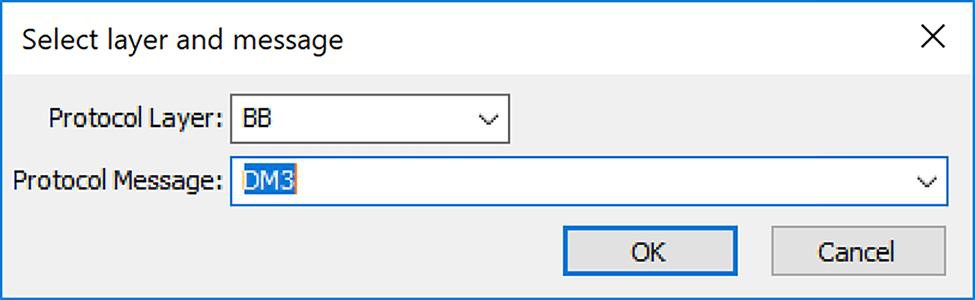
|

|
Go to first information message |

|
Go to first protocol state message |

|
Go to first error frame |

|
Previous - goes to the previous occurrence of an item |

|
Next - goes to the next occurrence of an item |
If there is both Classic and Low Energy packets, there will be a Classic and LE tab at the top of the window.
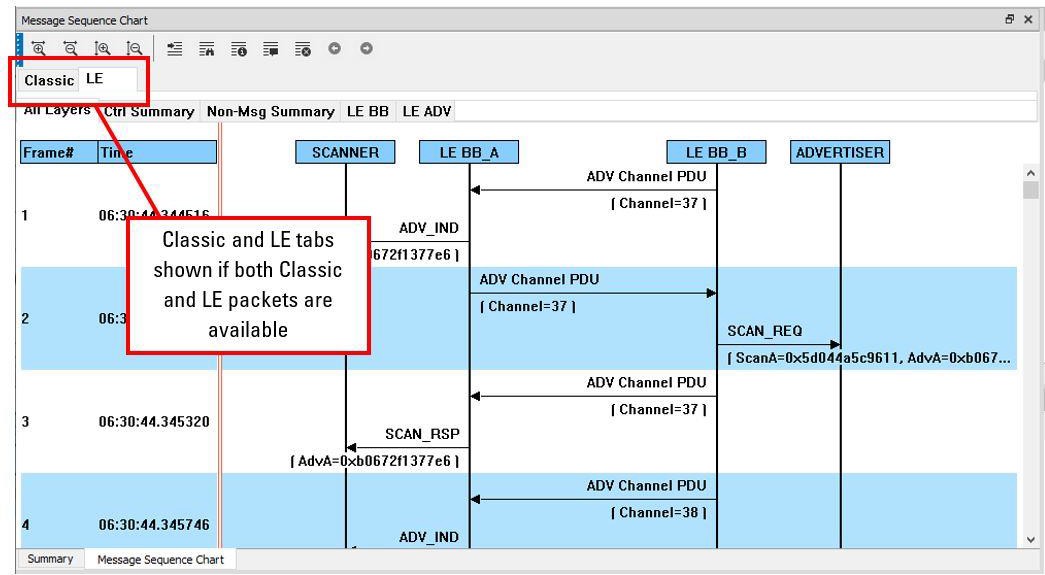
If the Classic tab is selected, you will see Classic protocols. If you select the LE tab, you will see LE Protocols. If there are no packets for that protocol, its tab will not appear.

Also along the top of the window are a series of protocol tabs. The tabs will vary depending on the captured protocols.
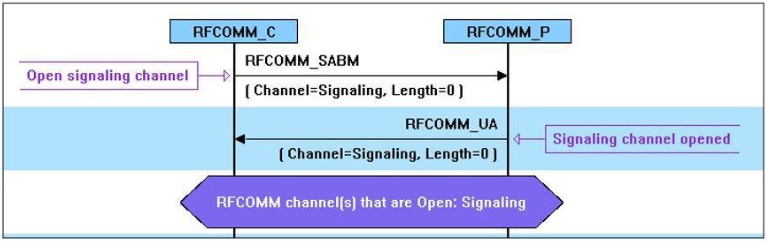
Clicking on a tab displays the messaging between the Central and Peripheral for that protocol. For example, if you select RFCOMM, you will see the messaging between the RFCOMM{C} Central, and the RFCOMM{P} Peripheral.
The Non-Message Summary tab displays all the non-message items in the data.
The Ctrl Summary tab displays the signaling packets for all layers in one window in the order in which they are received.
The information in the colored boxes displays general information about the messaging. The same is true for each one of the protocols.
If you want to see the all the messaging in one window, you select the All Layers tab.
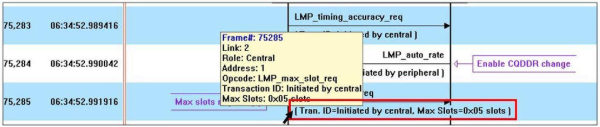
When you move the mouse over the message description you see an expanded tool tip.
If you position the cursor outside of the message box, the tool tip will only display for a few seconds.
However, if you position the cursor within the tool tip box, the message will remain until you move the cursor out of the box.
Additionally, if you right-click on a message description, you will see the select Show all Layers button.
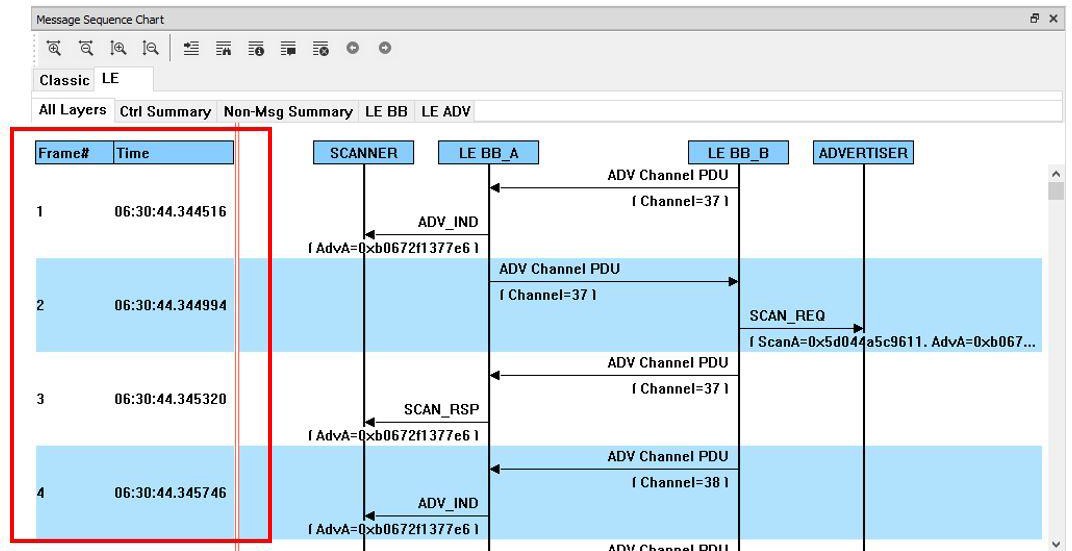
When you select Show all Layers, the chart will display all the messaging layers. The Frame# and Time of the packets are displayed on the left side of the chart.
Navigating in the Window
You can use the scroll bar and navigation arrows at the bottom and right side of the window to move vertically and horizontally. You can also click and hold while moving the pointer within window. This brings up a directional arrow that you can use to move left/right and up/down. The mouse wheel also moves the window up and down.
Ctrl Summary tab
When you select the Ctrl Summary tab you will see a summary of the control and signaling frames in the order that they are received/transmitted from and to devices.
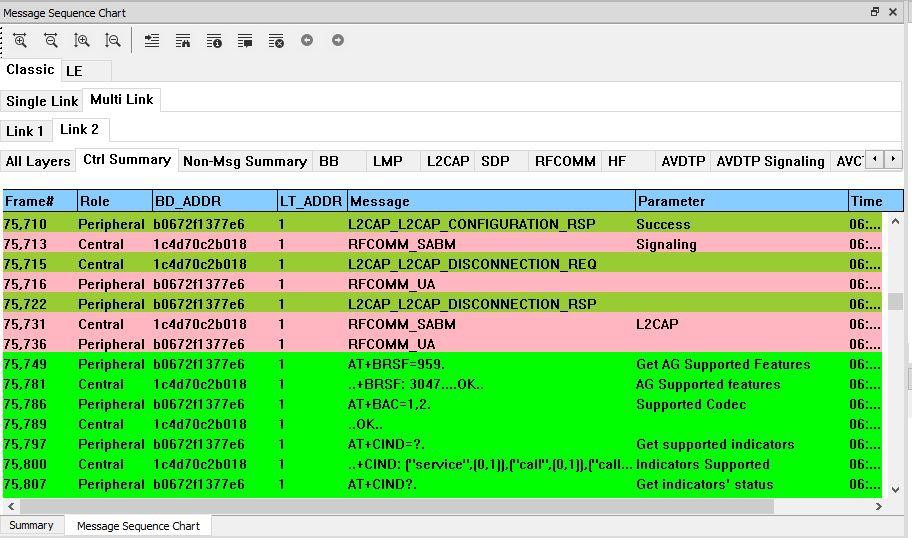
The frame numbered is shown, whether the message comes from the Central or Peripheral, the message Address, the message itself, and the timestamp.
Additionally, the control/signaling packets for each layer are shown in a different background color.
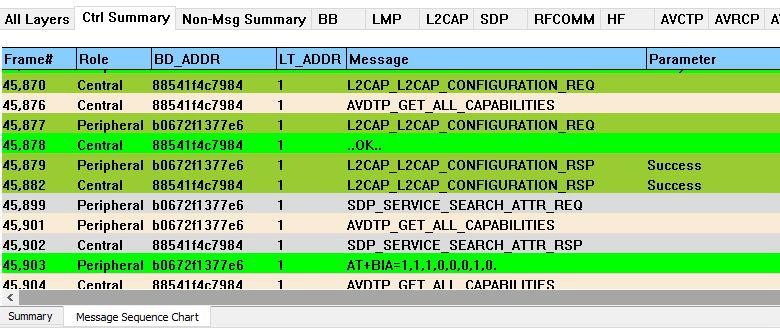
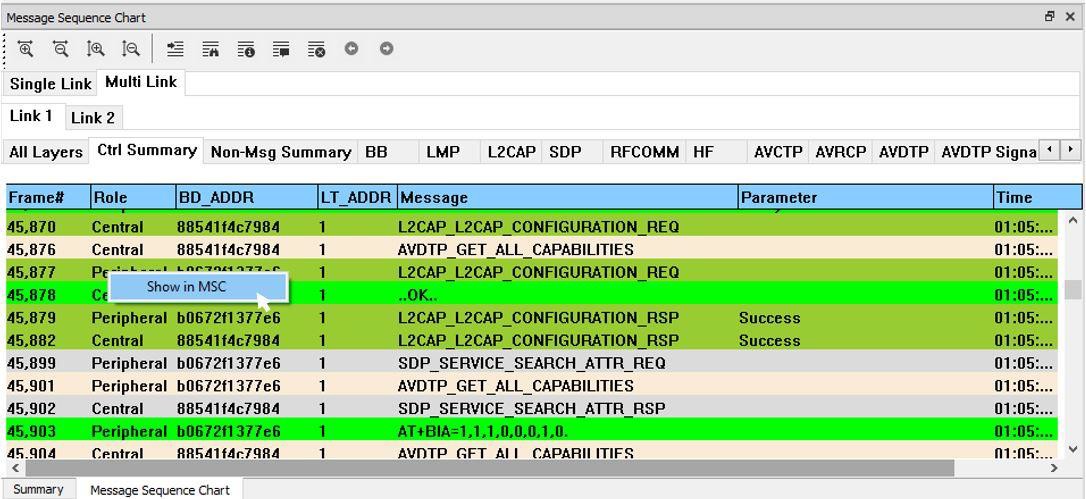
If you right click within the Ctrl Summary, you can select Show in MSC.
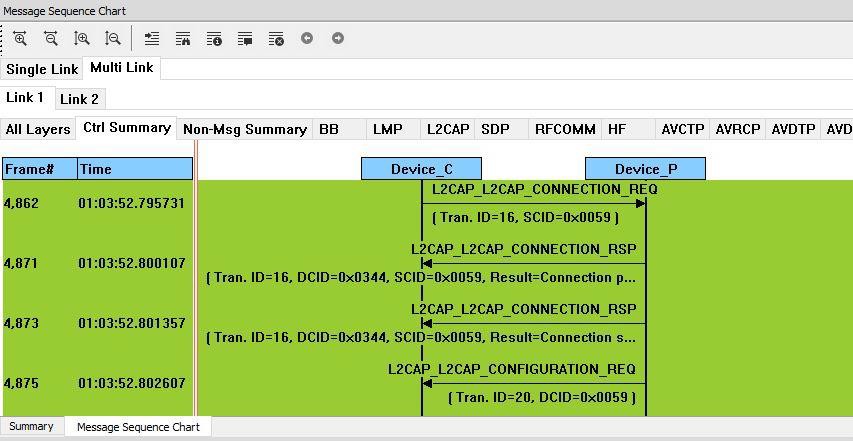
The window then displays the same information, but in the normal MSC view.
You can return to the text version by using a right click and selecting Show in Text.
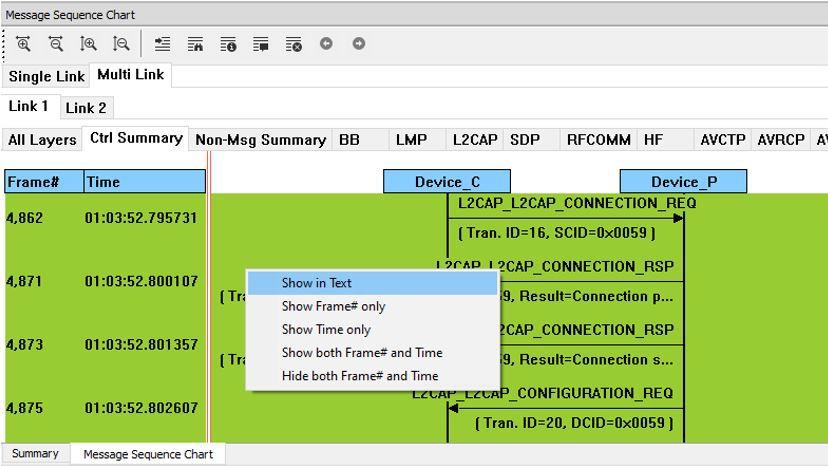
You can also choose:
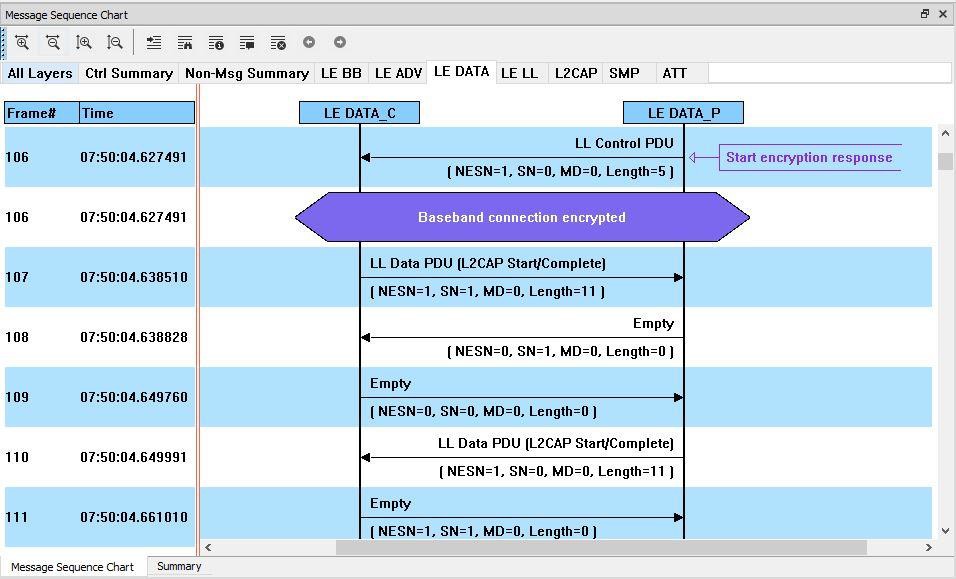
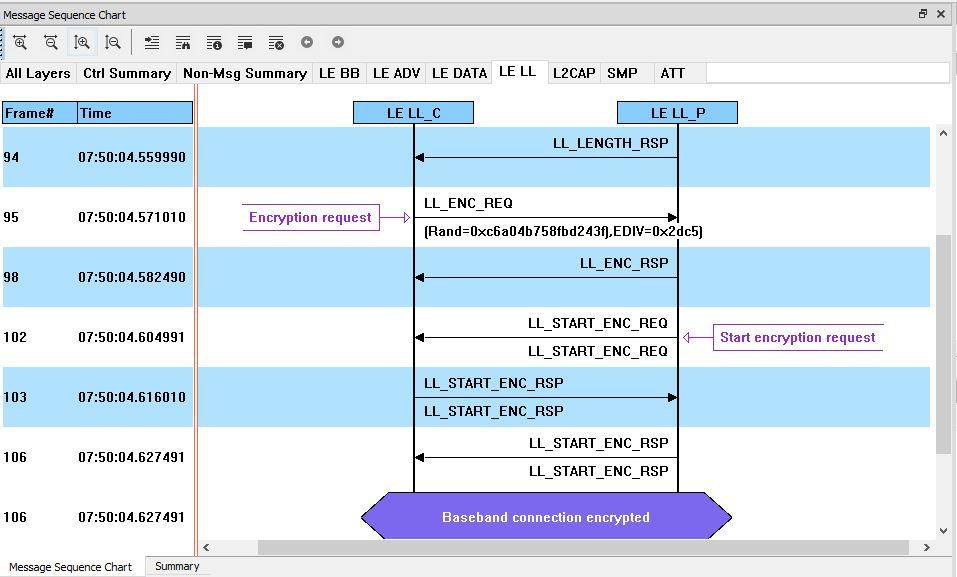
L2CAP
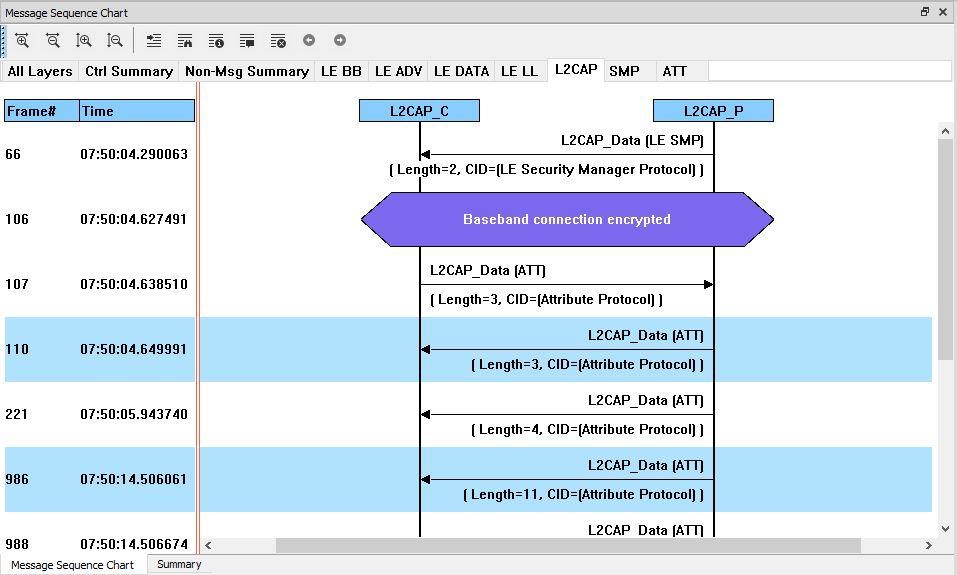
ATT

Message Sequence Chart Toolbar

Message Sequence Chart Tools
|
Tool |
Keyboard |
Description |
|
Ctrl + H |
Zoom in horizontal - expands the chart horizontal view |

|
Shift + H |
Zoom out horizontal - compresses the chart horizontal view |

|
Ctrl + V |
Zoom in vertical - expands the chart vertical view |

|
Shift + V |
Zoom out vertical - compresses the chart vertical view |

|
Shift + F |
Go to frame |
|
F3 |
Search |

|
Ctrl + I |
Go to first information message |

|
Ctrl +S |
Go to first protocol state message |

|
Ctrl +E |
Go to first error frame |

|
F2 |
Search for prior using Search criteria. |

|
F4 |
Search for Next using Search criteria |
Message Sequence Chart - Search
The Message Sequence Chart has a Search function that makes it easy to find a specific message type within the layers.
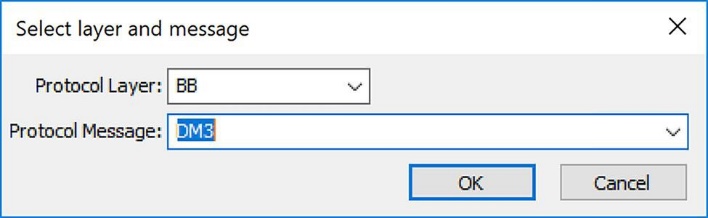
When you select the 1) Search icon 
From this dialog you can search for specific protocol messages or search for the first error frame.
-
On the MSC dialog, select one of the protocol tabs at the top.
If you select All Layers in Step 1, the Protocol Layers drop-down list is active. If you select any of the other single protocols, the Protocol Layers drop-down is grayed out.
-
Or Open the Search dialog using the Search icon or the F3 key.
-
Select a specific Protocol Message from the drop-down list.
-
Once you select the Protocol Message, click OK.
The Search dialog disappears and the first search result is highlighted in the Message Sequence Chart.
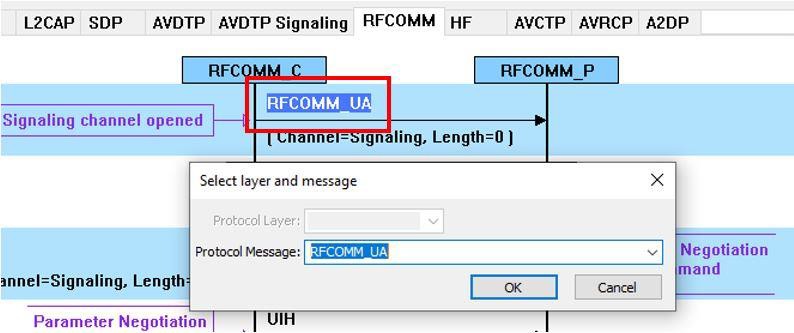
If there is no instance of the search value, you see this following dialog.
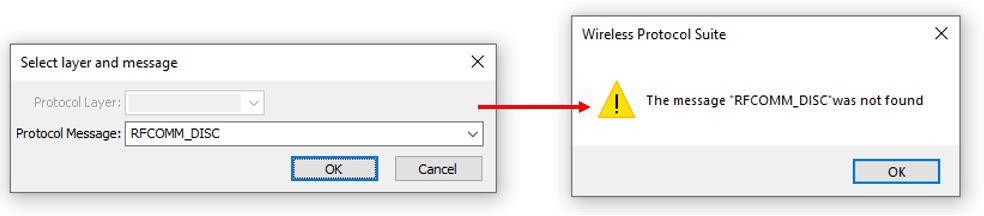
Once you have set the search value, you can 1) use the Search Previous 

Message Sequence Chart - Go To Frame
The Message Sequence Chart has a Go To Frame function that makes it easy to find a specific frame within the layers.
-
Click Go To Frame in the toolbar

-
Enter a frame number in the Enter frame No.: text box.
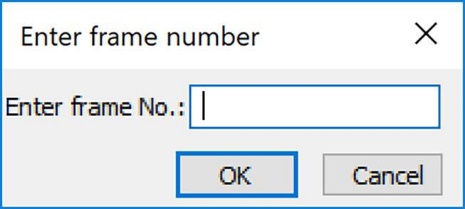
-
Click OK.
The Go To Frame dialog disappears and the selected frame is highlighted in the chart.
Once you have identified the frame in Go To, you can 1) use the Search Previous 

Message Sequence Chart - First Error Frame
When you select Go to first error frame 
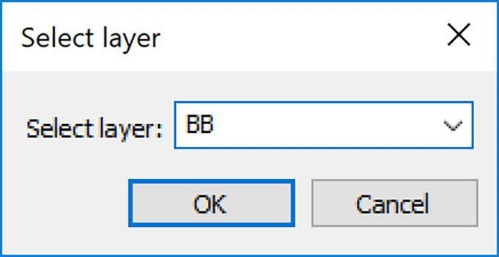
You must select a layer from the drop-down list to choose what layer you want to search for the error.
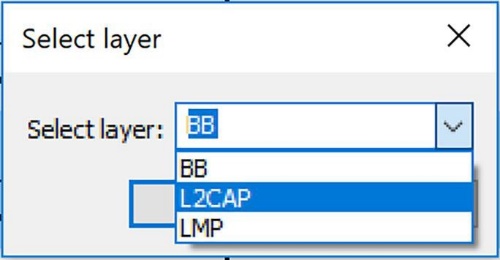
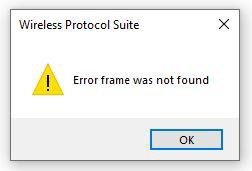
Once you select a layer, then OK, the first error for that layer will be displayed. If no error is found, a dialog will announce that event.