
Saving Your Data
You can save all or a portion of the data that you have captured (see below). You can also load a previously saved capture file and save a portion of that file to another file. This feature is useful if someone else needs to see only a portion of the data in your capture file.
There are two ways to save capture data.
On the Main window’s toolbar, you can set up to capture a single file using File > Save As from the analyzer toolbar or you can capture to a series of files.
The file size limit of a capture file is 128 GB. When saving a larger capture is required, the Capture to Series of Files function can be used.
Saving the Capture File
Once the capture and analysis are completed, you can save the captured file for future analysis. All data captured from starting a session (Start Record) to stopping a session (Stop Record) is saved.
Before saving, the 
-
In the Wireless Protocol Suite Application window toolbar, select Save As from the File menu or click the save icon

-
The Save As dialog will open. Select a location and enter a file name. Click on the Save button.
Saving a Portion of Capture File with Save Selection
-
In the Wireless Protocol Suite toolbar, select Save Selection from the File menu.
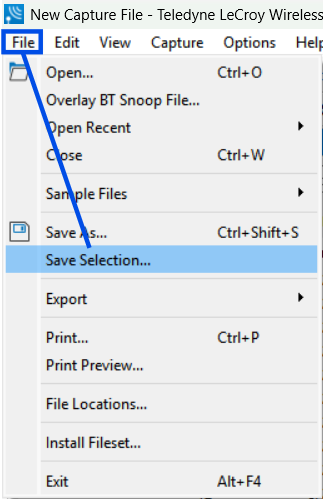
-
This will open the Save As dialog box.
-
Click the Selection radio button. Enter the frame numbers of the section you want to save (e.g. frames 287 to 319) and enter the name for the file (e.g. Only_Save_Selected_Frames).
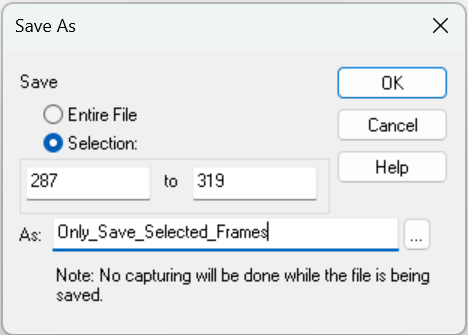
By default, the save location is C:\Users\Public\Documents\Teledyne LeCroy Wireless\My Capture Files.
If you would like to change the save location, click on the 
-
Click OK.
Exporting the Capture File Data
Exporting All Data
-
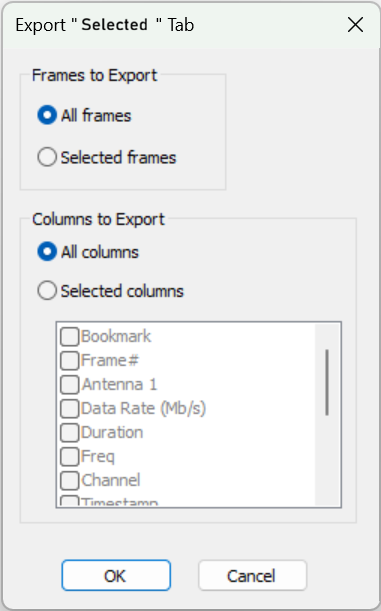
Right click in the Summary Pane data and select Export….
-
Confirm the All frames radio button is selected (default).
-
Confirm the All columns radio button is selected (default).
-
When finished, click OK.
-
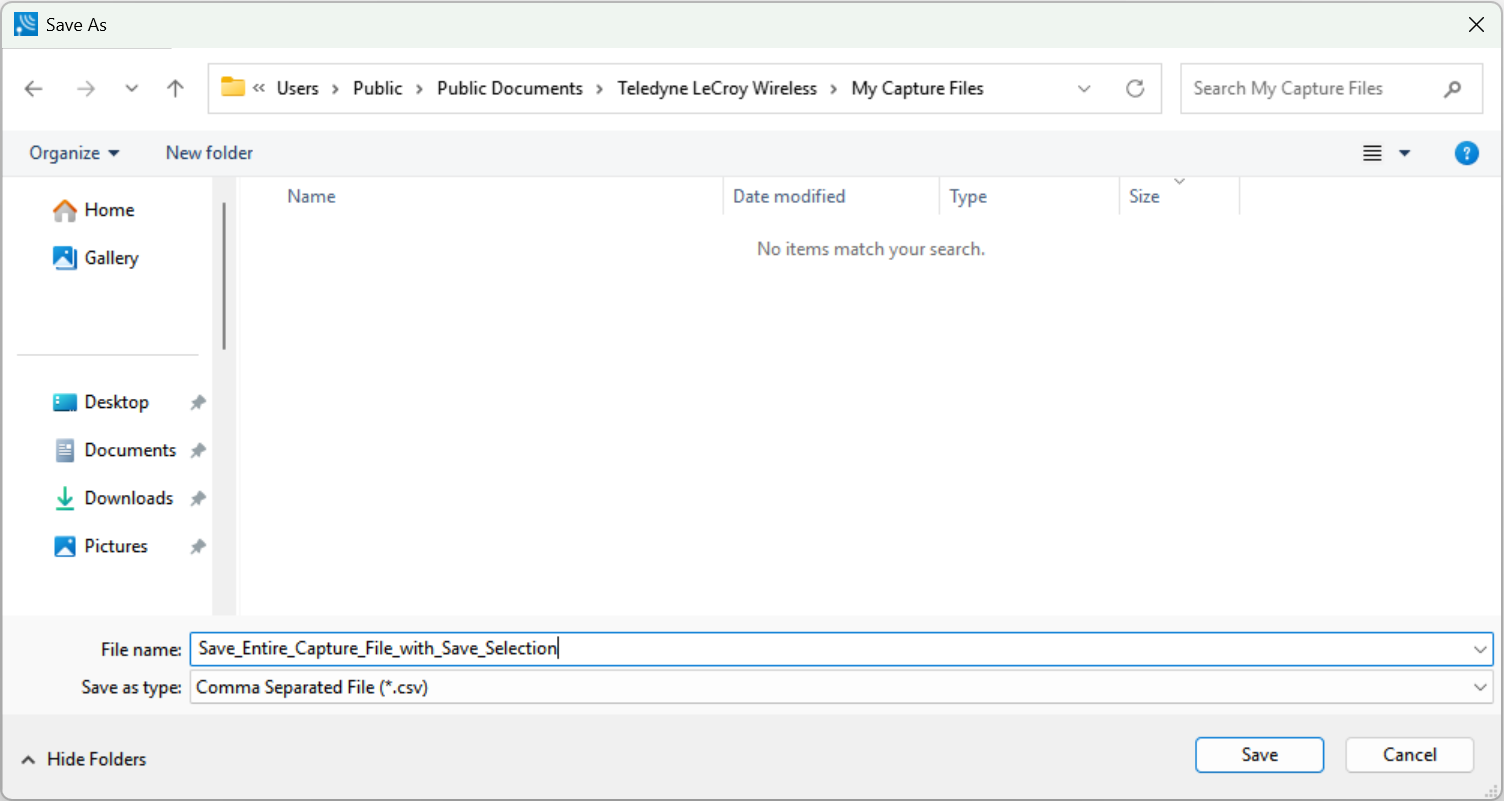
The Save As dialog opens. Name the .csv file and choose the save location.
-
Click Save to store the file in the folder.
-
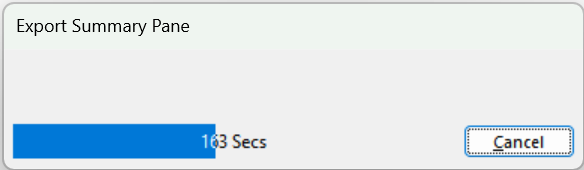
A window pops up displaying the duration and time left to save the file.
Exporting Selected Data
You can select specific frames and data columns to suite your needs.
-
In the Summary Pane, select the frames you want to export by an action below.
-
Click on the first frame of desired range, move to the last frame of selection and Shift+Click to select the range of frames.
-
Click on the first frame of desired selection. While holding down Shift key, use the keyboard arrow key until all desired frames are selected.
-
If wanting to select specific frames (not a range of frames), hold done Ctrl key and click the specific frames to export.
-
-
After selecting all desired frames, right-click a highlighted frame and select Export….
-
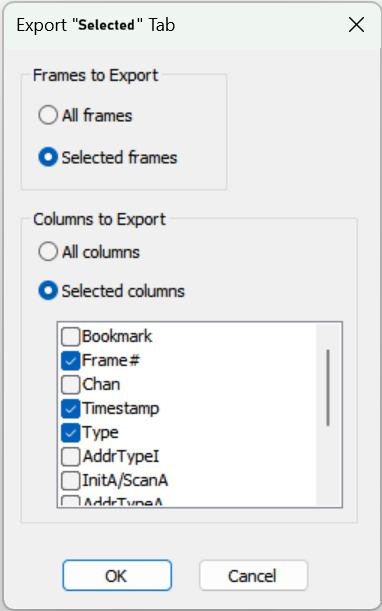
In the Export dialog, click the Selected frames radio button.
-
If you only want specific columns to export, click the Selected columns radio button and select the boxes next to the desired columns(e.g. Frame #, Timestamp, Type).
-
When finished, click OK.
-
The Save As dialog opens. Name the .csv file and choose the save location.
-
Click Save to store the file in the folder.