
A custom tab looks at frames that have already been captured. It looks at every frame in the capture buffer and displays those that match the custom tab criteria. Frames that do not match the custom tab criteria are not displayed. Custom tabs allow a user to look at a subset of captured data without affecting the captured content.
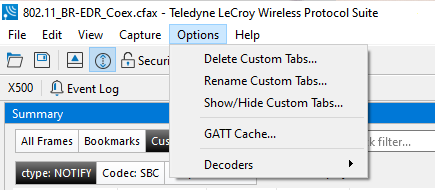
Creating a Custom Tab
You can create a unique custom tab by selecting a data type on the Main windows and using a right-click menu.
-
Select a frame in the Summary View or row in the Decode View.
-
Right click in one of the data columns in the Summary View: CRC, NESN, DS, Packet Success, Ethertype, Source Address, etc.
-
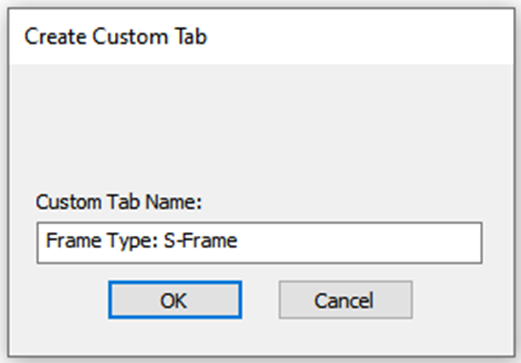
Select Create Tab (data type) = (data value) dialog appears.
-
Enter a name for the custom tab.
-
Select OK.
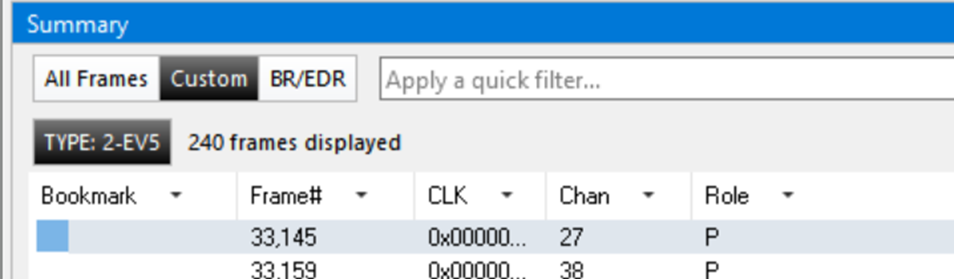
When a custom tab is applied, a description of the custom tab appears to the right of the toolbar in the Summary View.
The system requires the naming and saving of all custom tabs created by the user.
Deleting a Custom Tab
-
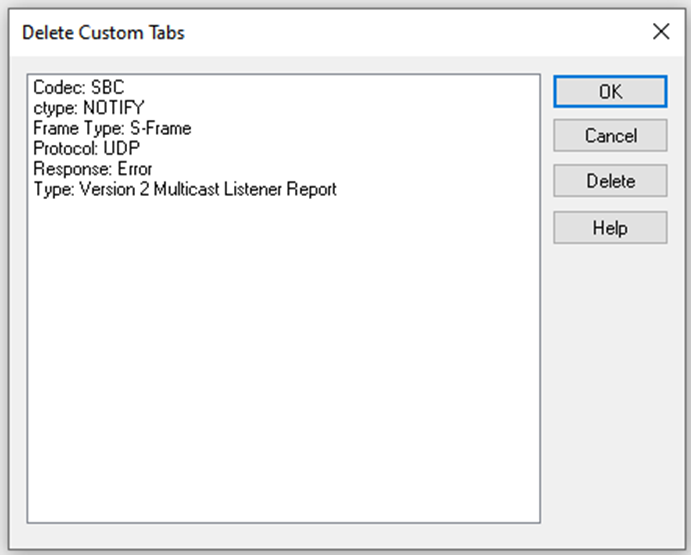
Select Delete Custom Tab from the main Options menu to open the Delete Custom Tab dialog. The system displays a list of all user-added custom tabs.
-
Select the custom tab to be deleted from the list.
-
Select the Delete button and the system deletes the custom tab.
Hide/Show Custom Tabs
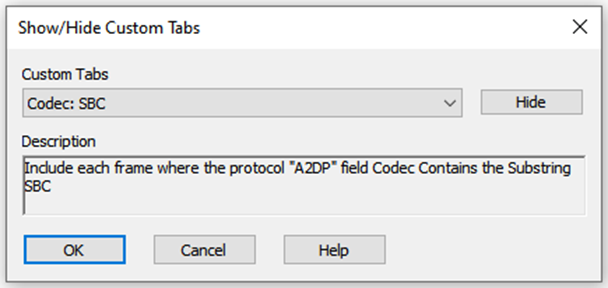
The Custom tabs remain on the Summary View unless you hide it using Hide/Show Custom Tabs dialog under the main Options menu. Also, the user can use the Hide/Show Custom Tabs dialog to display the user-added custom tabs in the current session.
-
Select Hide/Show Custom Tabs from the main Options menu to open the Hide/Show Custom Tabs dialog. The system displays a list of all user-added custom tabs in the Tabs combo box.
-
Select the custom tab to be shown/hidden from the list.
-
Select the Hide/Show button and the system manage the custom tab.
Renaming Custom Tabs
-
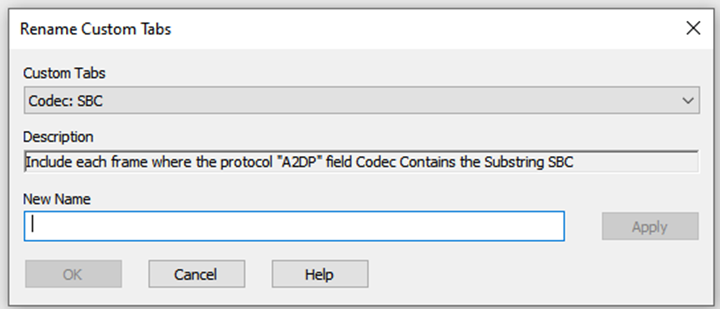
Select Rename Custom Tabs. from the main Options menu to open the Rename Custom Tabs dialog. The system displays the Rename Custom Tabs dialog with a list of all user-added custom tabs in the Tabs combo box.
-
Select the custom tab to be renamed from the combo box.
-
Enter a new name for the custom tab in the New Name box. Optionally click the Apply button and the new name appears in the Tabs combo box and the New Name box empties. This option allows you to rename several custom tabs without closing the Rename Custom Tabs dialog each time.
-
Click OK. The Rename Custom Tabs dialog box closes and the system renames the custom tab.