
To access the Device Management window, follow these steps:
-
Open the Net Protocol Suite.
-
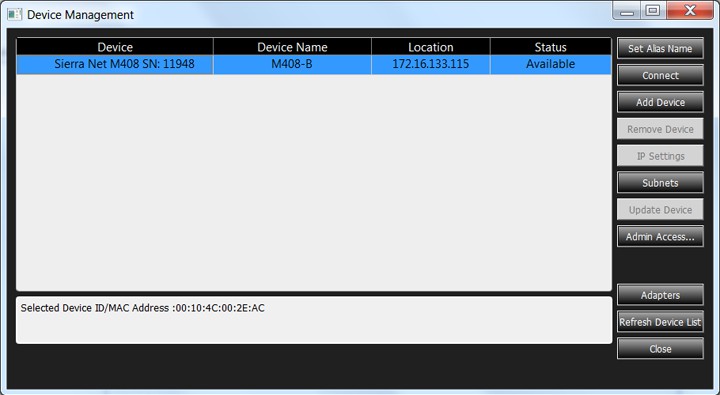
Click Setup > Device Management. The Device Management window opens and displays the following information:
-
Device: Analyzer Model Number and Serial Number
-
Device Name: Analyzer Model Number
-
Location: IP Address of Analyzer
-
Status: Ready, Ready to Connect (Available), Connected (connected to your machine), Used By (Being used by someone else – Unavailable)
|
Analyzer Status |
Symbol |
Description |
|---|---|---|
|
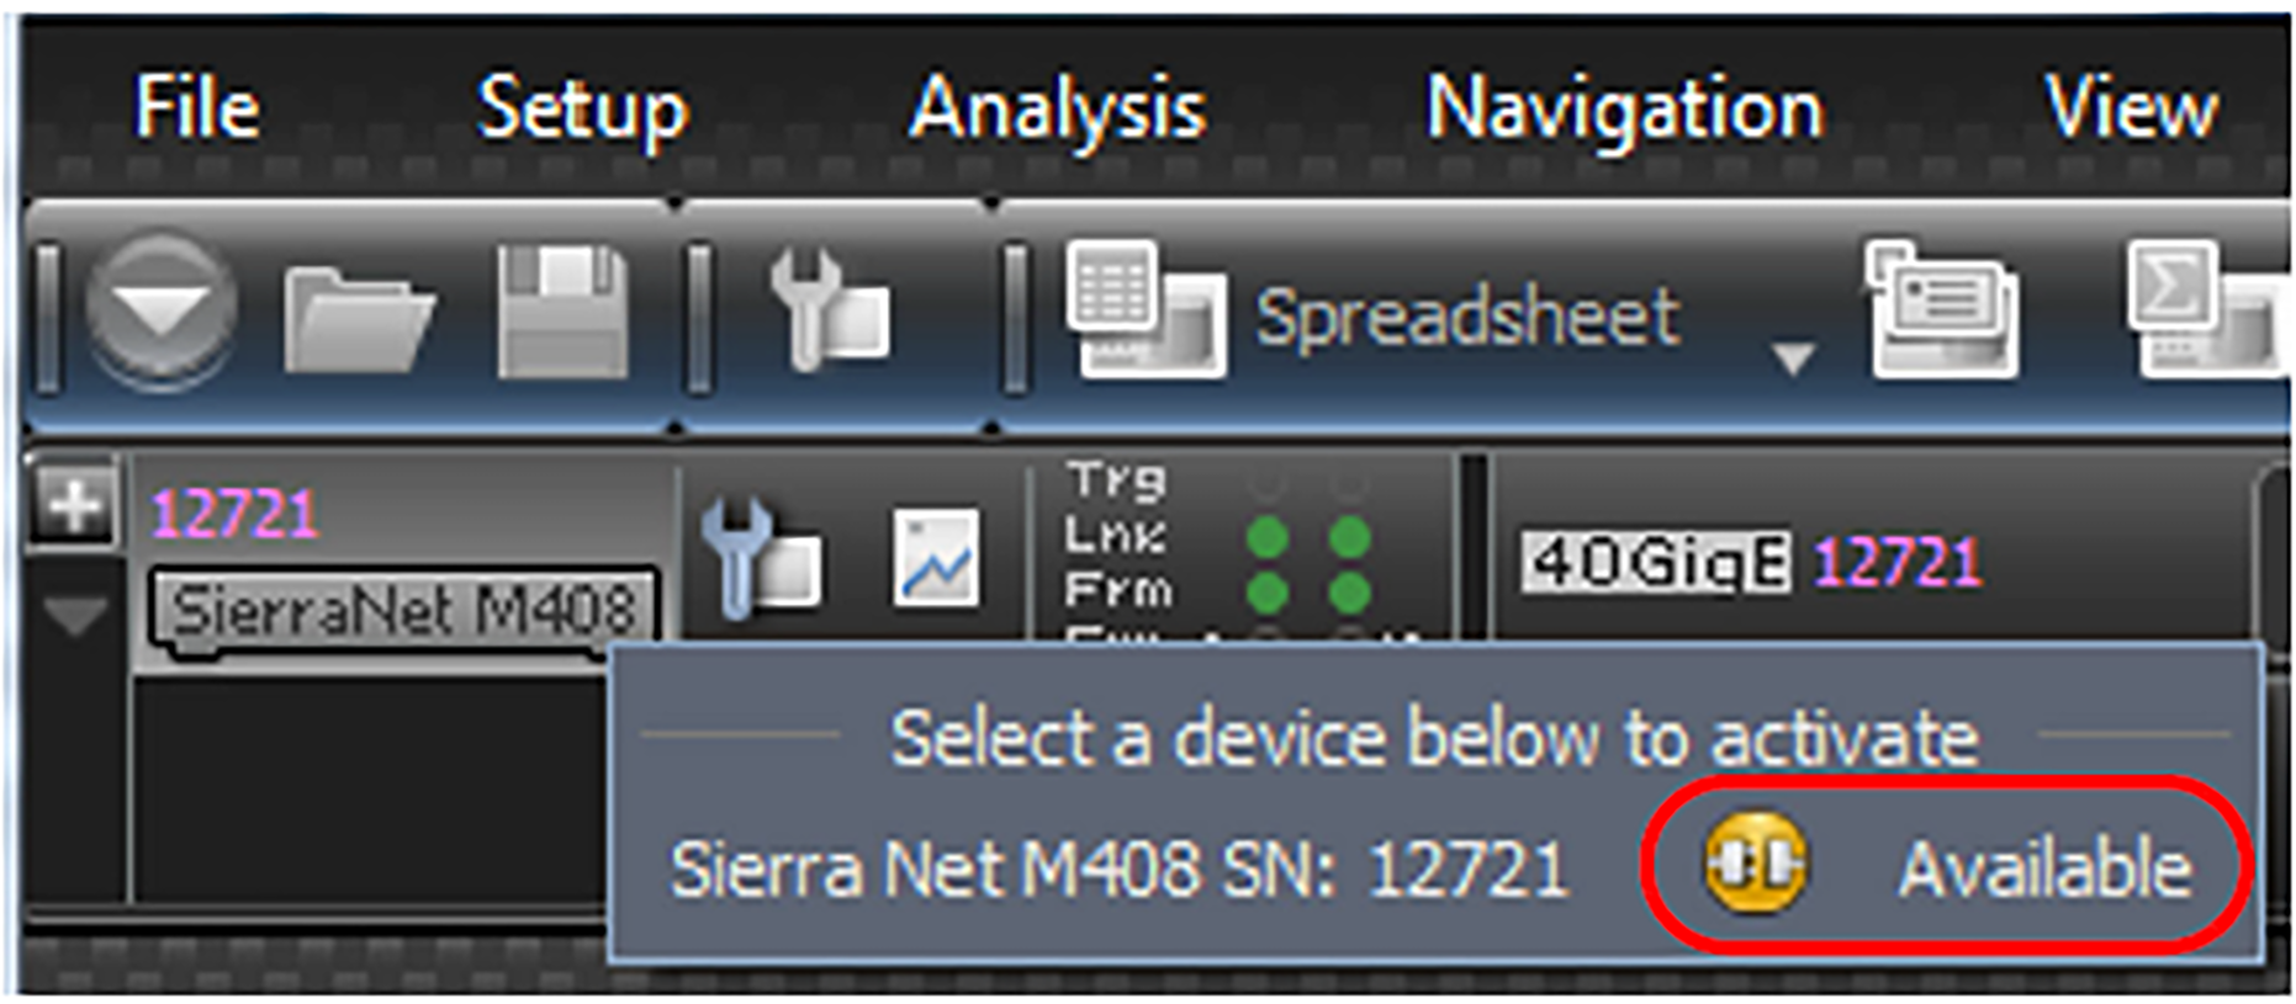
Available |

|
Device is present and no one else is connected to it or is using it. |
|
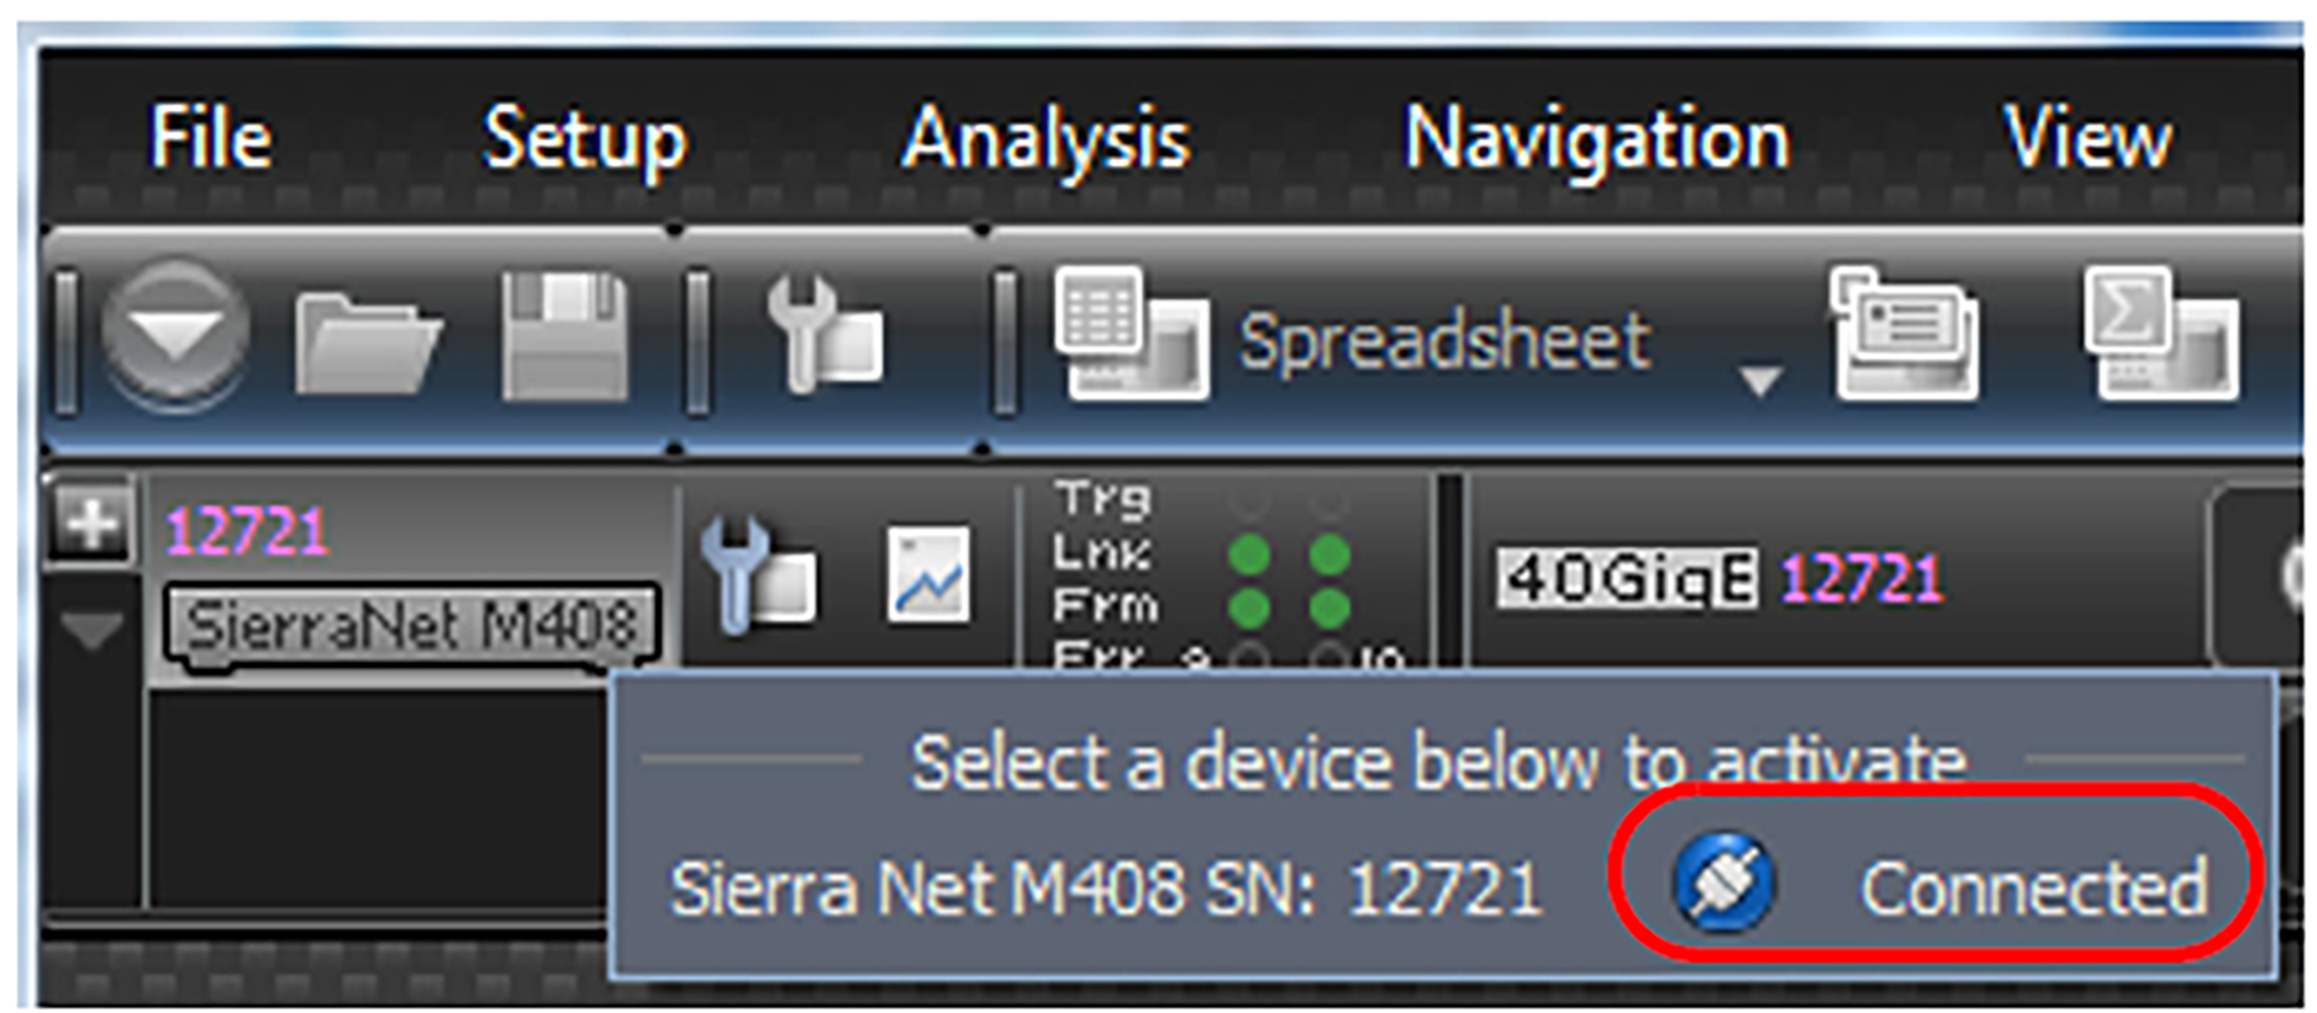
Connected |

|
You are connected to the device. |
|
Activated |

|
You are connected to the device and have assigned it to an open project. |
|
Used by [hostname] |

|
Another user, on the computer identified by [hostname], is connected to the device. |
|
Unknown |

|
Connection state is unknown; for example, a device that was previously added manually, but may not be present currently. |
|
Available / Session Running |

|
Device is available, but a session is running. You can connect and either resume or abort the session. See 3.2.1.1, Resume Session. |
Analyzer Status
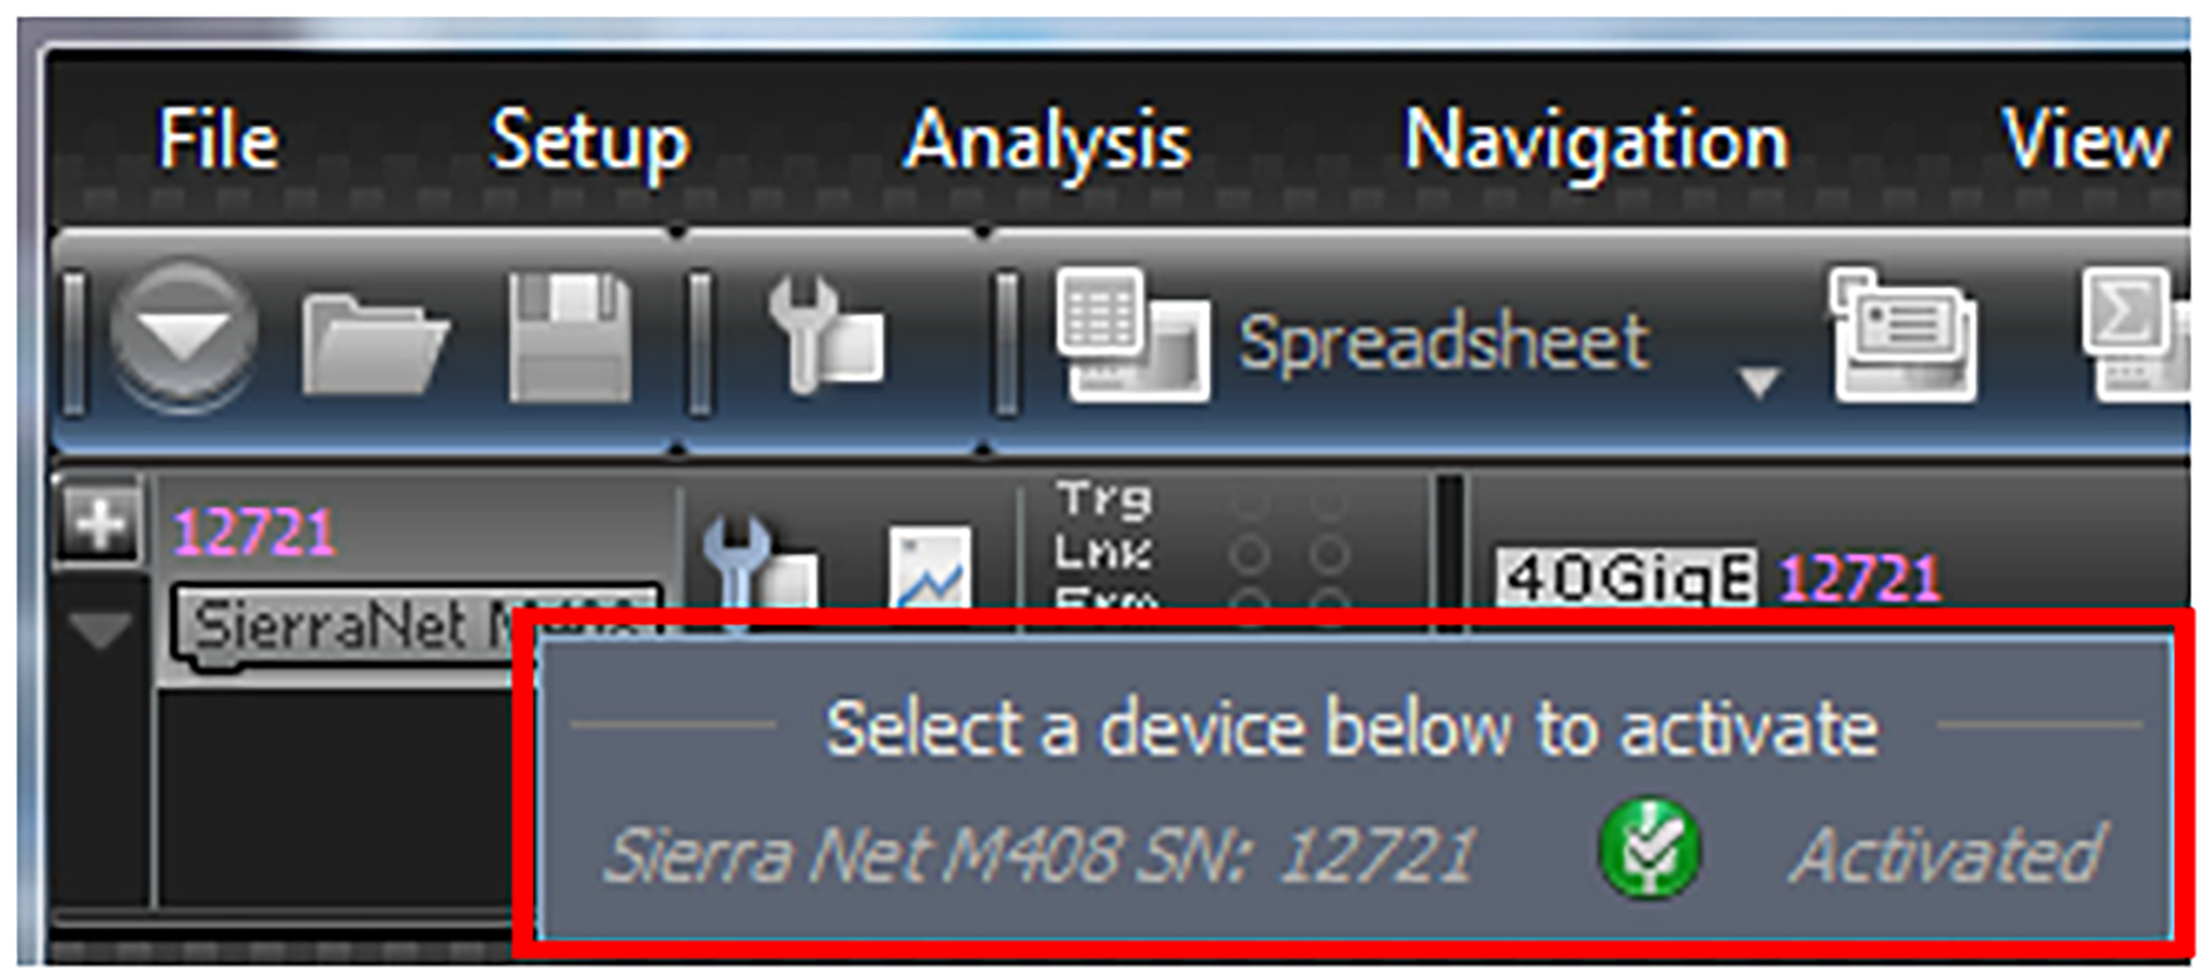
The status of the Analyzer can be found through the Device Management dialog window or by right-clicking on the Analyzer Model Number in the Main Menu.
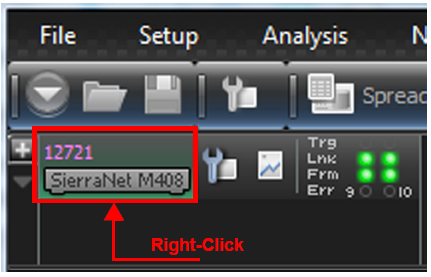
Some examples of various statuses are shown below:
Set Alias Name
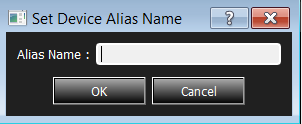
Address Alias allows you to assign a meaningful name to each address to assist in interpreting the results displayed in the trace view. To assign address names in an open trace view:
-
Select Setup > Device Management > Set Device Alias Name.
-
Assign a meaningful name to each address in use, then click OK. The assigned names replace the address in the Trace View, Search, Filter, and Statistical Report.
If you elect to save the captured trace file, the assigned address names are saved together with the result; therefore, when you open the trace file later, the assigned names are retained.
-
To set these address aliases for trace files that will be captured later, you can set them as Default. New traces will be opened by these default address aliases.
Connect/Disconnect
Click Connect to connect or click Disconnect to disconnect a device.
Add Device
Click Add Device to add a device with a static IP address.
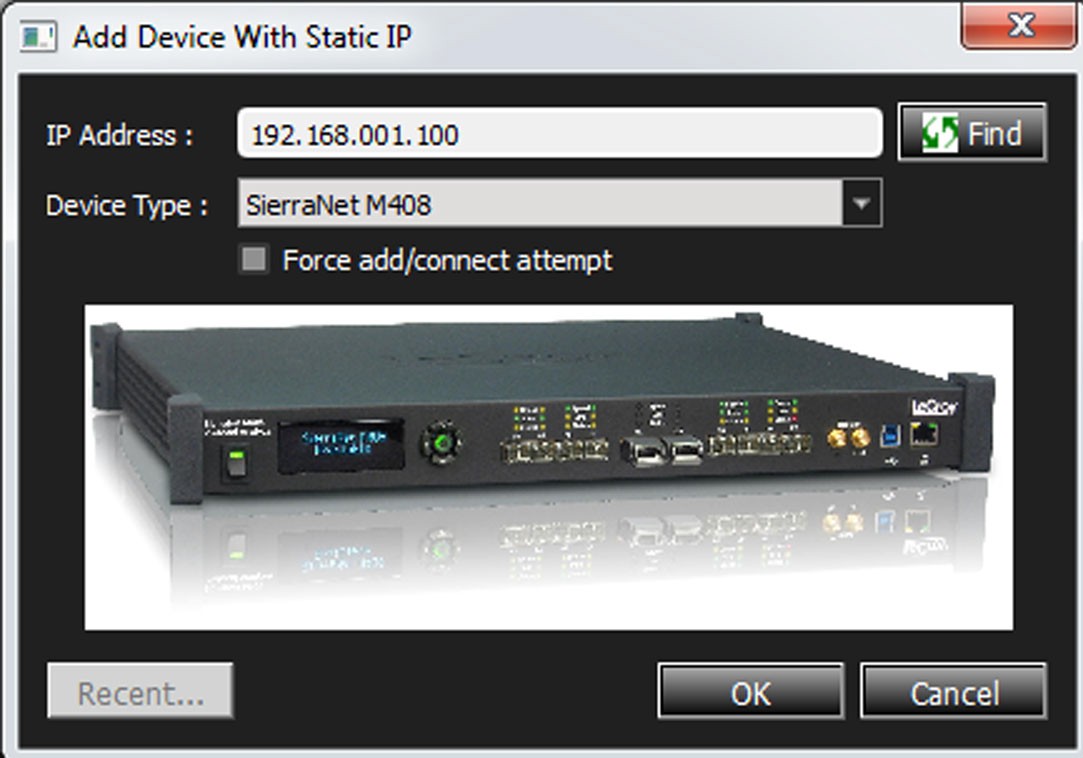
Note: When entering addresses, you must include the leading zeros, i.e., 003.010.195.006 versus 3.10.195.6.
Find
Click the Find button to test if the device at the specified IP address can be located.
Force Add/Connect Attempt
Use this option if the Find function fails; however, you must be sure the address is correct to attempt the connection. This setting is stored in the device list database and is applied when attempting to connect to the device.
Remove Device
Click Remove Device to remove a previously added device.
IP Settings
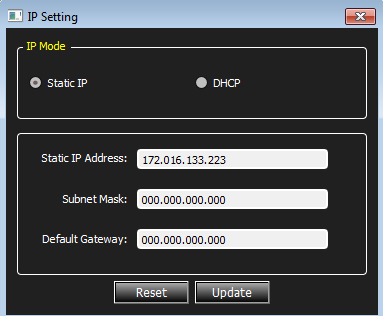
Click IP Setting to reset a device IP settings. The following IP Setting dialog box appears.
Subnets
Refer to 2.5.2.4, Ethernet Connectivity Through a Different Subnet.
Update Device
Click Update to update a device (see 2.5.4, Update Device).
Admin Access
-
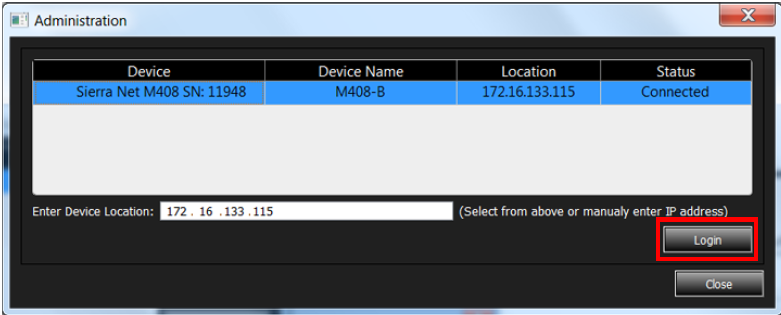
Click Admin Access. The Administration dialog window appears.
-
Click Login. The Administration Functions dialog box appears, which allows you to take control of the analyzer from its current user.
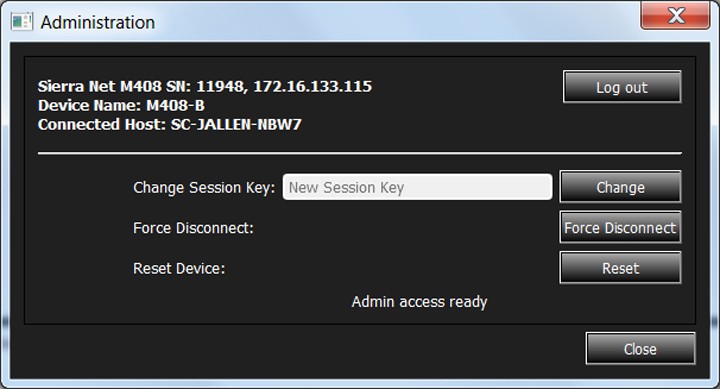
The Administration dialog box displays the Model, Serial Number, and IP address of the analyzer to which you are connected. The Device Name and the name of the Connected Host (your computer) are also displayed.
Functions available in the Administration dialog box include:
-
Log out—Takes you back to the Admin Access dialog
-
Change—Change the Session Key (Change Session Key)
-
Force Disconnect—Disconnect the Current User from the Analyzer (Force Disconnect)
-
Reset—Reset the Analyzer (Reset Device)
-
Close—Close the Admin Access dialog and return to the Device Management dialog (Close)
Change Session Key
Enter a new session key in the Change Session Key field and click Change. You can chose a combination of letters and numbers.
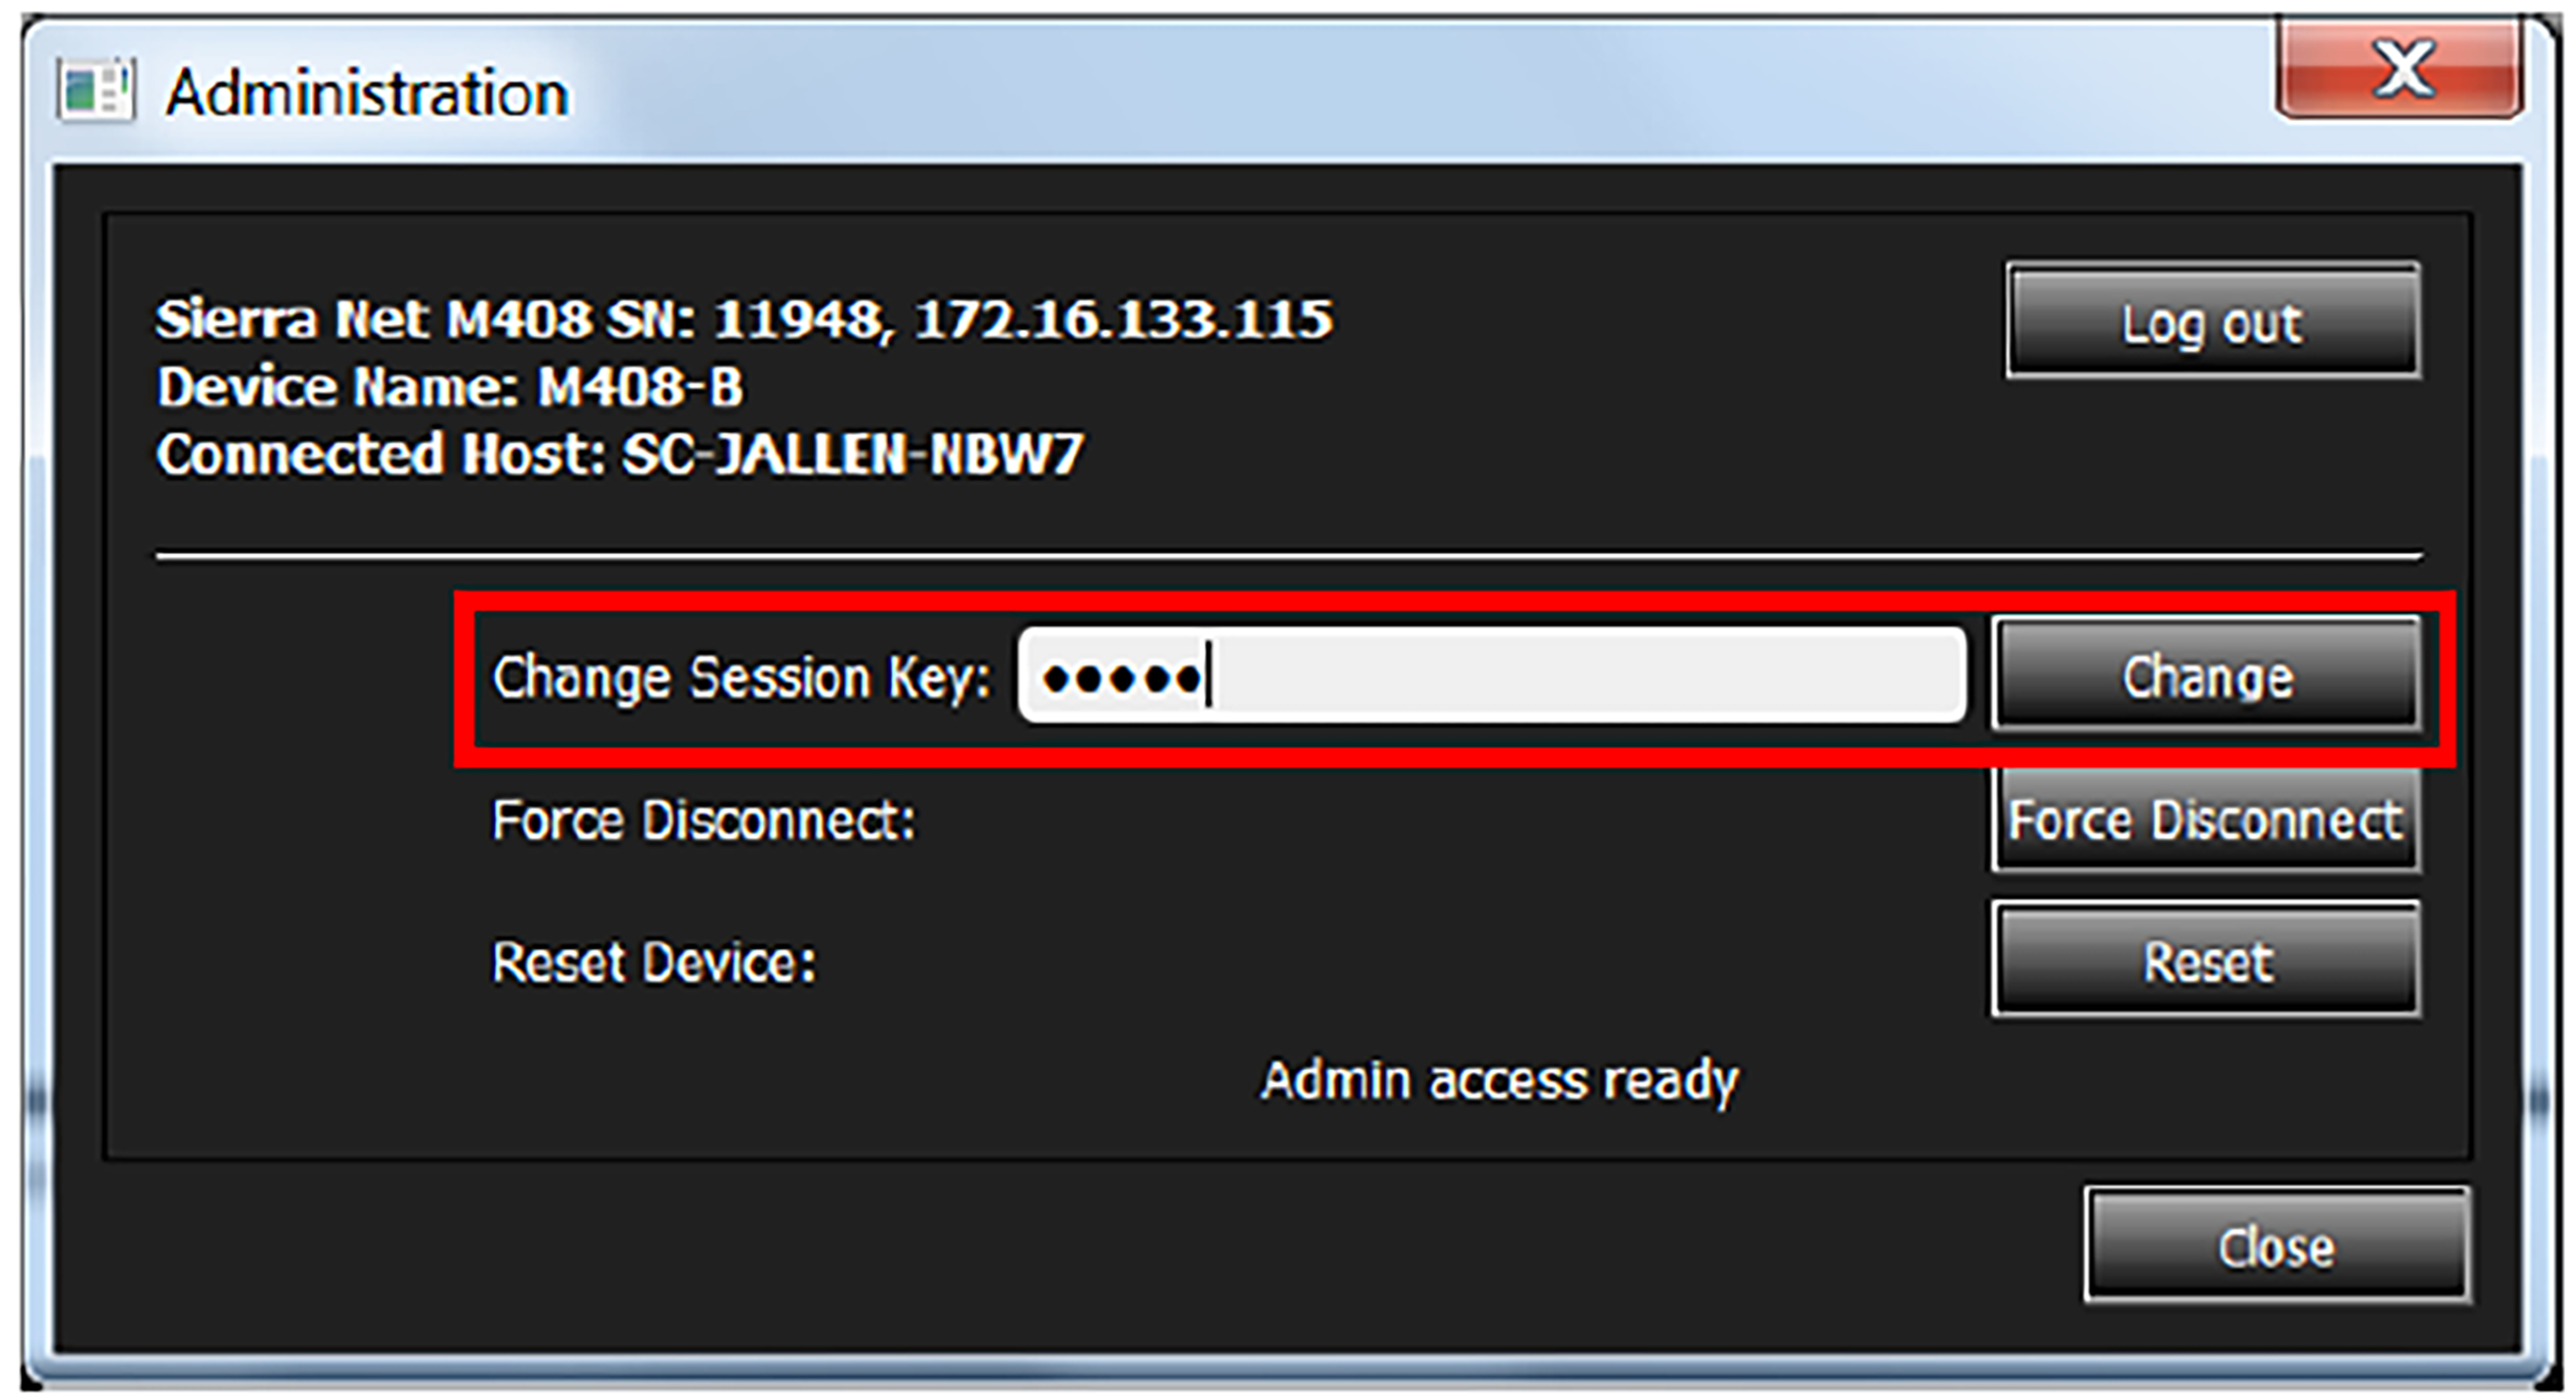
If the key change is successful, a confirmation dialog pops up.
See Resume Session for more details about continuing to record a session while not physically connected to the Analyzer.
Force Disconnect
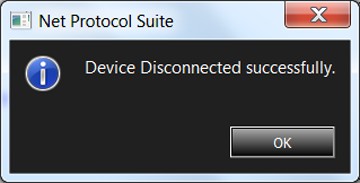
Click the Force Disconnect button to force the current user off of the Analyzer. A pop-up box appears confirming you were successful.
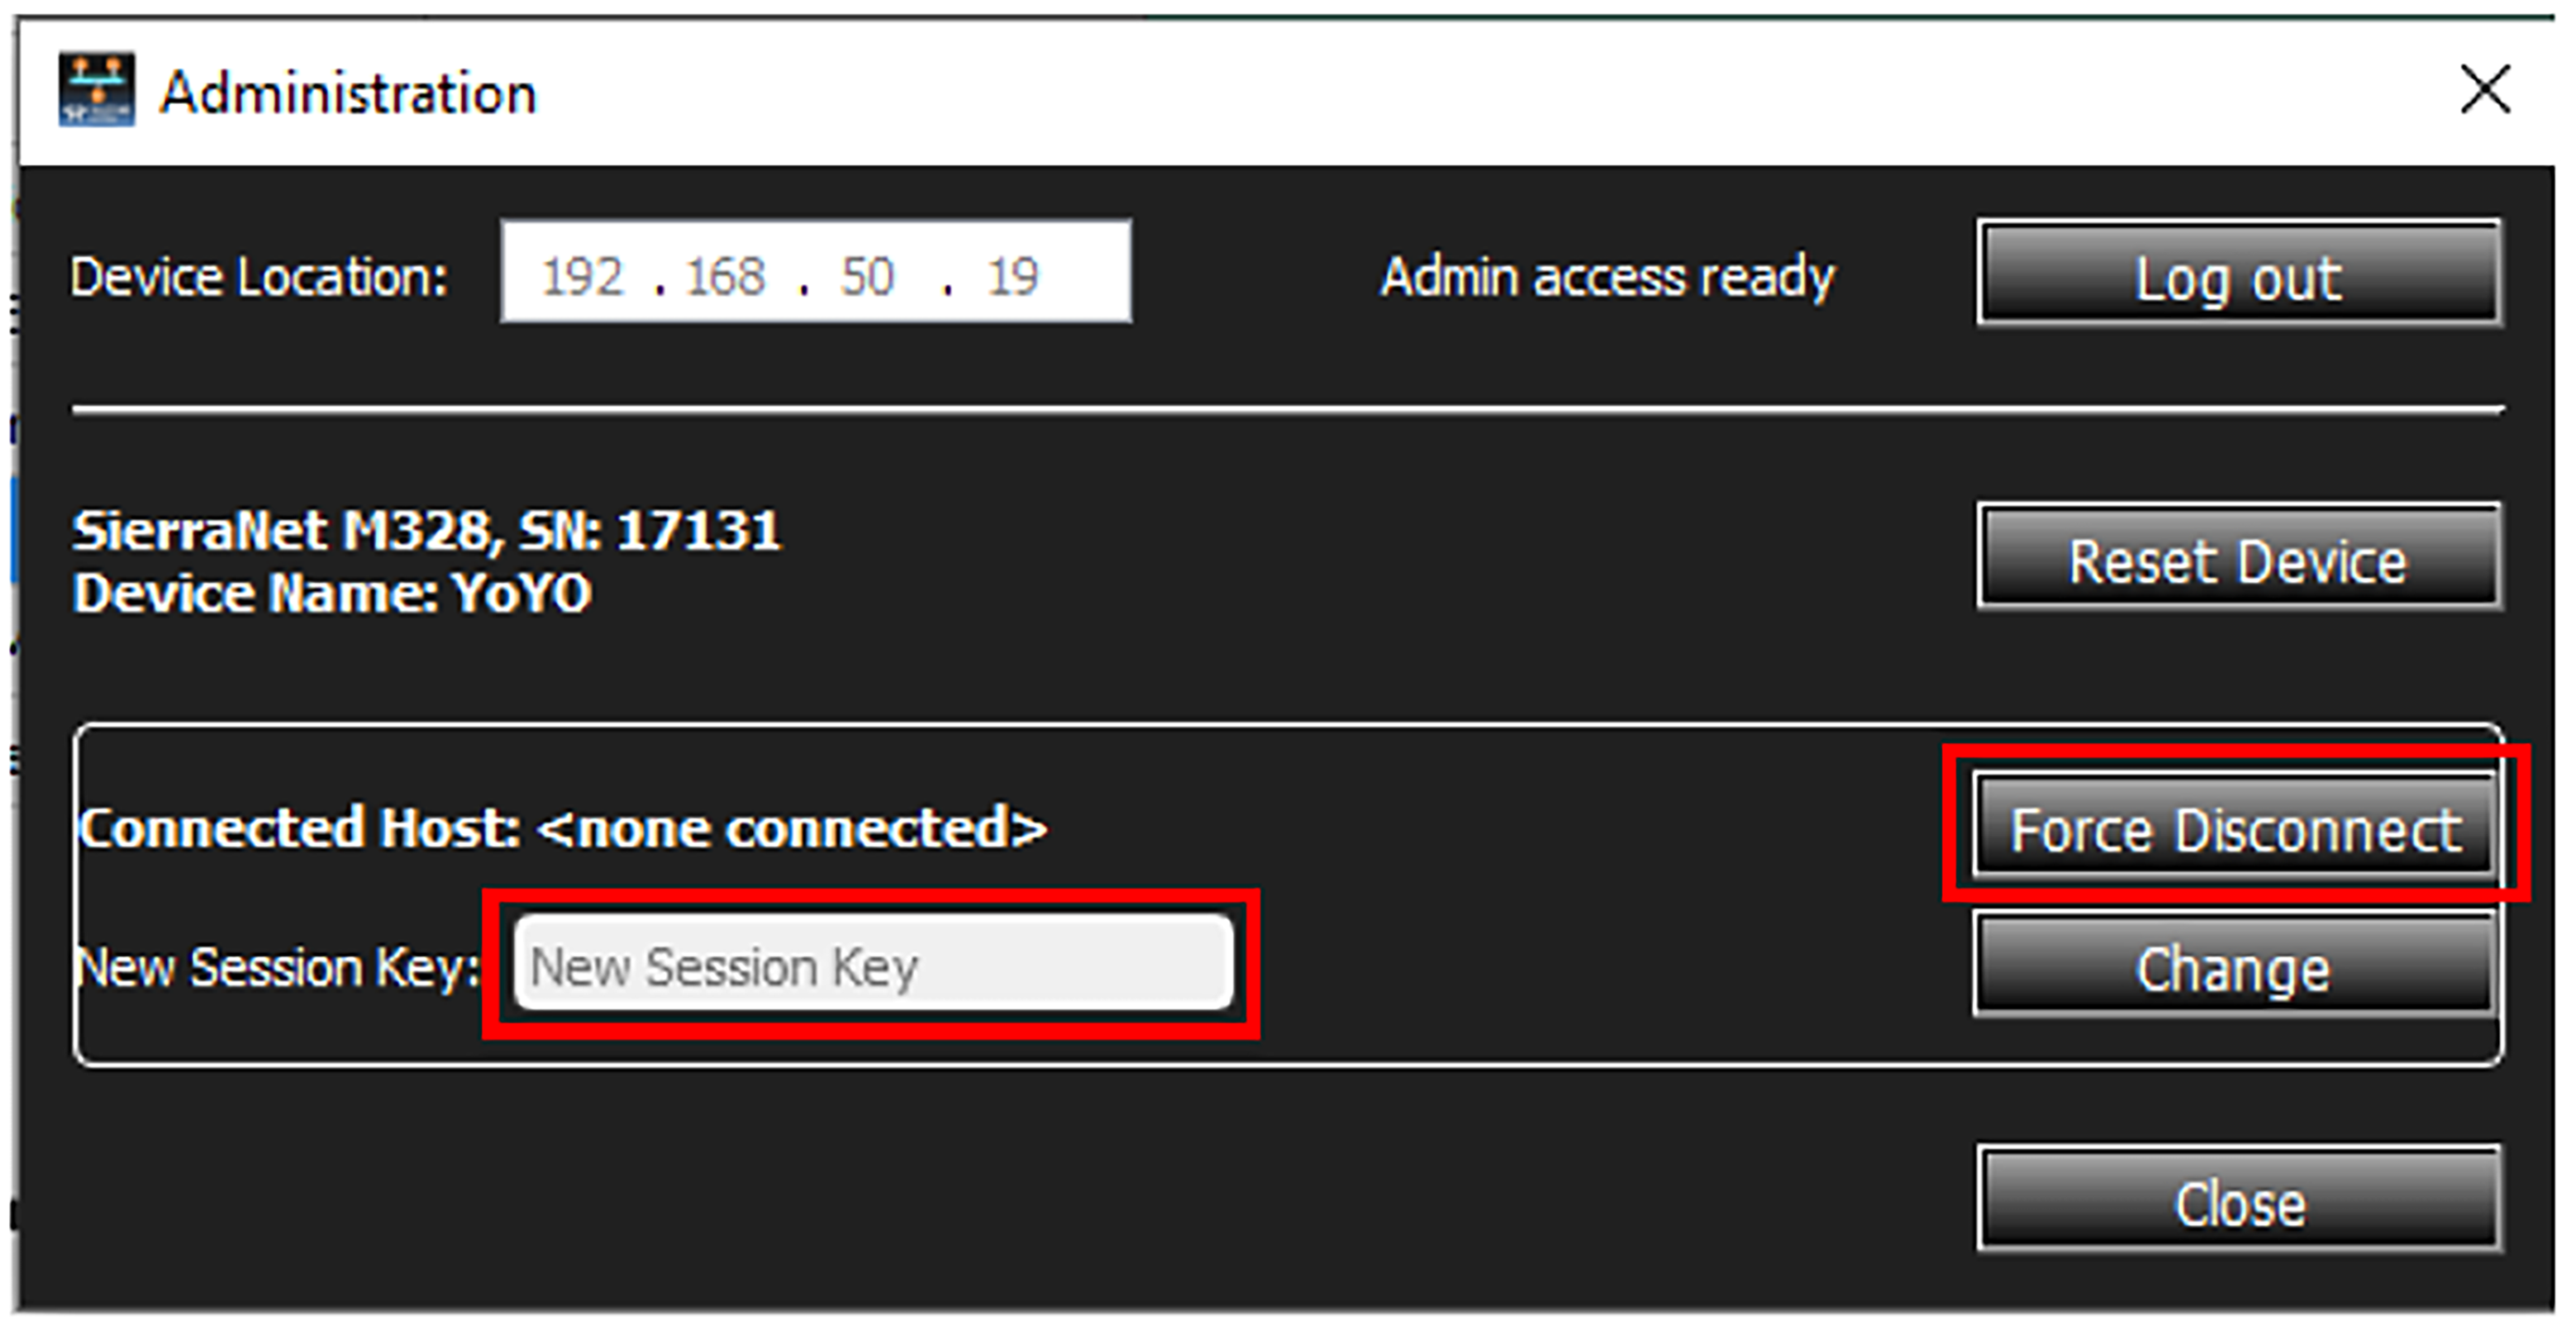
A confirmation pop-up box also appears if you successfully disconnected.
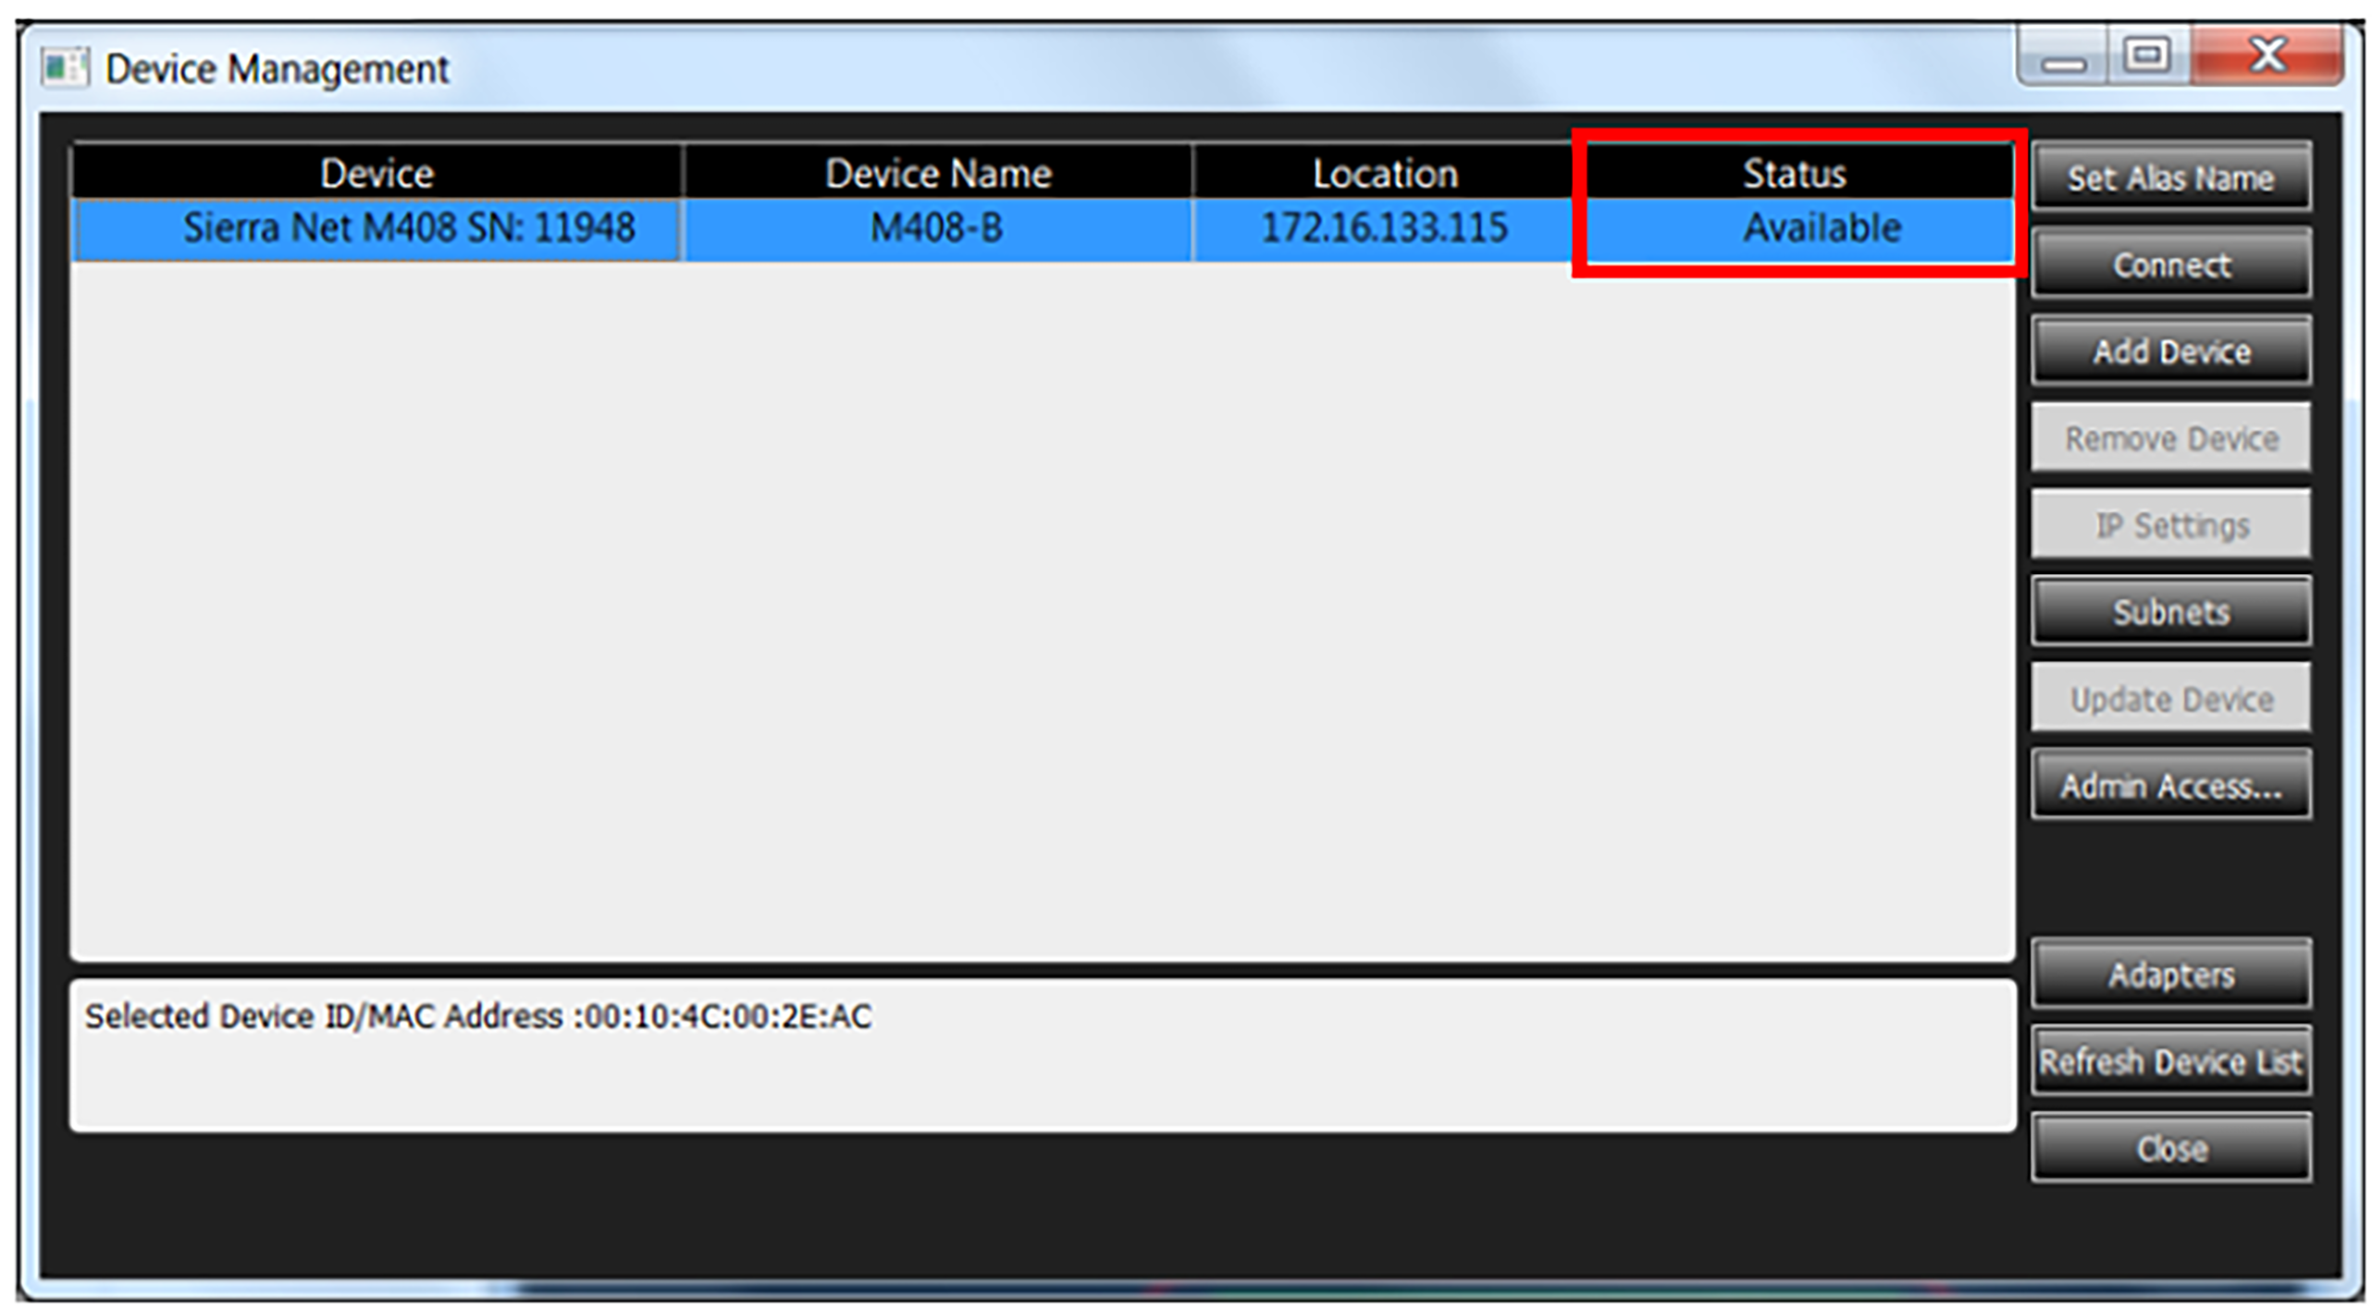
The Device Management window reflects the new status of the Analyzer (that it is now Available for someone else to use). See image below.
Reset Device
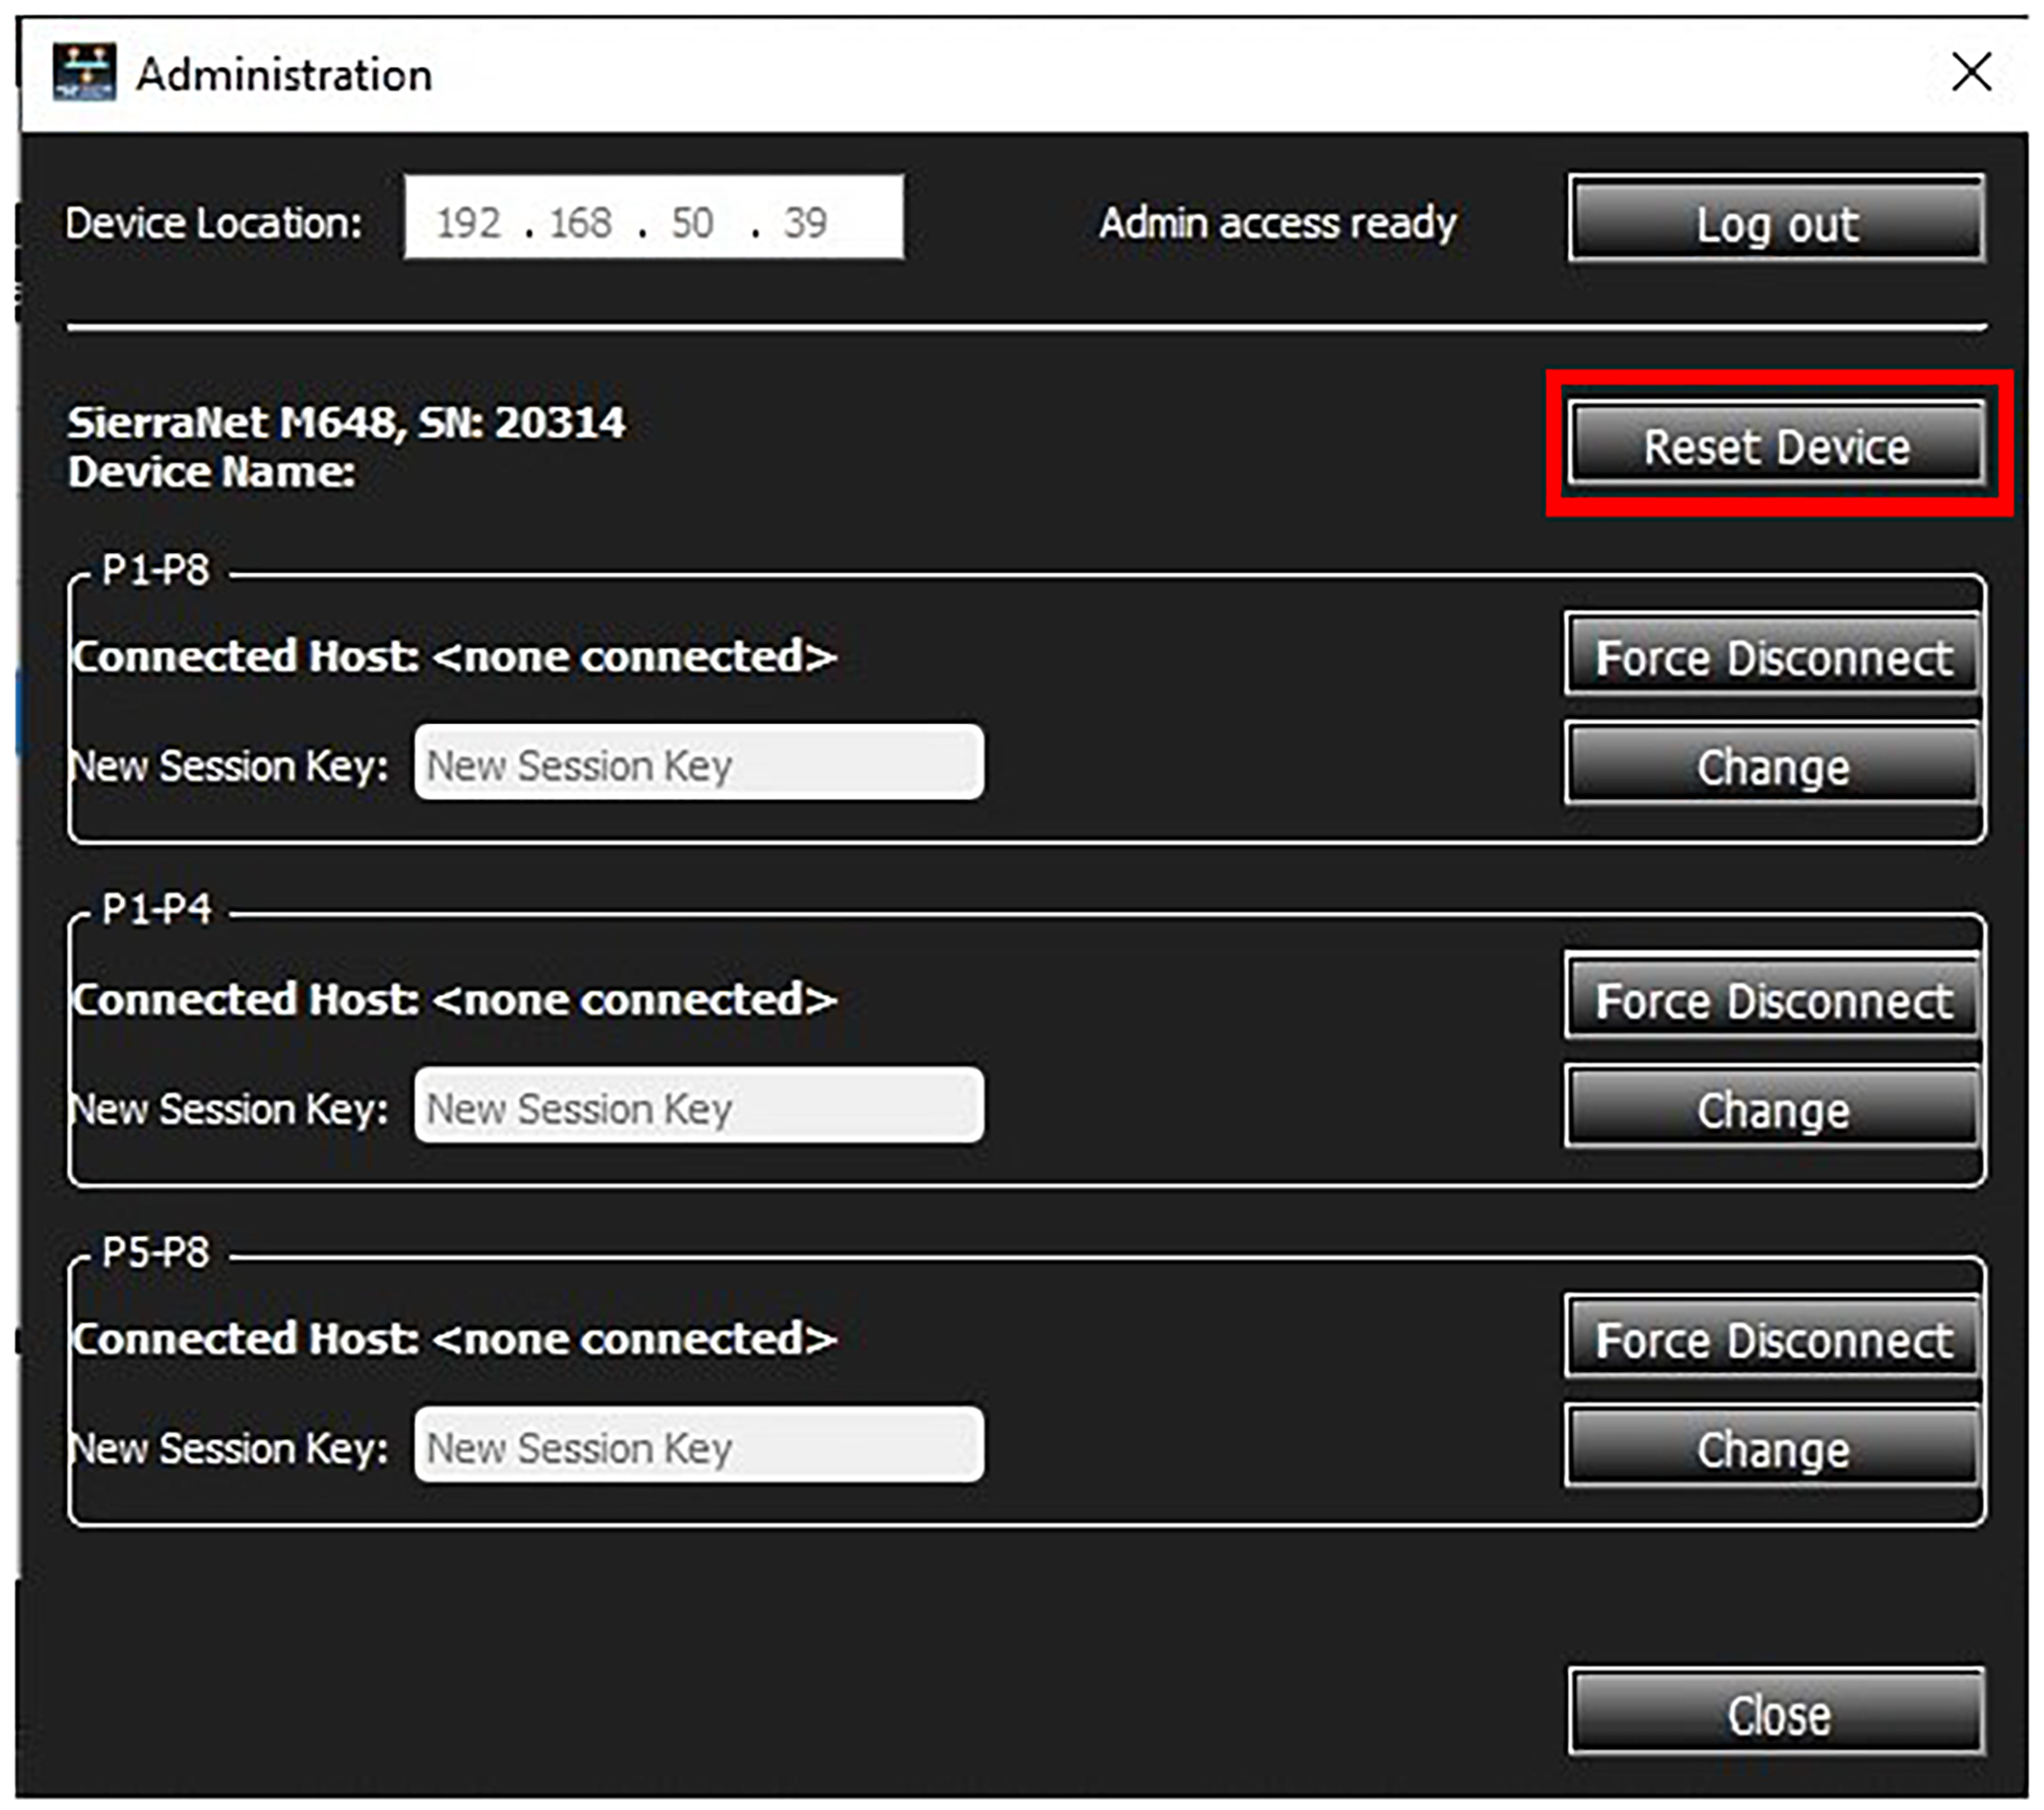
Click the Reset Device button to reset the device. Initially, you will see the following Administration window.
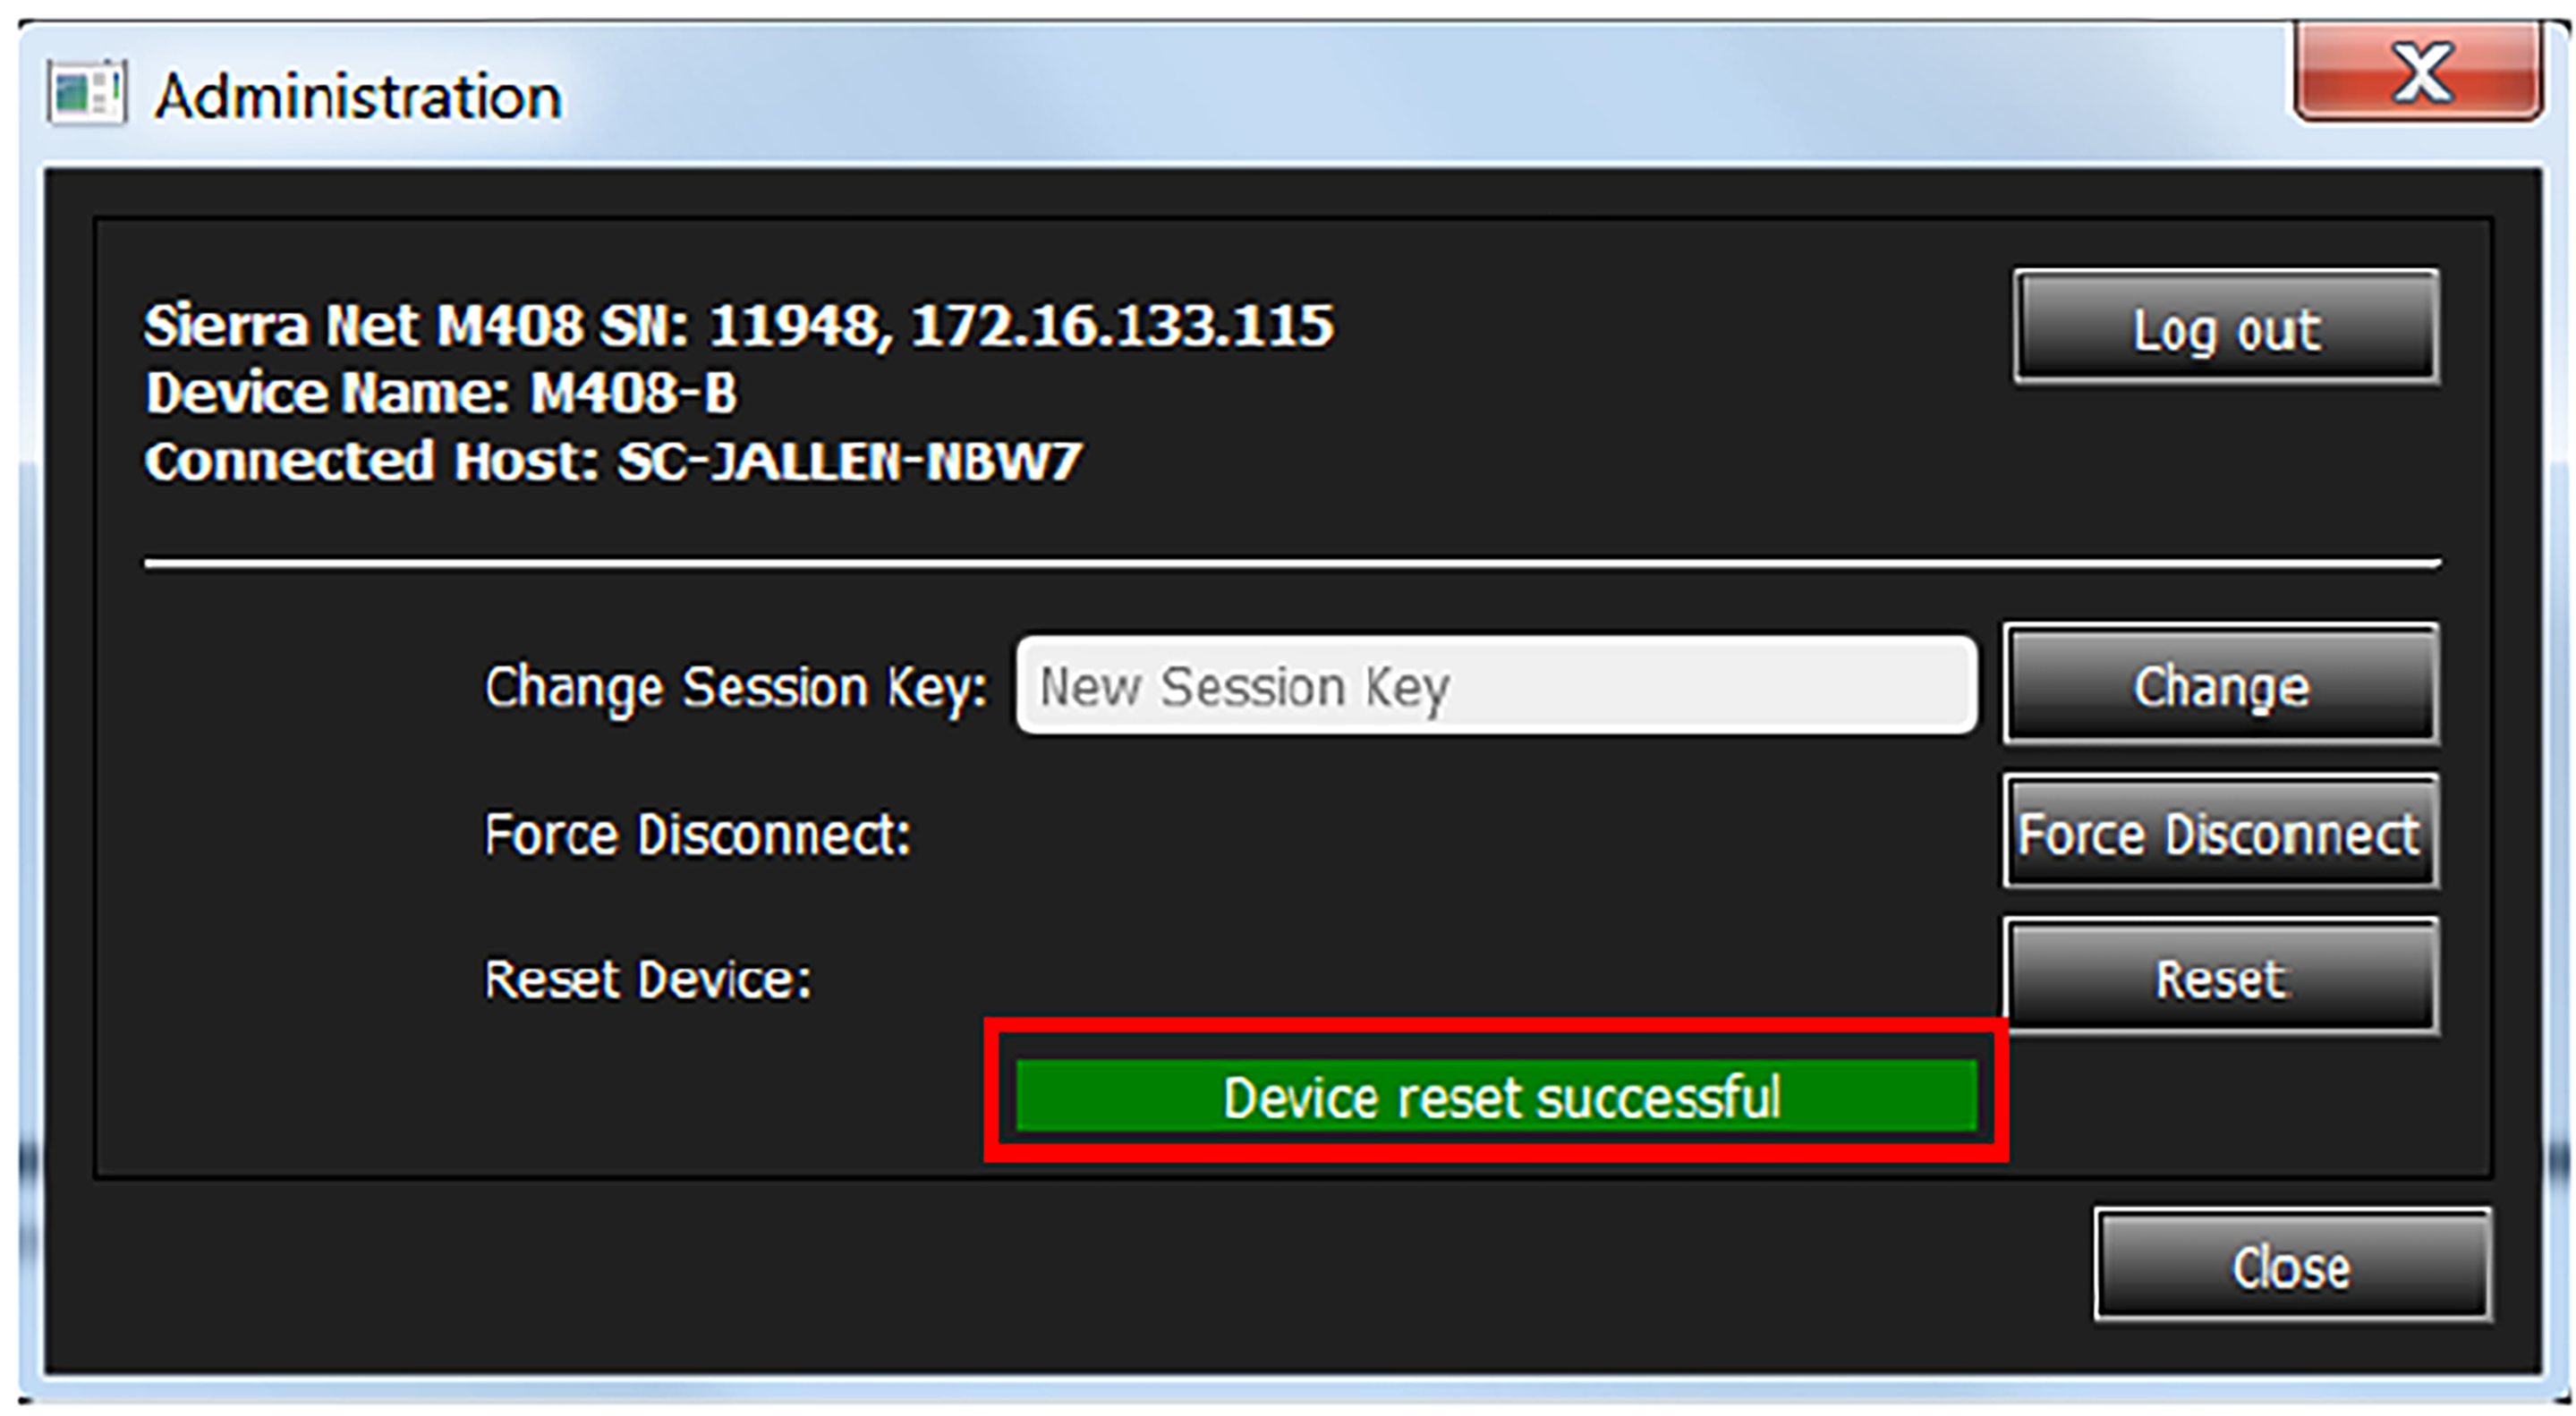
When the Reset cycle is complete, a pop-up box appears with a confirmation message.
Close
The Close button closes the Administration dialog box and returns you to the Device Management window.
Adapters
Click Adapters to select the network adapter to use for connecting to Ethernet-connected devices. The Select Adapter dialog window appears.
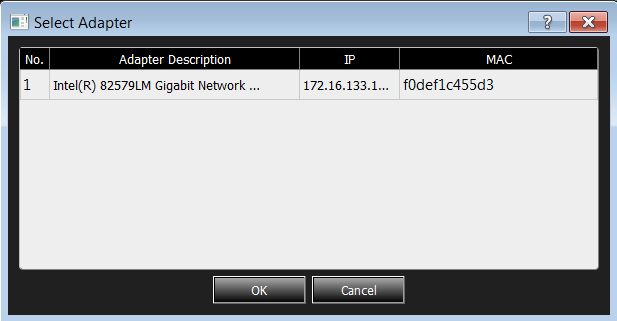
Note: Some PCs have multiple adapters for connecting to different networks; therefore, be sure to choose the one to which your desired device is connected.
Refresh Device List
-
From the Device Management window, click Refresh Device List.
-
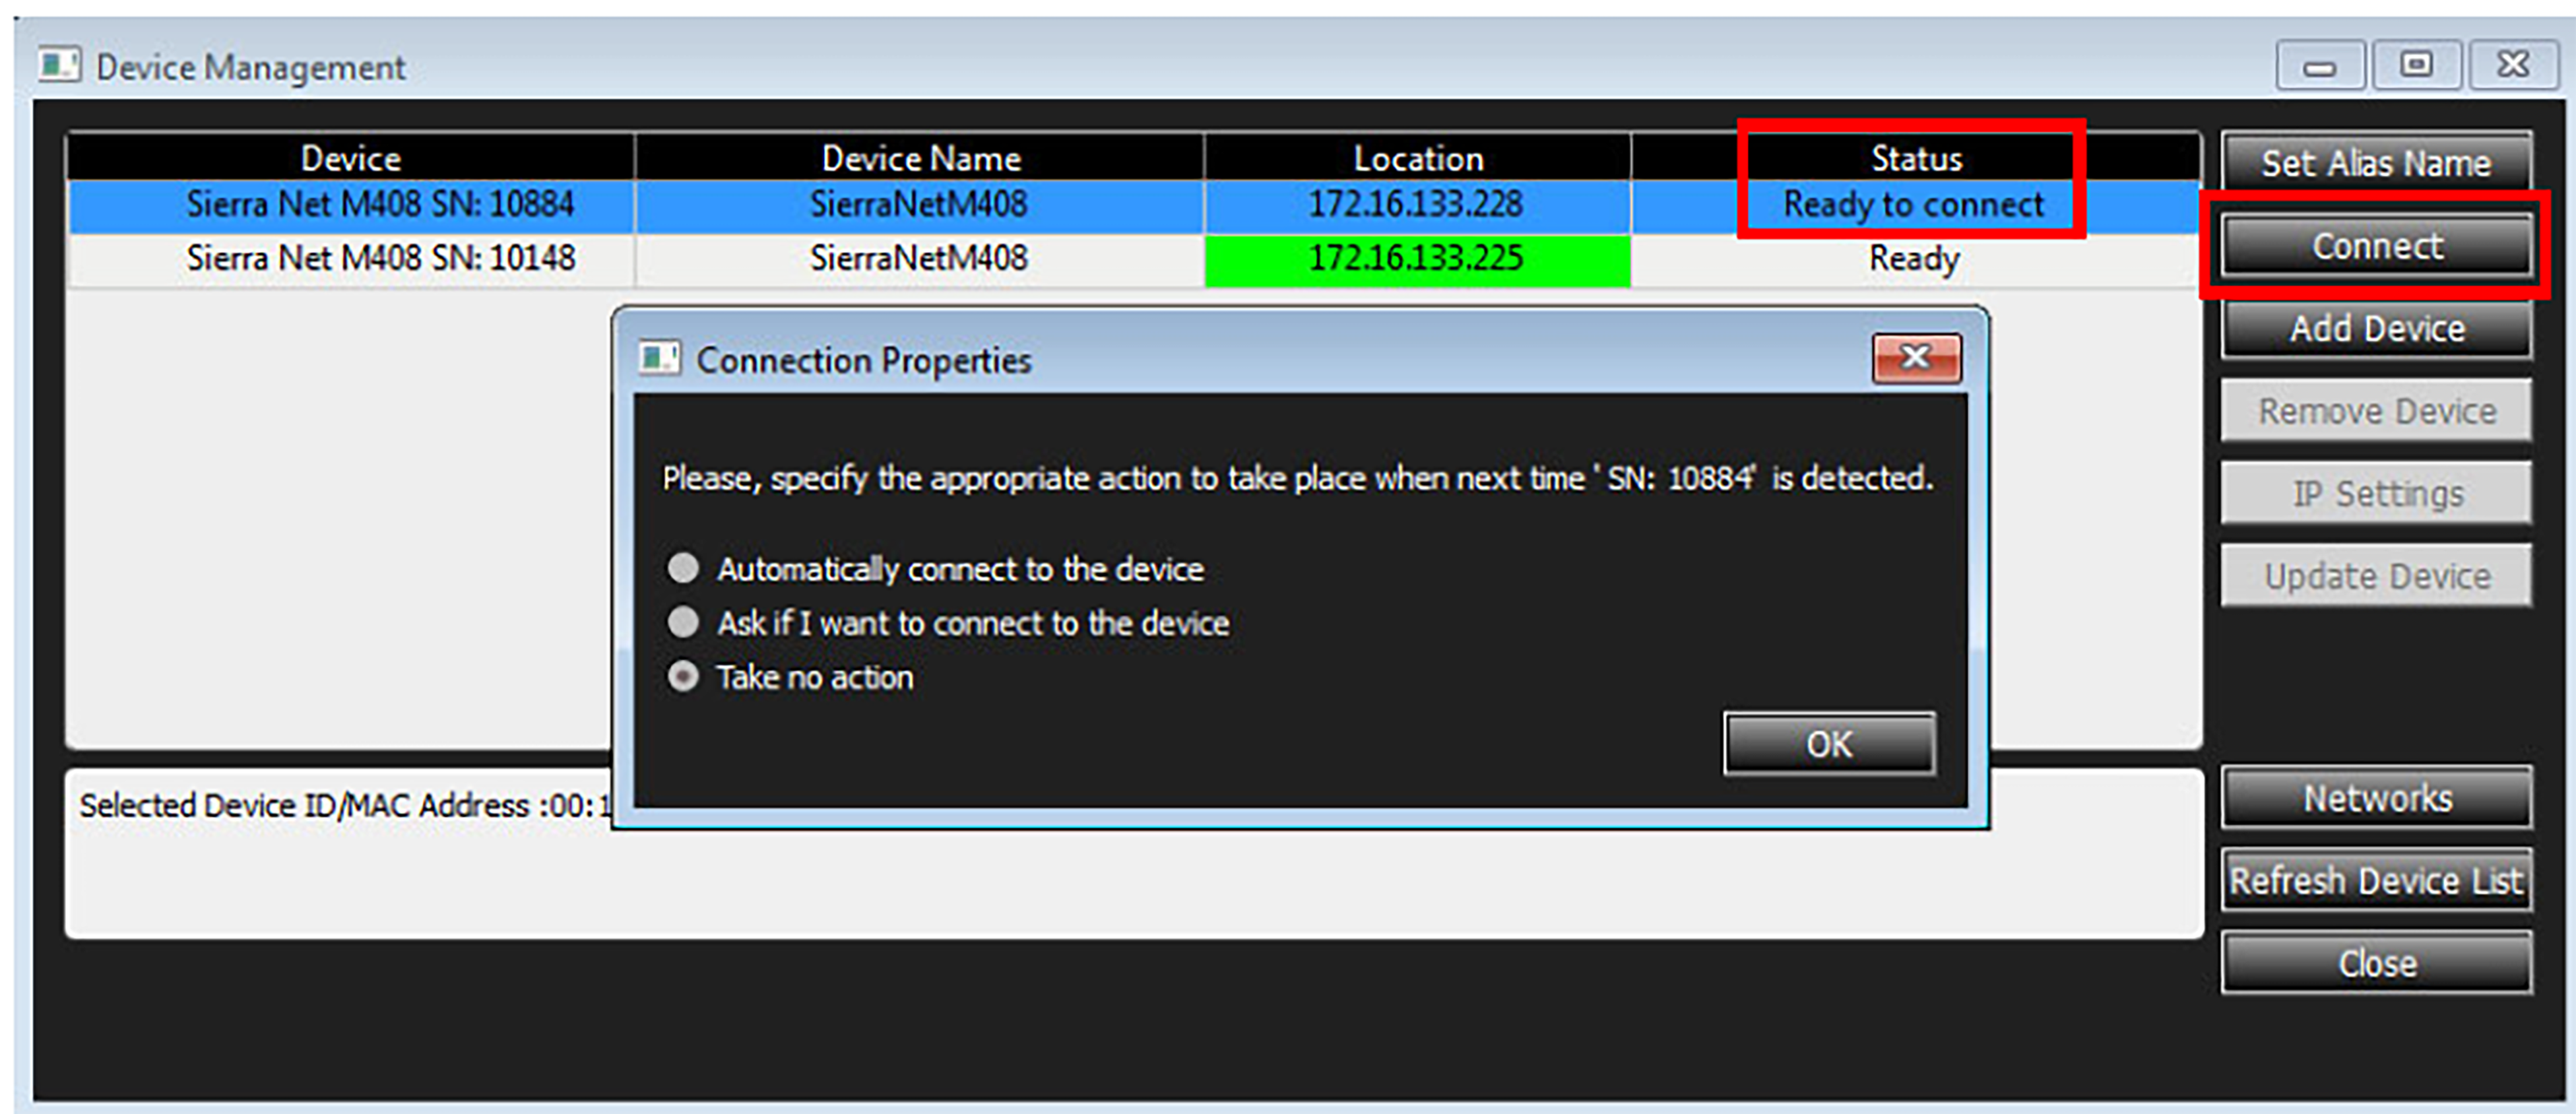
To connect to a device, select a device that is Ready to Connect and click the Connect button on the right. The Connection Properties pop-up box appears (see the following screen capture).
-
Specify an action from the following:
-
Automatically connect to the device
-
Ask if I want to connect to the device
-
Take no action
If you select Automatically connect to the device, the next time the application opens, the device will be automatically connected.
In the Device Management window, daisy-chained units are displayed in the Device column with a [ (square bracket) symbol. The sequence of units is shown in the Order column.
Note: When using the CATC Sync cards, the order is automatically detected.