SierraNet M1288, M648, T328, M328Q, and M328
You can expand the capacity of the analyzer by daisy-chaining multiple SierraNet M1288, SierraNet M648, SierraNet T328, SierraNet M328Q, and SierraNet M328 analyzers with sync ports built in, or by connecting to other Teledyne LeCroy protocol analyzers with CATC SYNC Expansion Cards installed. See expansion card installation and removal instructions below, then reference Daisy-Chaining with CATC SYNC Expansion Cards.
SierraNet M408 and SierraNet M168
You can expand the capacity of the analyzer by daisy-chaining multiple SierraNet M408 and SierraNet M168 analyzers or by connecting to other Teledyne LeCroy protocol analyzers with CATC SYNC Expansion Cards (part number ACC-EXP-002-X) installed.
Install Expansion Cards
Install expansion cards using a flat head 3/16" screwdriver.
-
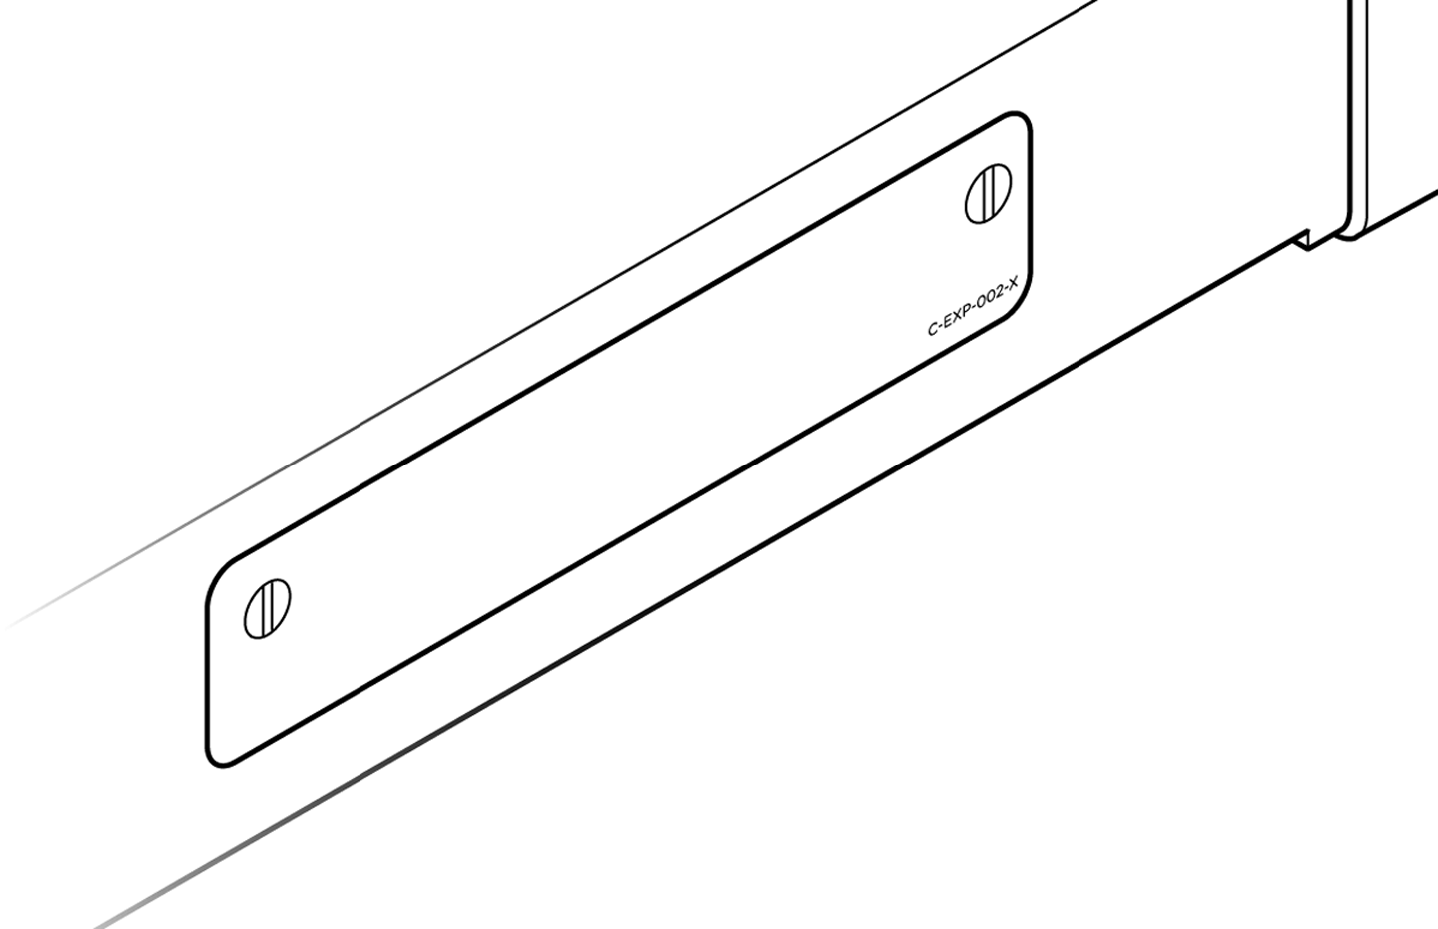
Find the blank panel on the rear of the analyzer.
-
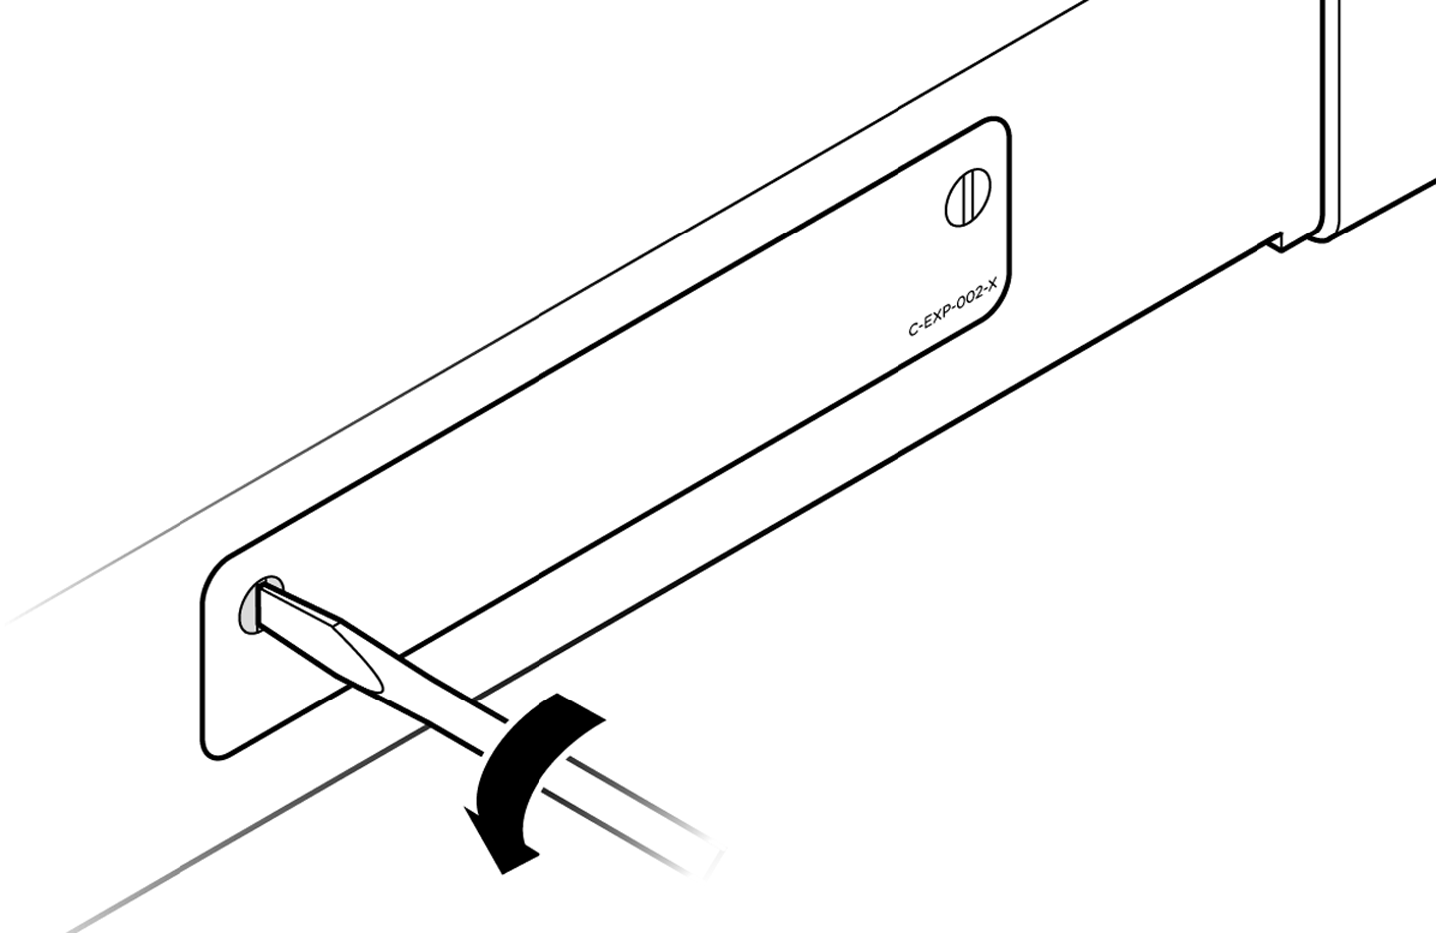
Loosen the two retaining screws.
-
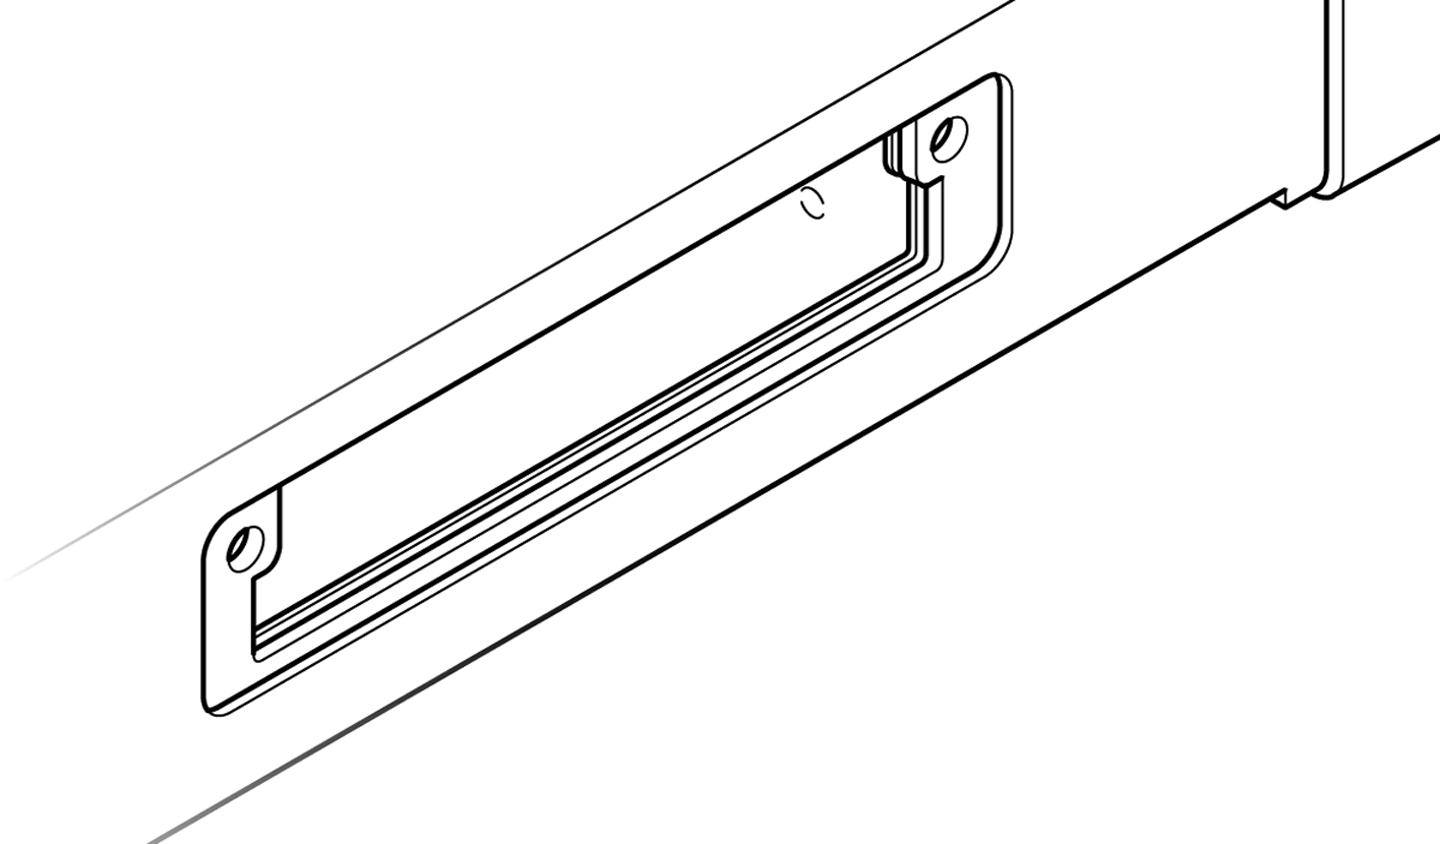
Remove the retaining screws and blank panel, exposing the inside of the analyzer.
-
Insert the CATC card into the rear of the analyzer. Gently push on the back panel of the card until you feel the card seat with the internal connector.
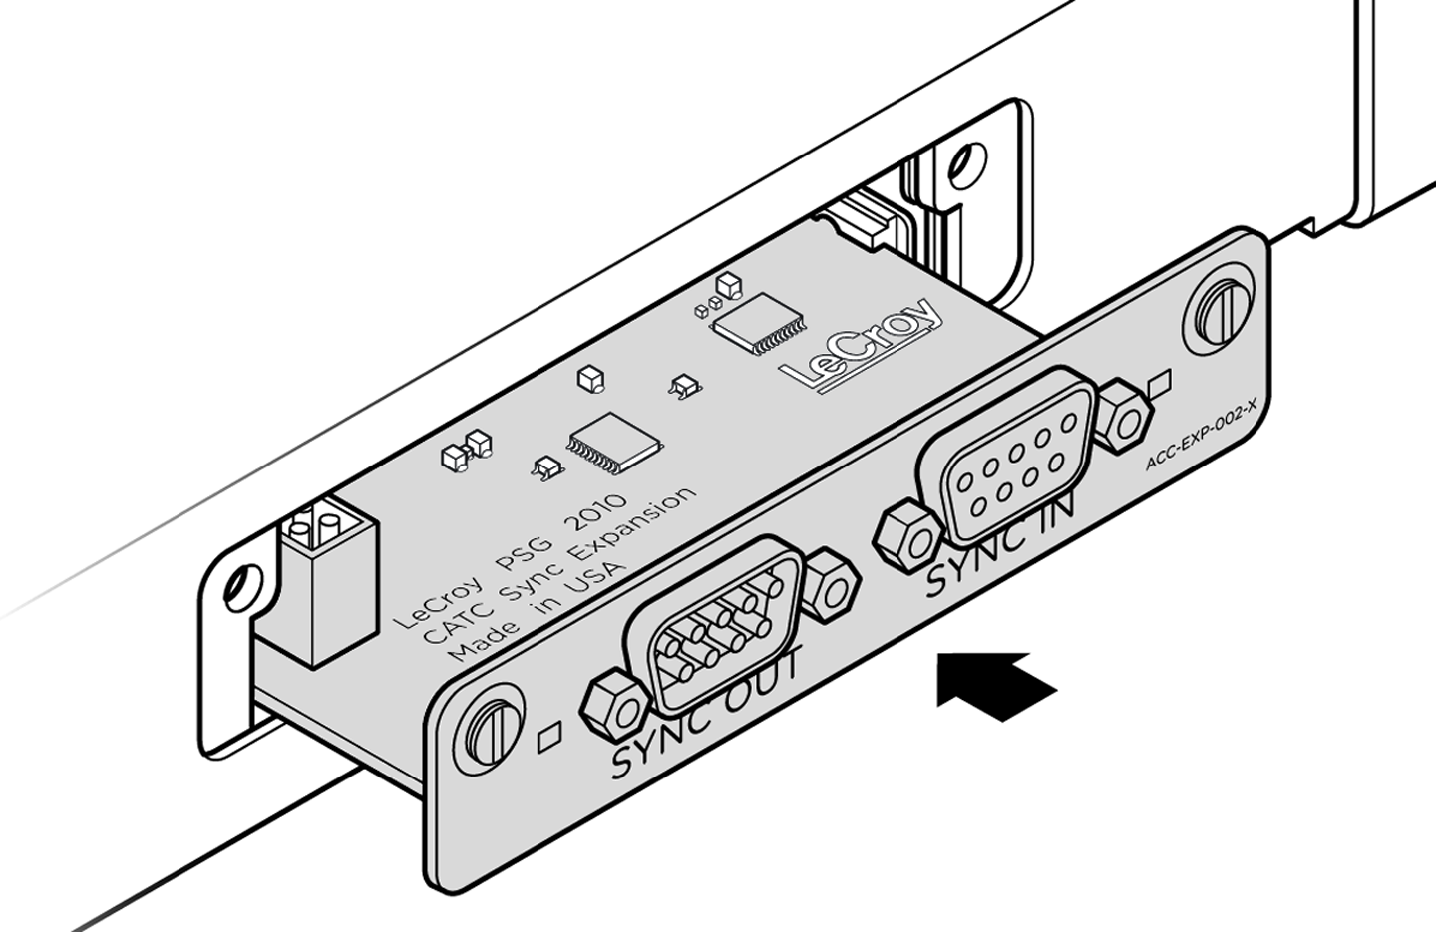
-
After the card is seated, tighten the retaining screws.
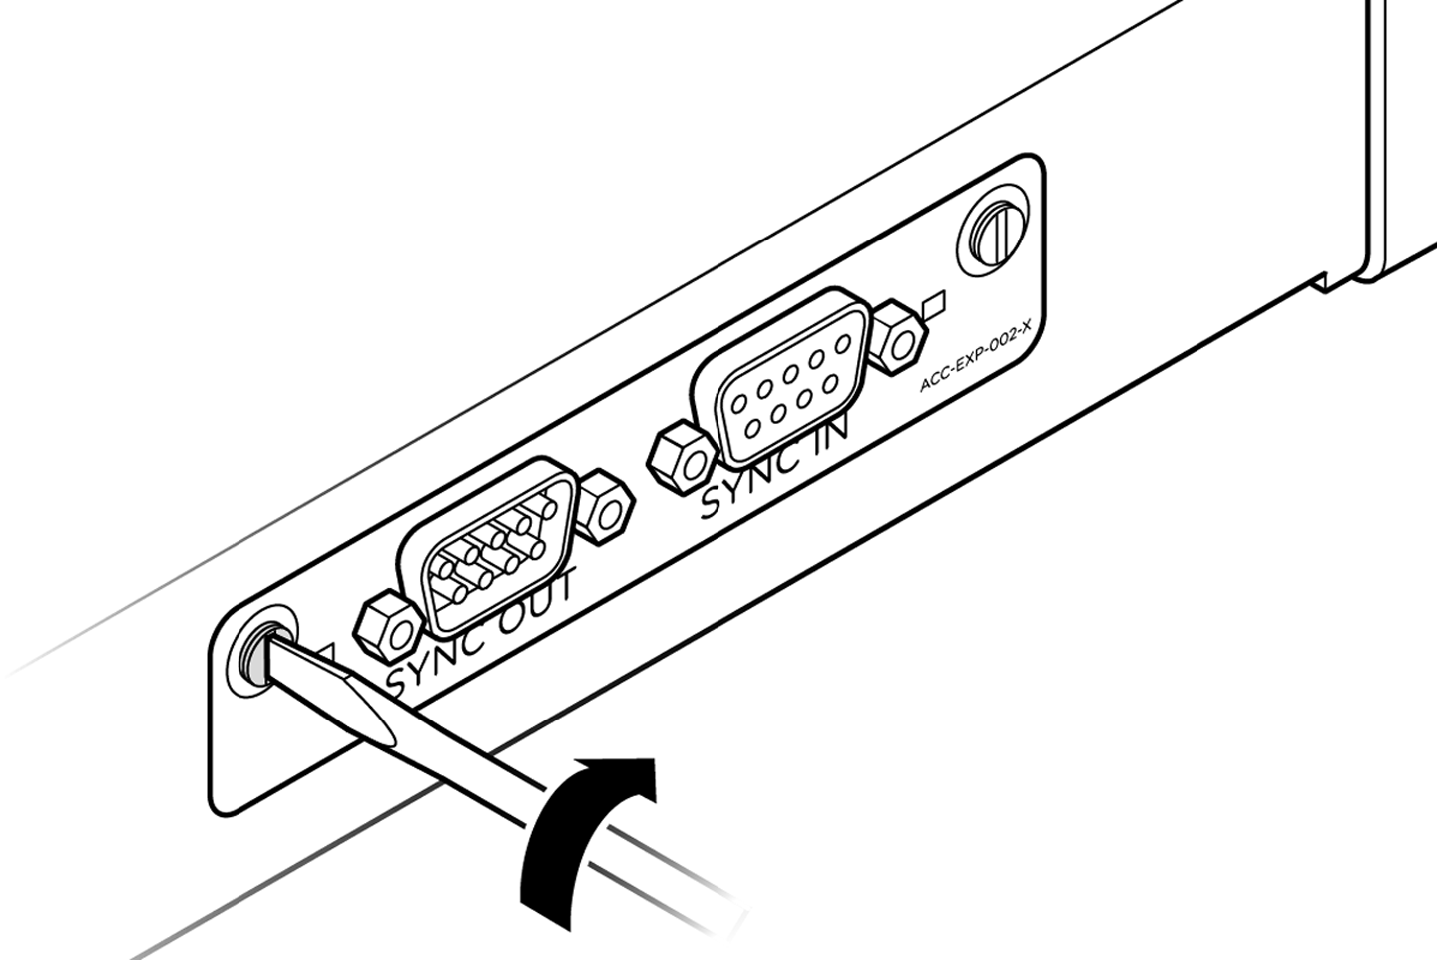
-
The CATC card can now be connected to other CATC cards in other analyzers, as described in Daisy-Chaining with CATC SYNC Expansion Cards.
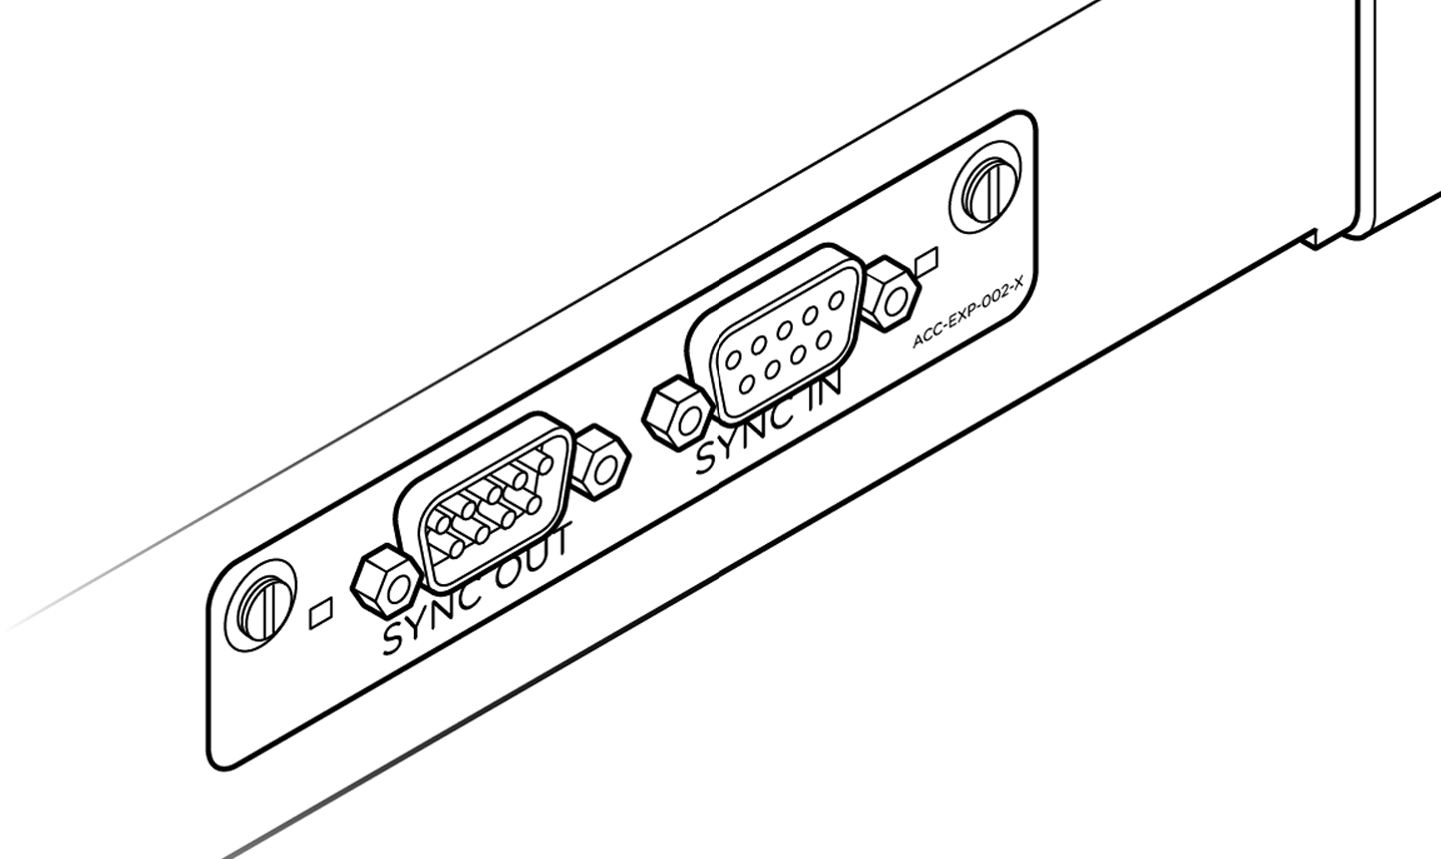
Remove Expansion Cards
You can remove expansion cards using two tools:
-
Flat head 3/16" screwdriver
-
Teledyne LeCroy Extraction Tool (part number 230-0160-00)
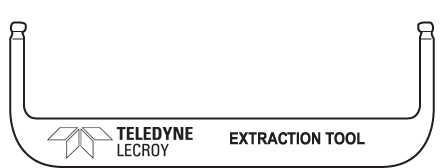
To remove an expansion card, follow these steps:
-
Unplug the system from power and turn the system so the expansion port is facing you.
-
Loosen the two retaining screws.
-
Insert the prongs of the extraction tool into the holes in the expansion card panel.
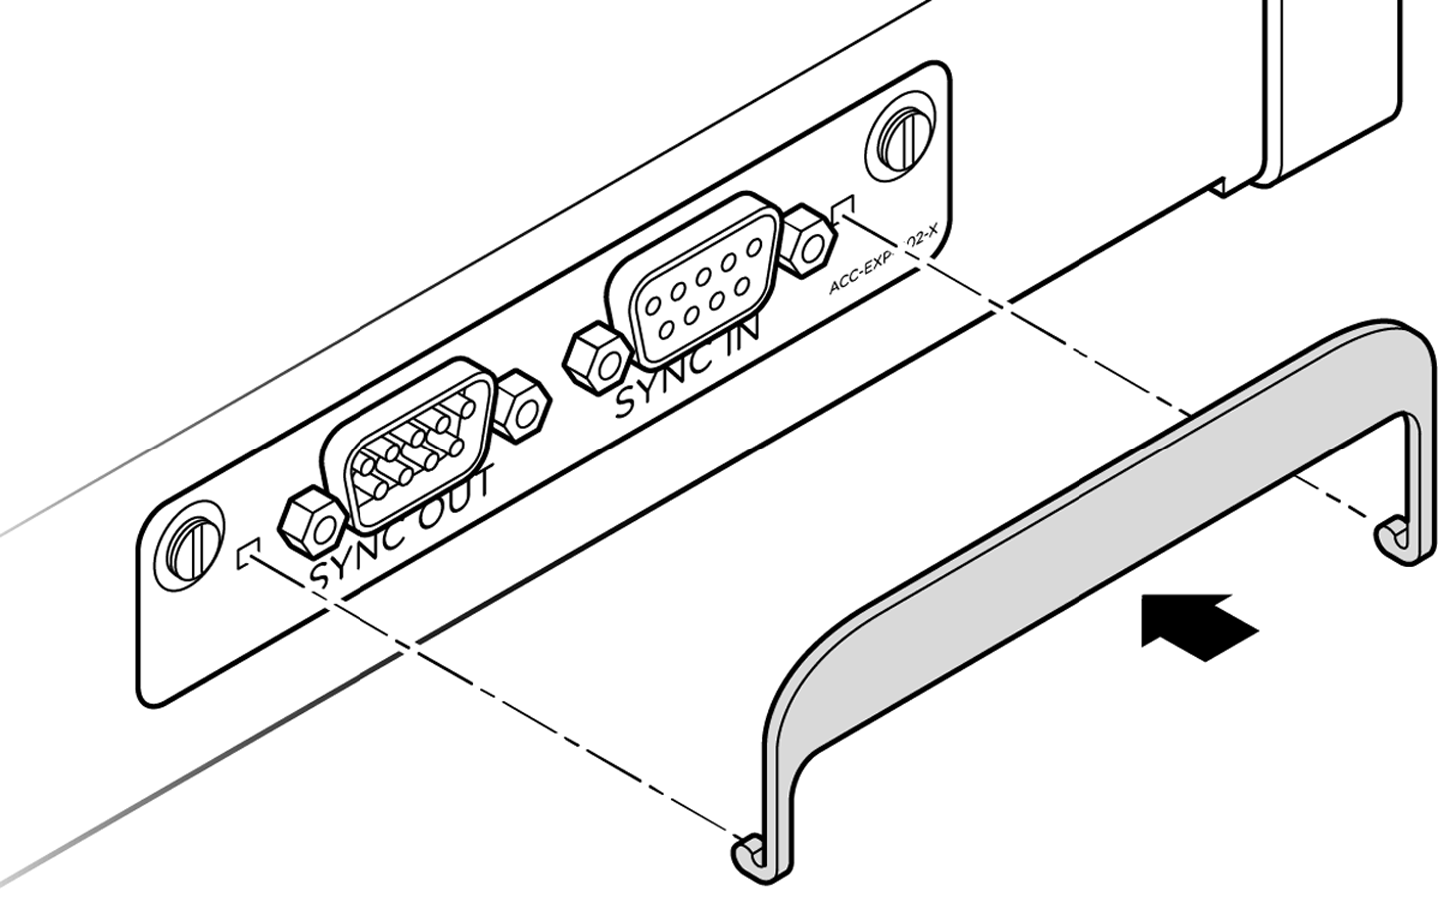
Note: If the prongs do not slip easily into the holes, use a small nail file or similar device to remove paint from the prongs.
-
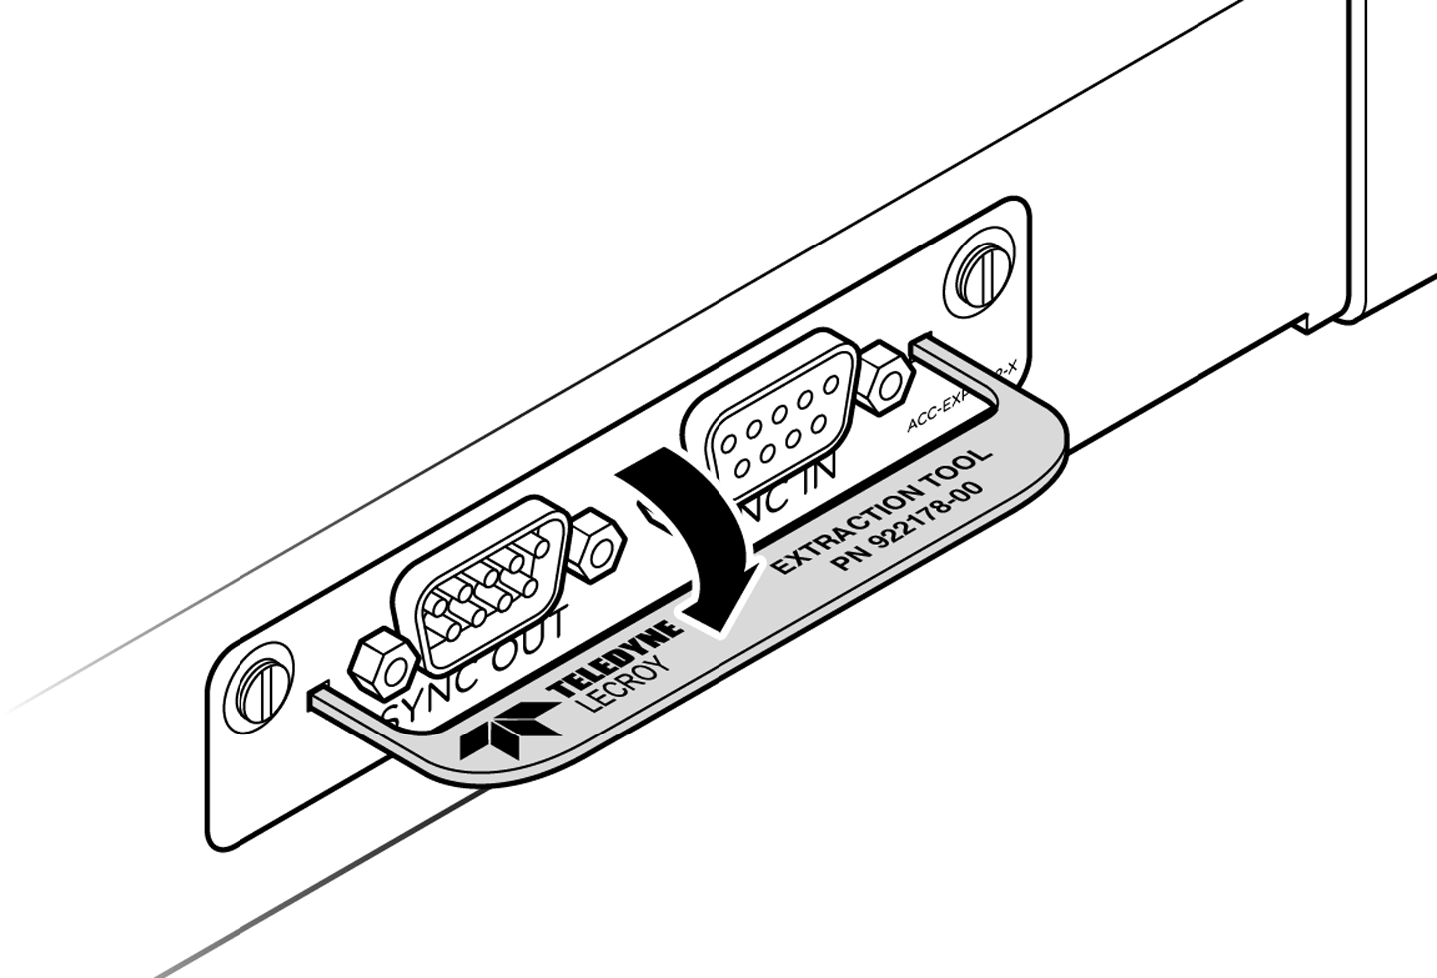
Rotate the extraction tool to a horizontal position to lock the prongs into place and make a handle.
-
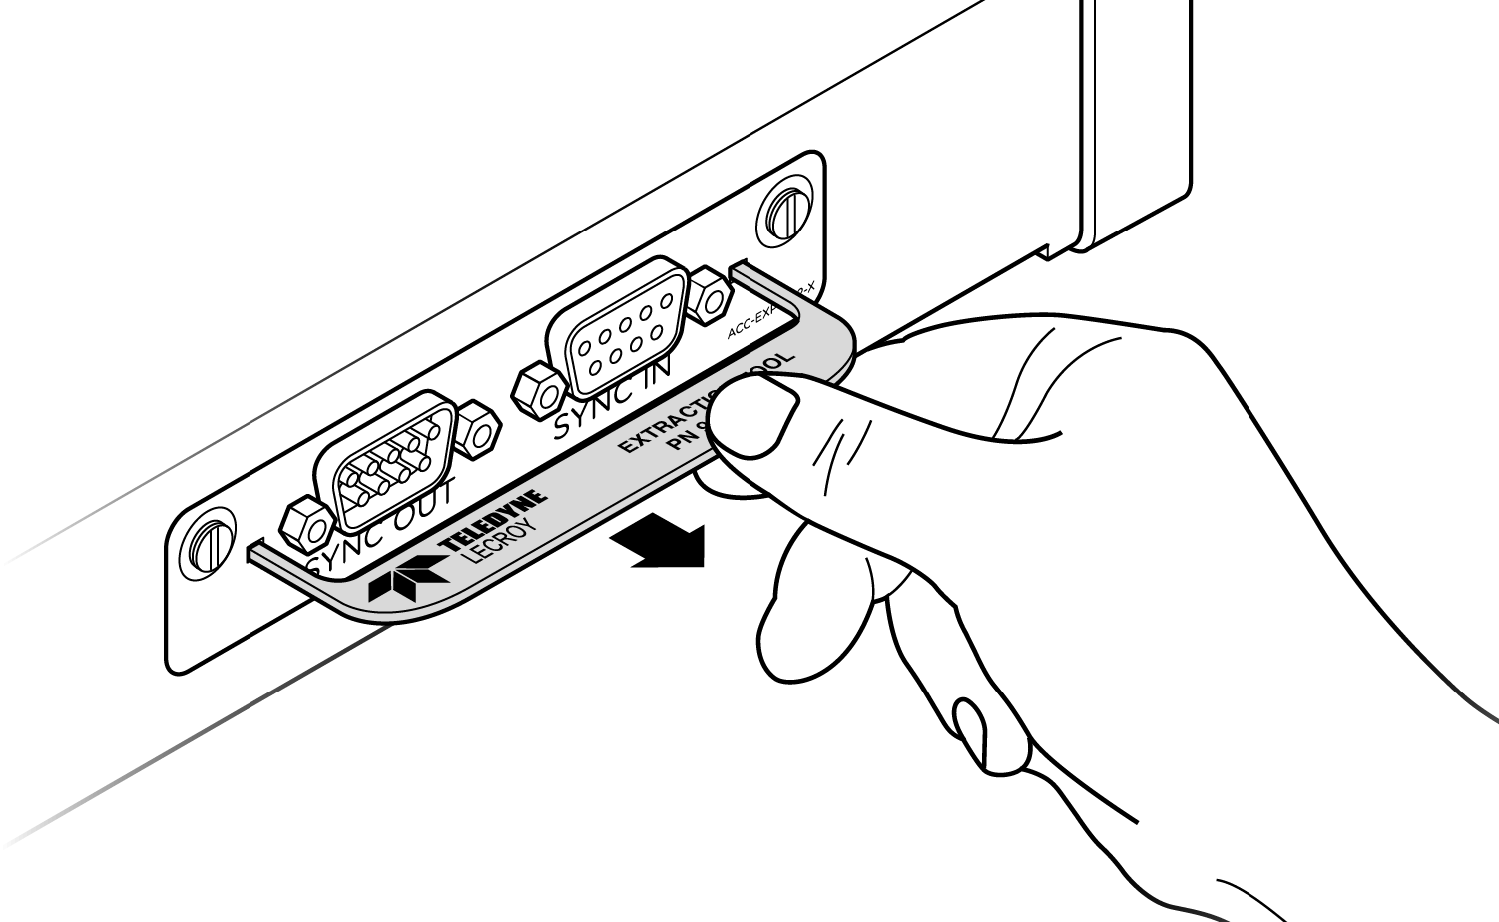
Using the extraction tool as a handle, gently wriggle the expansion card backward, about 1/8".
-
Repeat Step 5 until the card is free from the retaining screws and can be removed from the system.
-
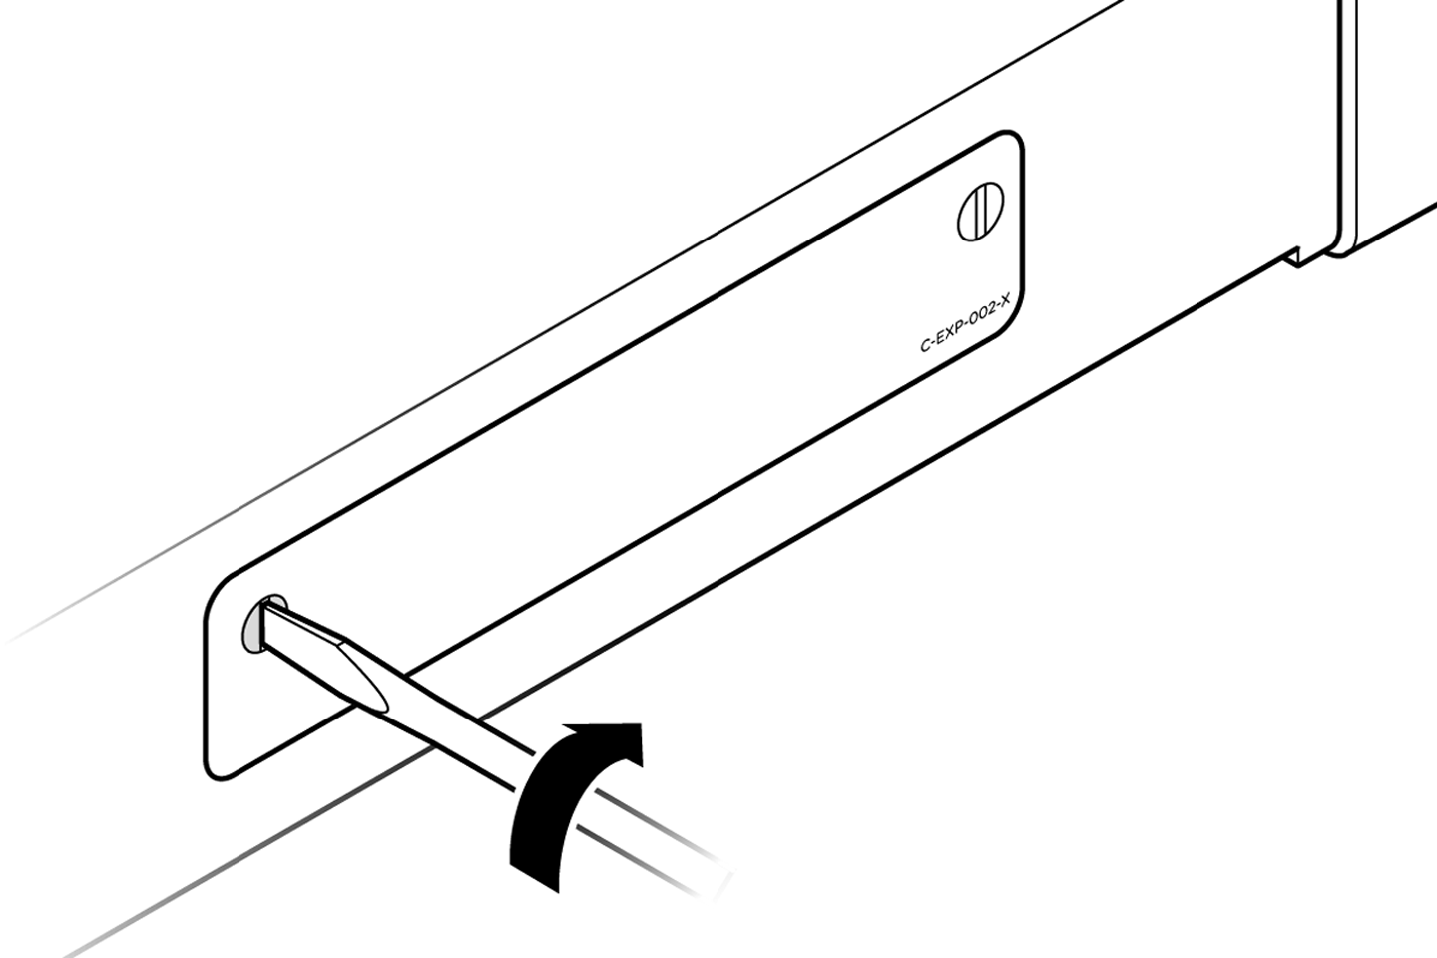
Replace the blank panel and tighten the retaining screws.
Daisy-Chaining with CATC SYNC Expansion Cards
You can daisy-chain up to eight analyzer units for higher port count by connecting the units through the optional CATC SYNC Expansion Card on the analyzer back.
Daisy-chained analyzer units will have their time-stamping, recording, and triggering functions synchronized to +/- 100ns. You can daisy-chain any combination of the following analyzers:
-
SierraNet M1288
-
SierraNet M648
-
SierraNet T328
-
SierraNet M328Q
-
SierraNet M328
-
SierraNet M408
-
SierraNet M168
Perform the following steps to connect the CATC Sync ports between two or more analyzers:
-
Stop any recordings in progress.
Note: You can insert or unplug the sync cable while the analyzer is powered on.
-
Connect the female end of the sync cable to the SYNC OUT port of one analyzer.
-
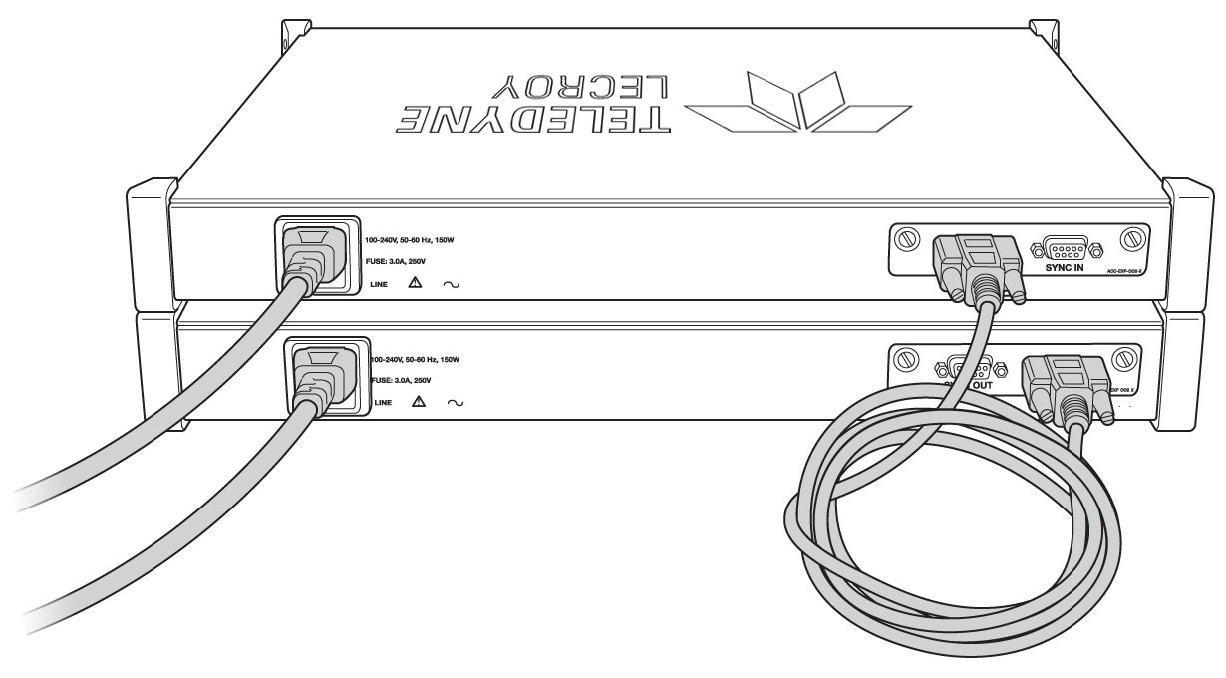
Connect the male end of the sync cable to the SYNC IN port of the other analyzer (see image below).
-
Repeat steps 2-3 to connect additional units (up to eight total) as needed.
Warning: DO NOT create a closed loop from the last unit back to the first unit.