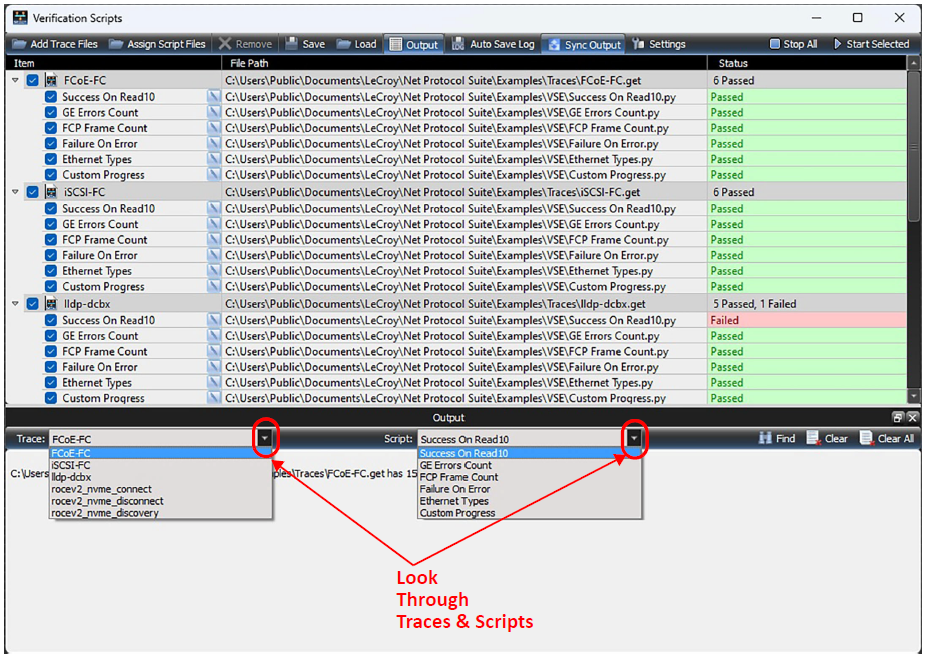
The Verification Script Engine allows you to select from available Traces and execute verification Scripts on them. See the Net Protocol Suite Verification Scripting Engine (VSE) API Reference Manual for additional information. (Click Help > Help Topics in the application main toolbar.)
To access the Verification Script Engine, go to Analysis > Verification Script from the Main Menu. The Verification Scripts main window displays.
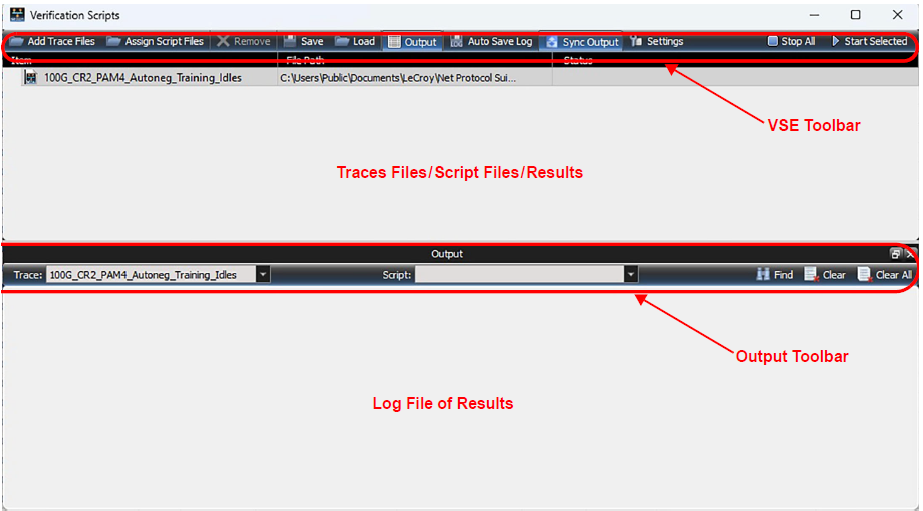
Verification Scripts Main Window
Verification Scripts Toolbar
You can use the traces and scripts that ship with the software or take your own traces and write your own scripts.

|
Button/Icon |
Description |
|
|
Add Trace Files: Select Examples from C:\Users\Public\Documents\LeCroy\Net Protocol Suite\Examples\Traces |
|
|
Assign Script Files: Select from example scripts in C:\Users\Public\Documents\LeCroy\Net Protocol Suite\Examples\VSE |

|
Remove: Allows you to selectively remove traces or scripts |

|
Save: Allows you to Save a set of Scripts and Traces |

|
Load: Allows you to Load a set of Scripts and Traces |

|
Output: Show or Hide Output Log file |

|
Auto Save Log: Enable/Disable Auto Save Log |

|
Sync Output: When enabled, selecting any script in the script list causes output windows to sync with that script. |

|
Settings: Change VSE Settings. Use this to change the Display, designate Save settings, and enter the path to a preferred editor. |

|
Stop All: Stop all Scripts in progress |

|
Start Selected: Start all Selected Scripts |


Output Pane Toolbar
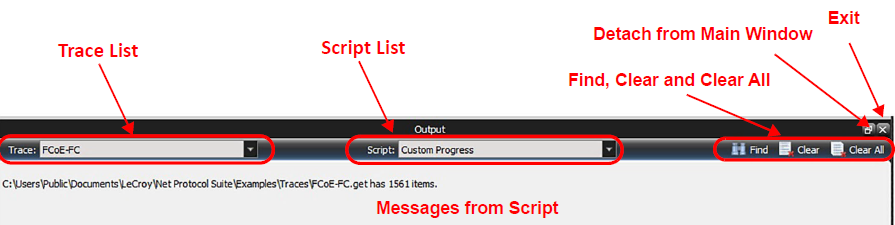
The Output Pane shows the results of running each script, with any messages and descriptions that are included in the script.
|
Button/Icon |
Description |

|
Trace: Displays a list of the output of the traces attached to the selected scripts. You can scroll thought the list. See Verification Engine Completed. |
|
Script: Displays a list of the selected scripts and their output. You can scroll thought the list. See Verification Engine Completed. |
|
|
Find: Allows you to search through Trace and Script Output. 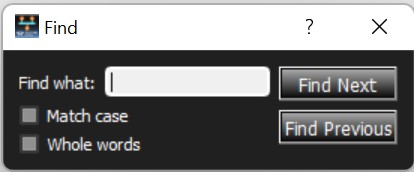
|

|
Clear: Clears the selected output. |
|
Clear All: Clears all output. |
Setting up the Trace Analysis
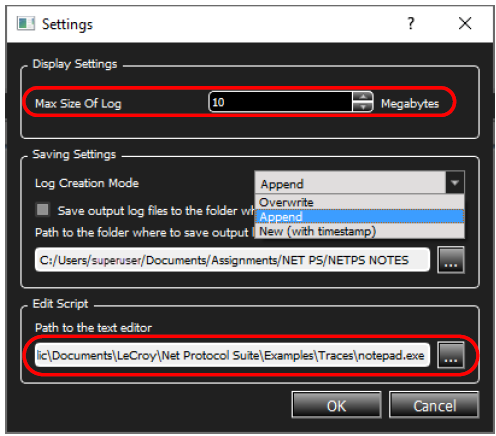
The Verification Script Settings dialog window allows you to specify Display Settings, where and how to save the Log, and specify a preferred Script editor.
Click 
-
Display Settings. Use the up/down arrows to set the maximum size of the log file in megabytes.
-
Saving Settings. You can set the following for the output file:
-
Log Creation Mode—You can choose whether to Append, Overwrite, or create a New (with timestamp) the output file.
-
Select the Path to the folder where you wish to save the output files.
-
Note: You must enter a path to a valid directory.
-
Edit Script. Use this to specify a preferred text editor. You can enter the path, or you can click

Loading Traces
To get started, you can choose any (or all) or the Example Traces that ship with the software (C:\Users\Public\Documents\LeCroy\Net Protocol Suite\Examples\Traces).
-
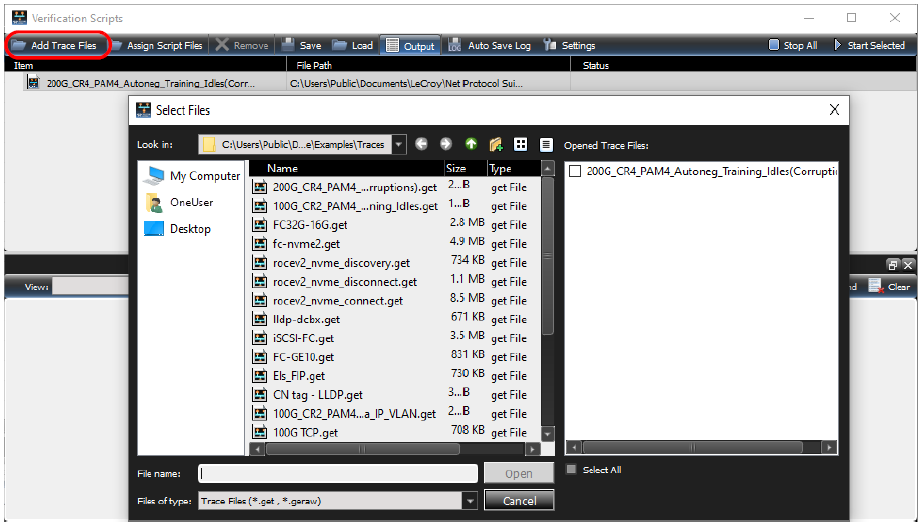
Click on Add Trace Files in the toolbar. A window containing Trace files appears. If you have already opened a Trace file(s), it will appear in the right pane.
Note: You can also drag Trace files directly from Windows Explorer to the VSE pane.
-
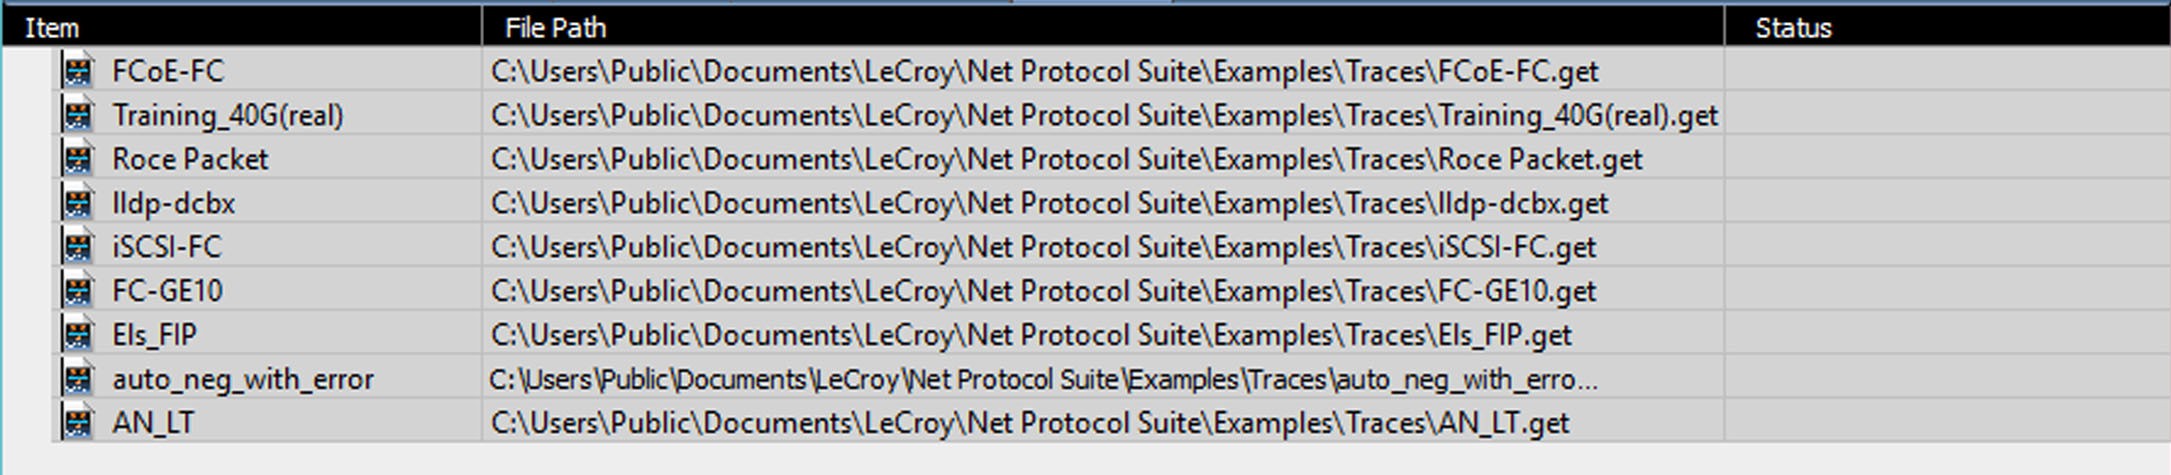
Select from one to all files. If you select all of the example traces, they will populate the middle column of the Verification Scripts window with the path to their location.
Loading Scripts
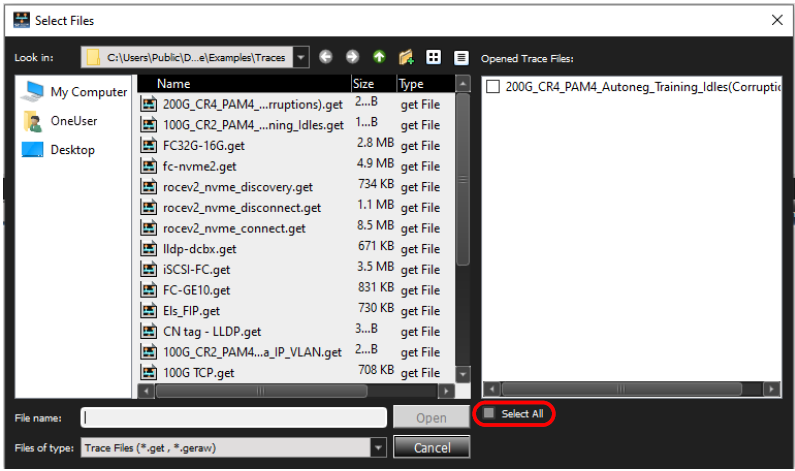
The next step is to load Test Scripts to run with the loaded Traces. A set of example Scripts, which ship with the software, is located in the C:\Users\Public\Documents\LeCroy\Net Protocol Suite\Examples\VSE folder.
-
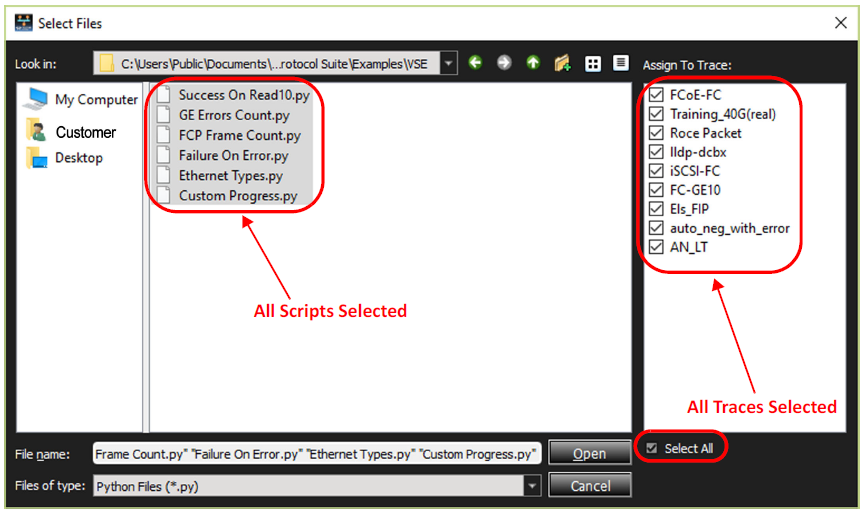
Select a specific Script to be run on a specific Trace or check the box for Select All. If you choose Select All, the selected scripts will be run on all of the assigned traces.
-
Click Open. The Main Verification Script Window is populated with the selected Traces and Scripts. The middle column (File Path) shows the path to either the Trace or the Script.
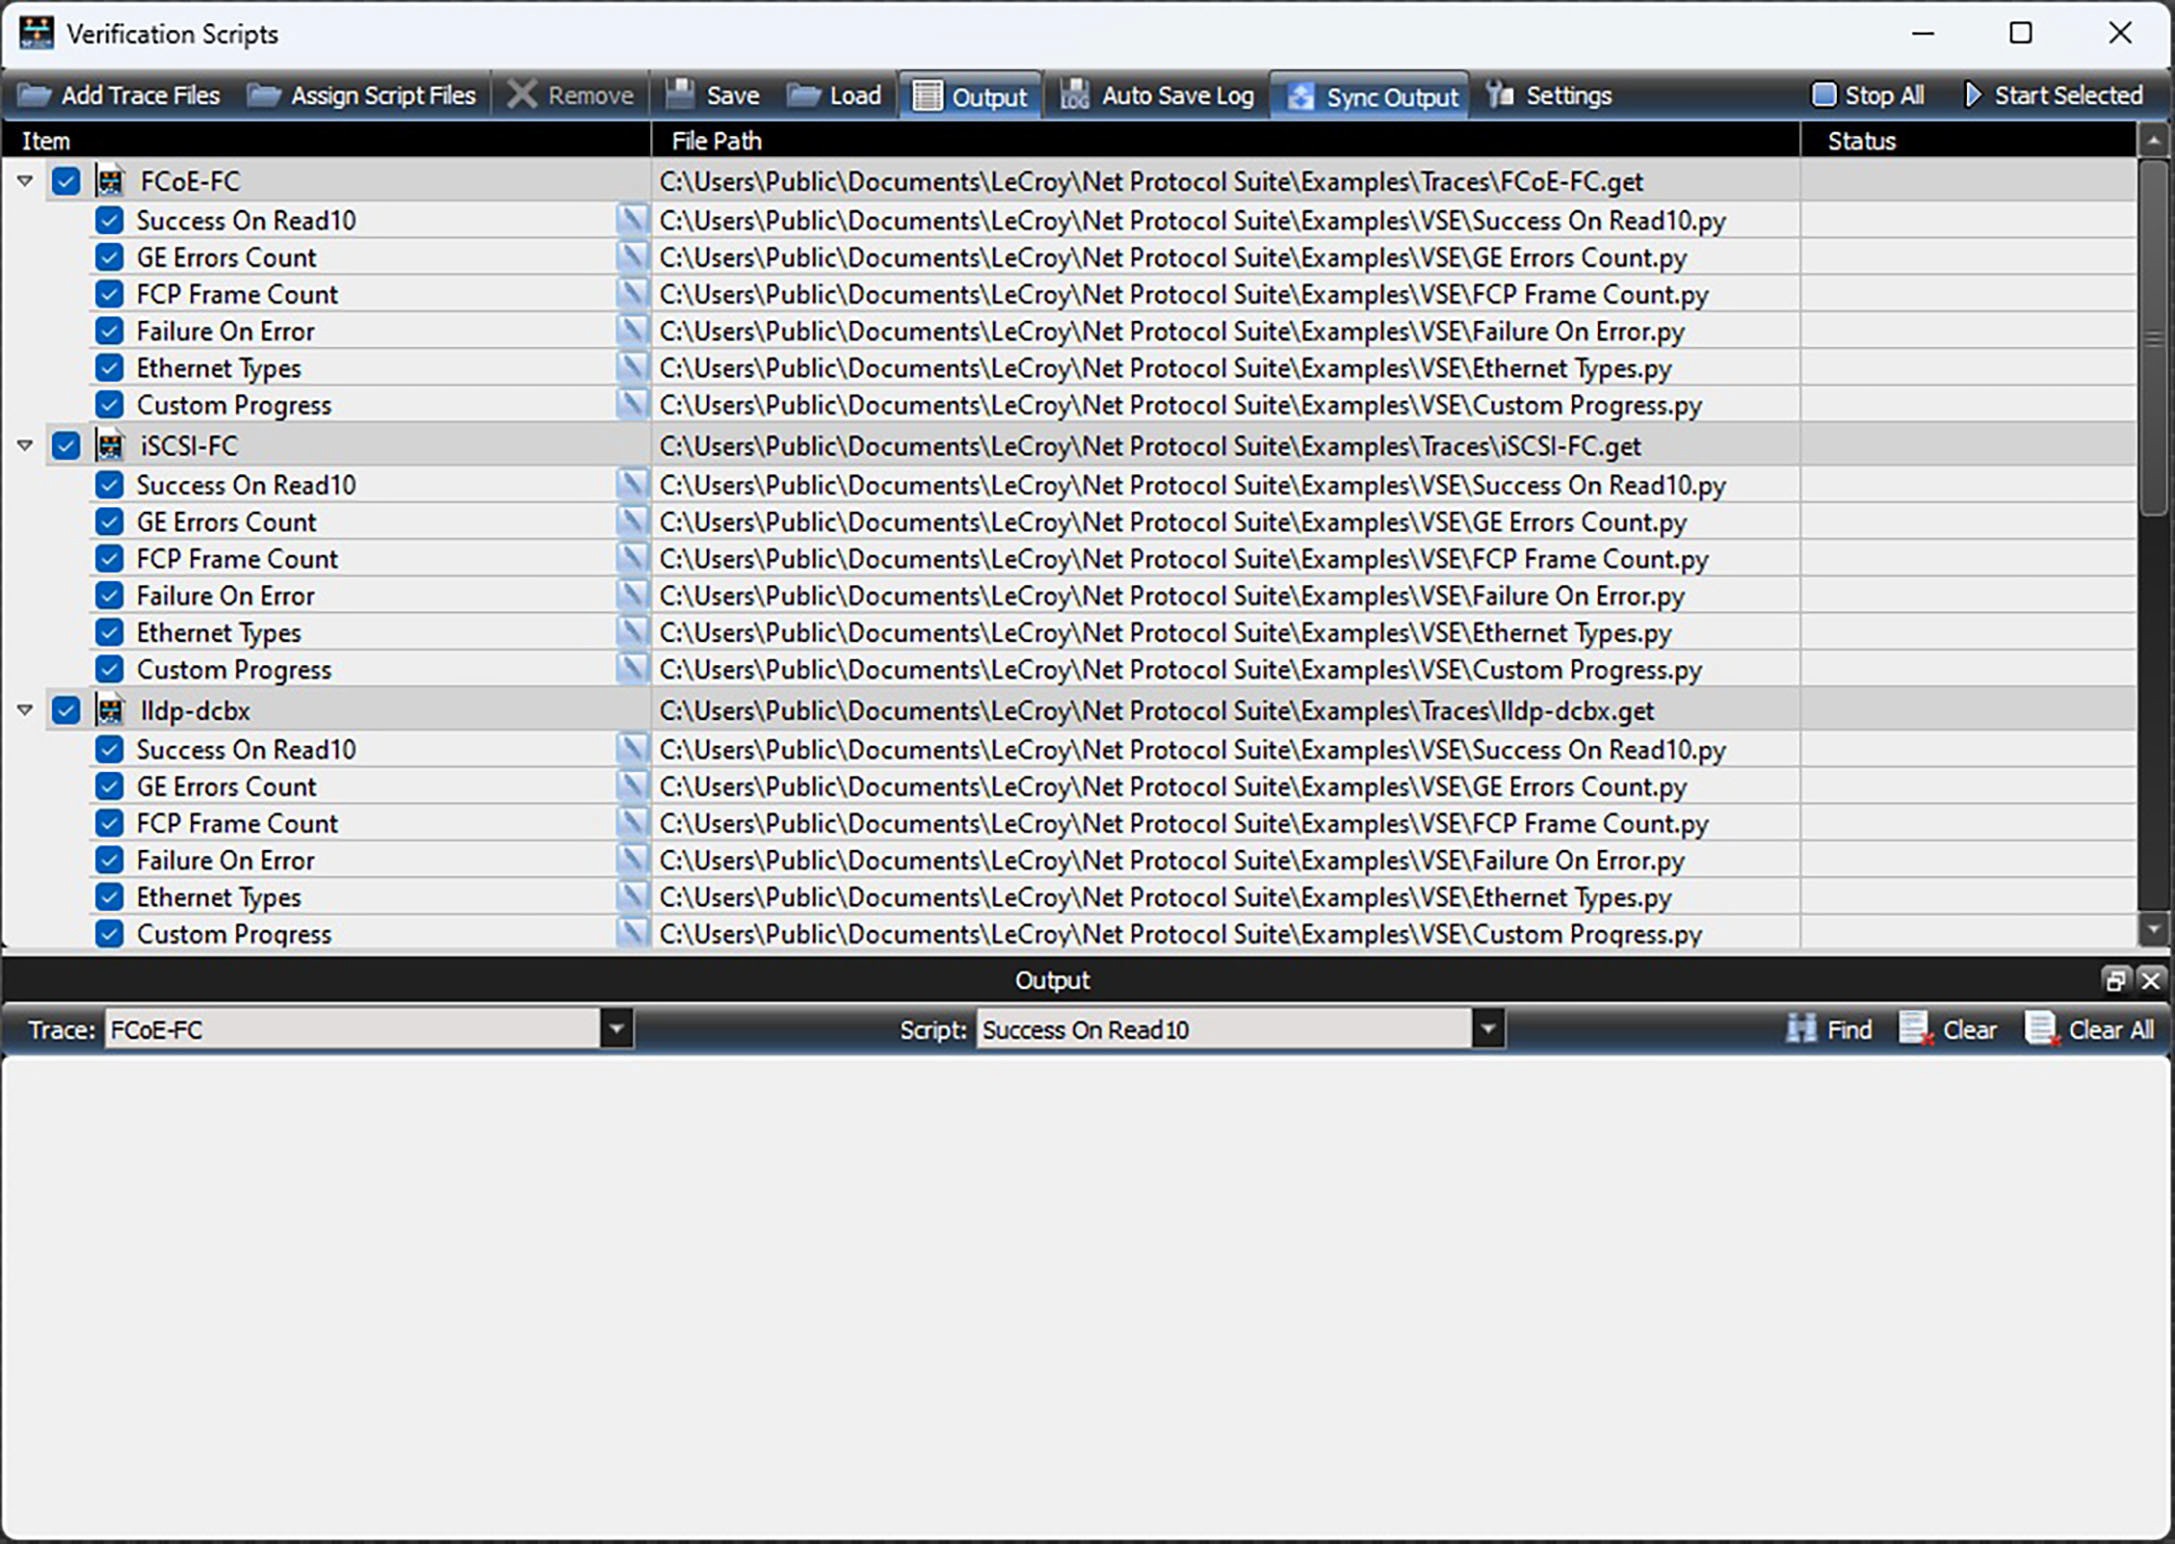
Trace Context Menu
Hover the cursor over a Trace and perform a right-click. This brings up the Trace Context Menu. From the Context Menu you can:
-
Remove Trace
-
Assign Script
-
Start the Script running on the Trace
-
Stop the Script
-
Open the Containing Folder
-
Copy Full Path See
Script Context Menu
Hover the cursor over a Script and perform a right-click. This brings up the Script Context Menu . From the Script Context Menu you can:
-
Remove Script
-
Show Log
-
Start the Script running on the Trace
-
Stop the Script
-
Open the Containing Folder
-
Copy the Full Path
Status Pane
The Status pane shows the current status when the script has been started (see below). The Status states are:
-
Idle
-
Enqueued
-
Running
-
Passed
-
Failed
Start Selected
When Start Selected is clicked, all of the selected scripts will start running in parallel. For each Trace, the scripts attached to it will be run sequentially.
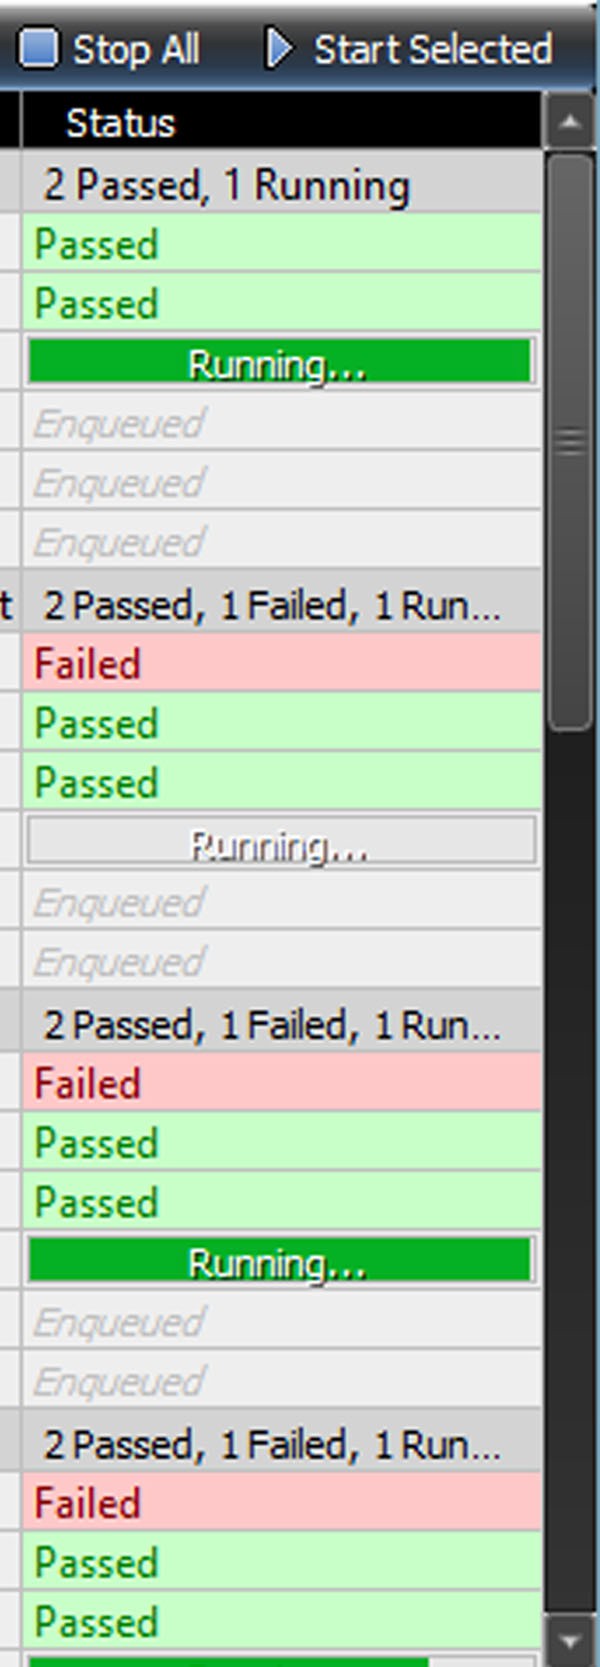
Verification Engine In Process
In this case, all the scripts have been assigned to all the traces, so when you click Start Selected you’ll see the Output Window and the Status pane start to populate with results.
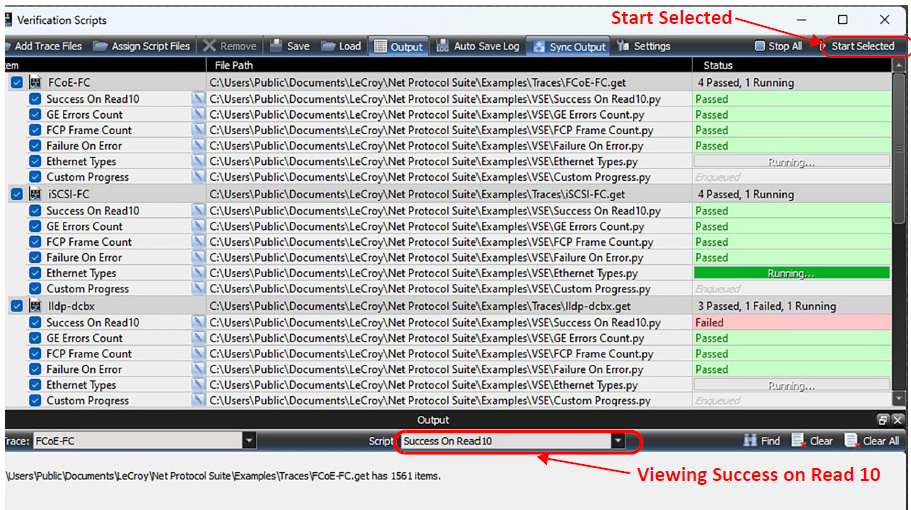
Verification Engine Completed
If you wait for all the scripts to finish on all the traces, you can scroll through the Output from each Script attached to each Trace.