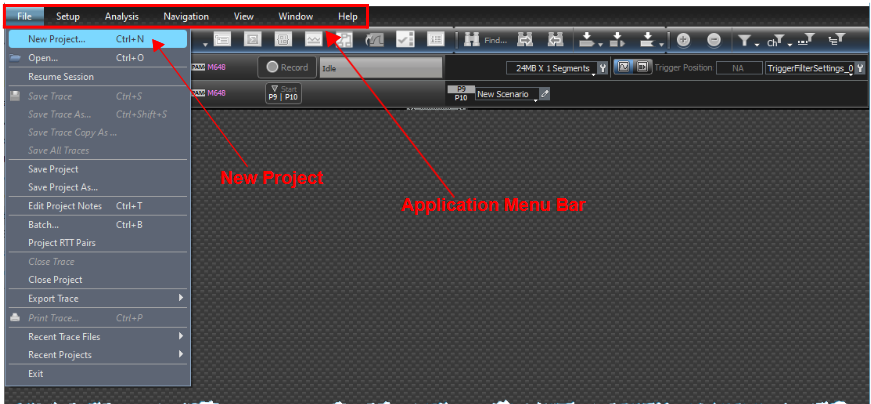
You can create a new project from the Application Menu Bar or you can click the Hide Menu bar icon 
Note: Click Alt to toggle between showing/hiding the Application menu bar. If all toolbars and icons have been hidden, clicking Alt will bring up the Application menu bar.
Add a Device to a Project
To add a device to a project, do the following:
-
If you have not already done so, launch Teledyne LeCroy Net Protocol Suite.
-
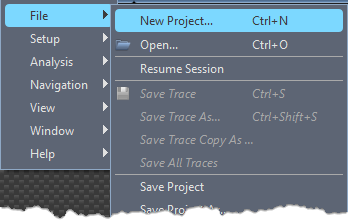
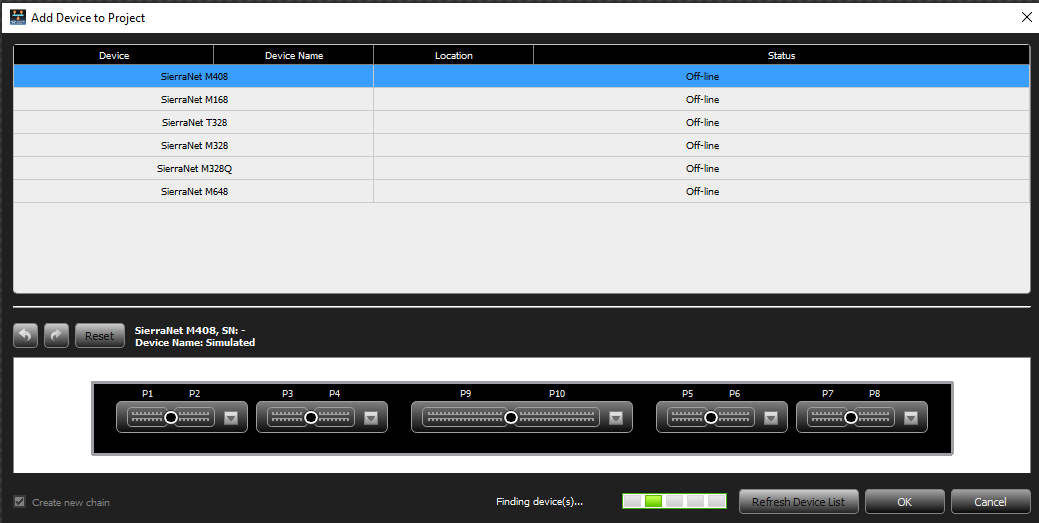
Select File > New Project. The Add Device to Project dialog window opens.
Note: Click Refresh Device List to display all devices on the on the local Ethernet subnet and devices connected with USB cable. This mighttake a few seconds.
All analyzers on the network and their status, by color, are displayed (see below). The colors in the Status column have the following meanings:
-
Red: Device is not updated (firmware or one of bus engines is not updated).
-
Light Blue: Ready to connect.
-
Yellow: Device is manually added, but it is not connected; OR the device is locked.
-
Green: Connected.
-
Select a device with “Ready to connect” status (light blue). The ports available to the selected device appear in the bottom pane of the dialog window.
Port Configuration
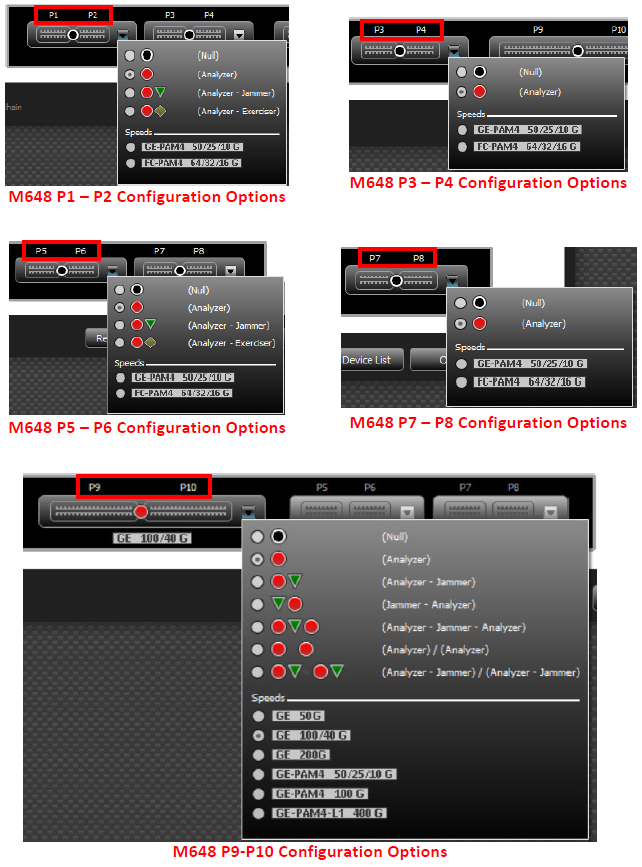
Click the down arrow of the port group you need to configure and select the appropriate Function.
-
You can select a Function from the Analyzer, Jammer or Exerciser, as well as the protocols and speeds you want to work with, by selecting the port pair combinations.
-
Depending on the protocol and speeds you selected, additional ports and Func-tions may or may not be available.
-
Unavailable Ports are grayed out; unavailable Functions are not shown.
-
Null Ports are black. A link will not be established and traffic will not flow through the Port.
See examples of Configuration options and resulting Port Configurations in the images below.
Note: The device must be configured before it can be added to a project.