
After you open an existing generation script file or create a new text scenario in the Script Editor, use the following steps to edit or build a script. The Script Editor utility has several aids to simplify the process of writing and editing scripts: tooltips, drop-down menus, and colored fields.
There are three script editors:
-
USB3: New Text Generation Scenario
-
PD: New PD Text Generation Scenario
-
USB4: New USB4 Text Generation Scenario
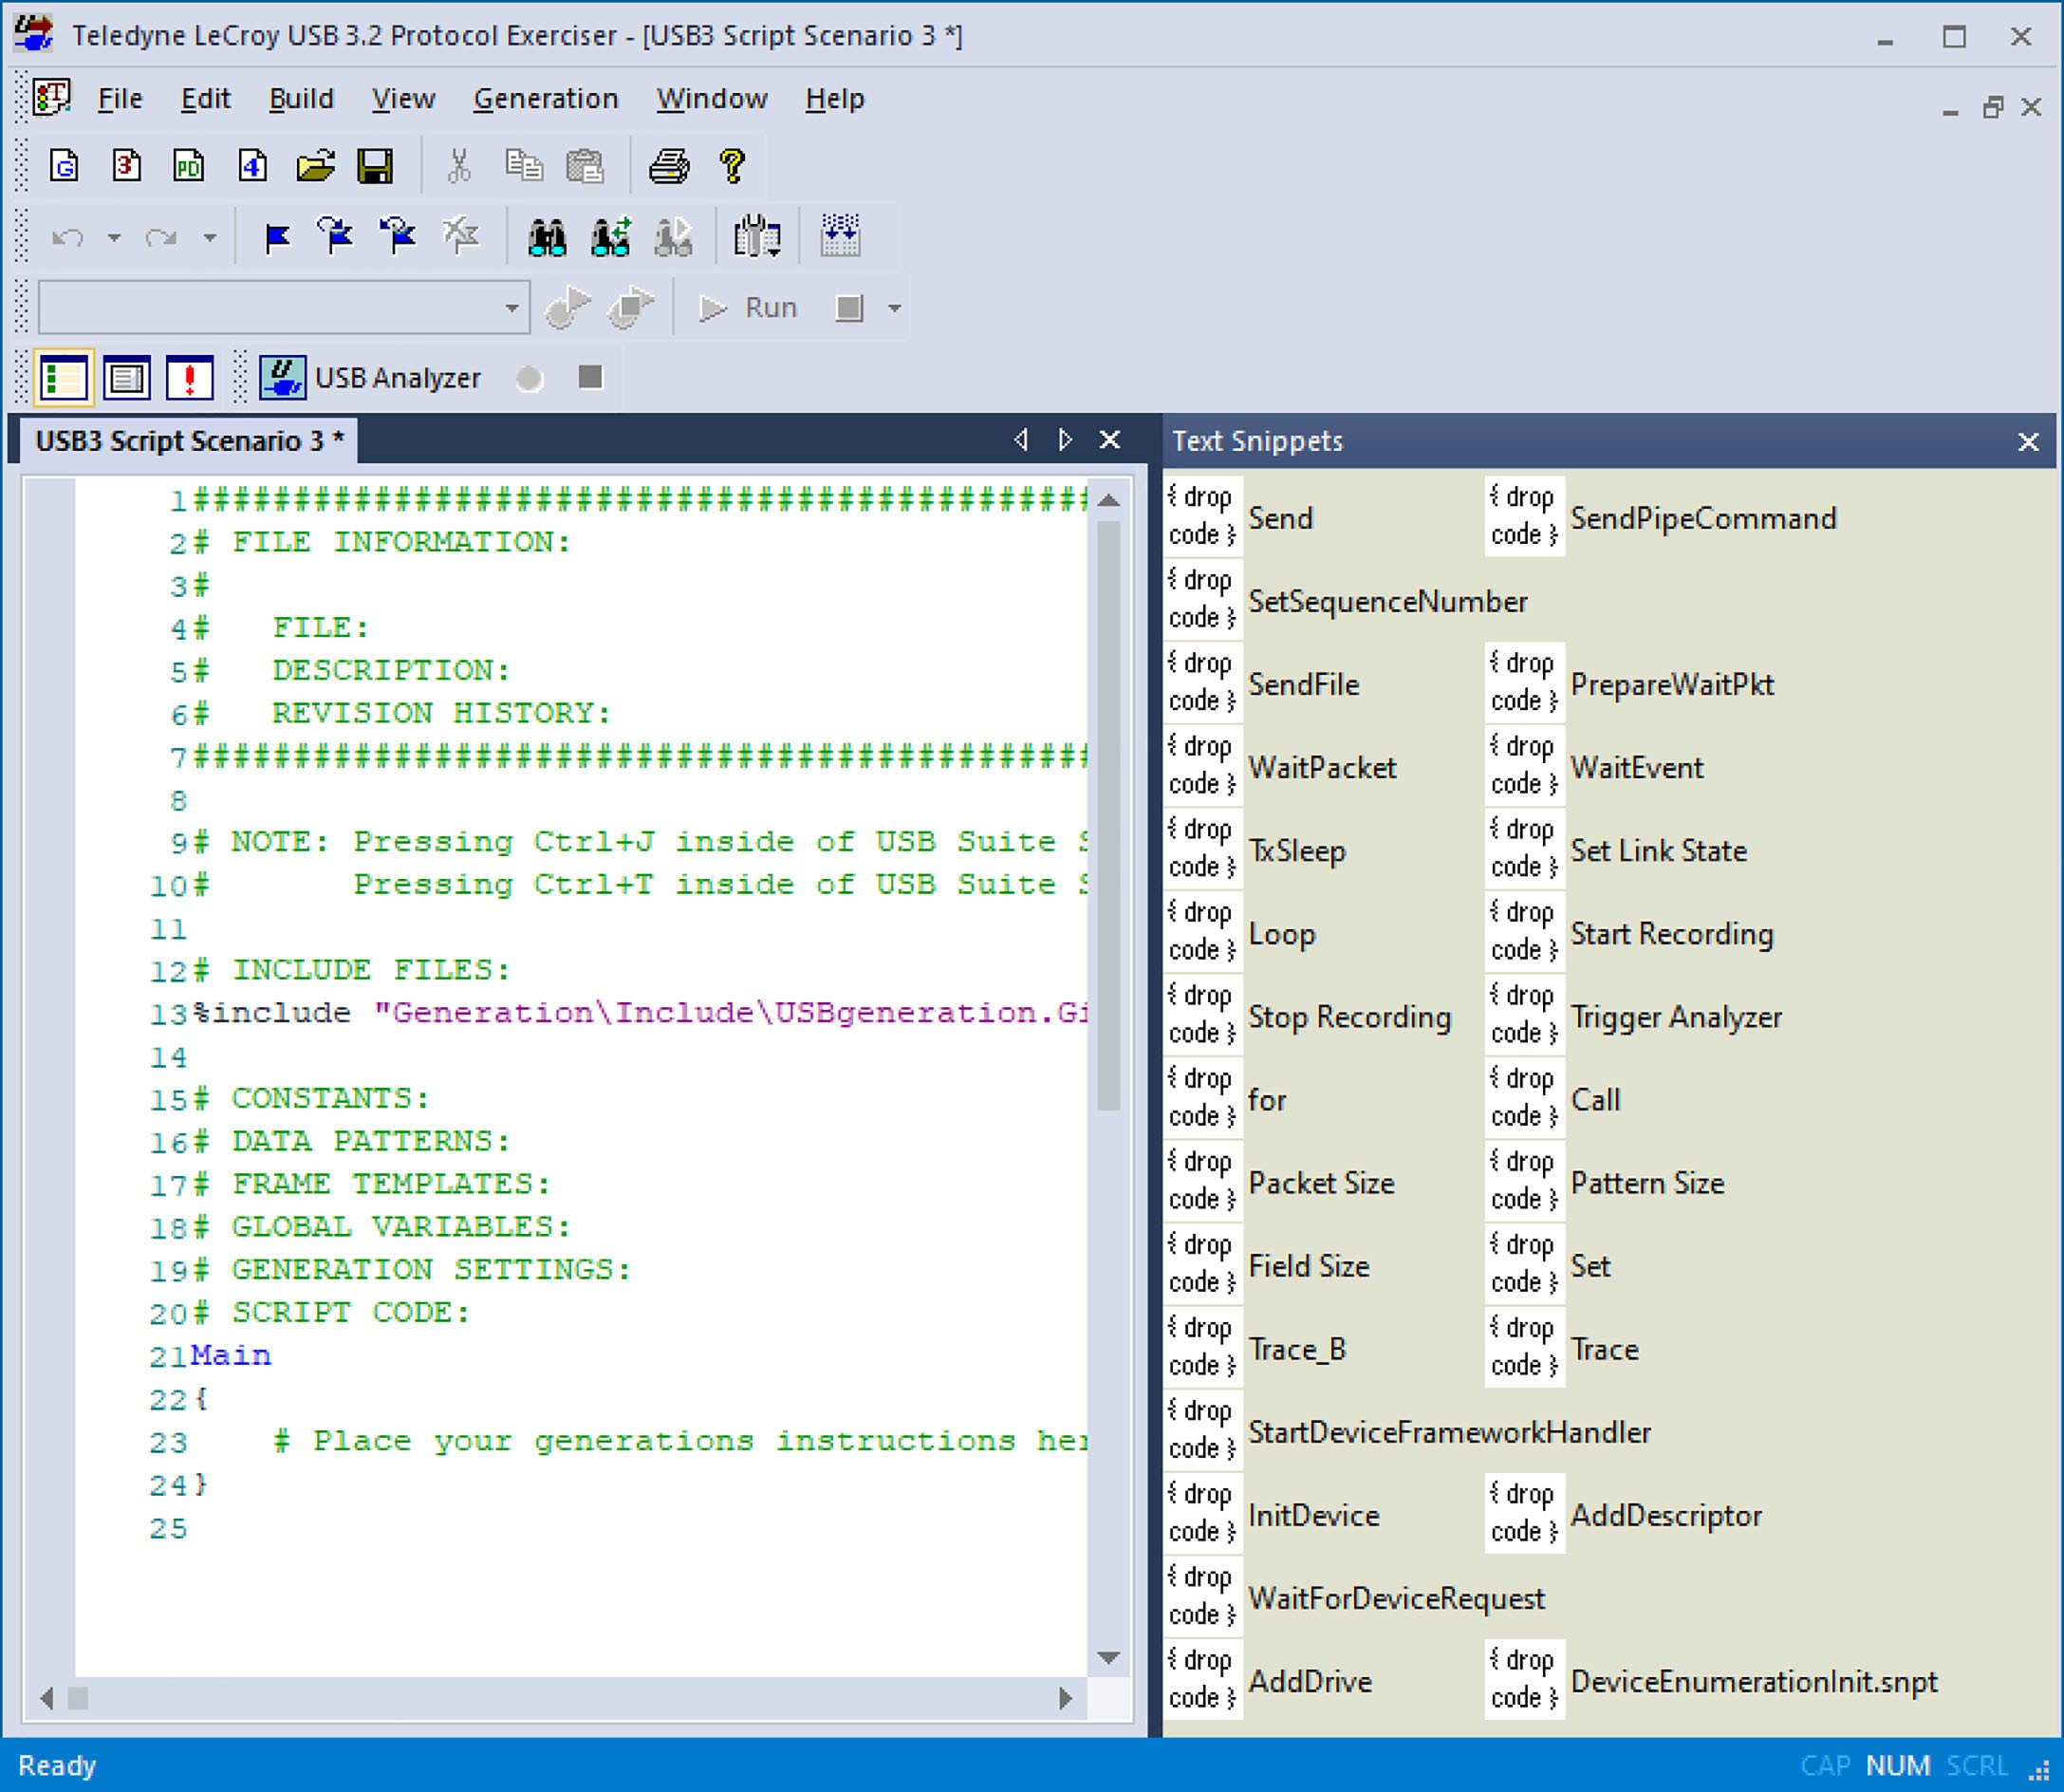
For details on the generation of a USB 3.2 Script, see the Voyager™ USB 3.2 Exerciser SS (5Gbps) and SS+ (10Gbps) Generation Script Language Reference Manual, accessed from Help > Other Manuals.
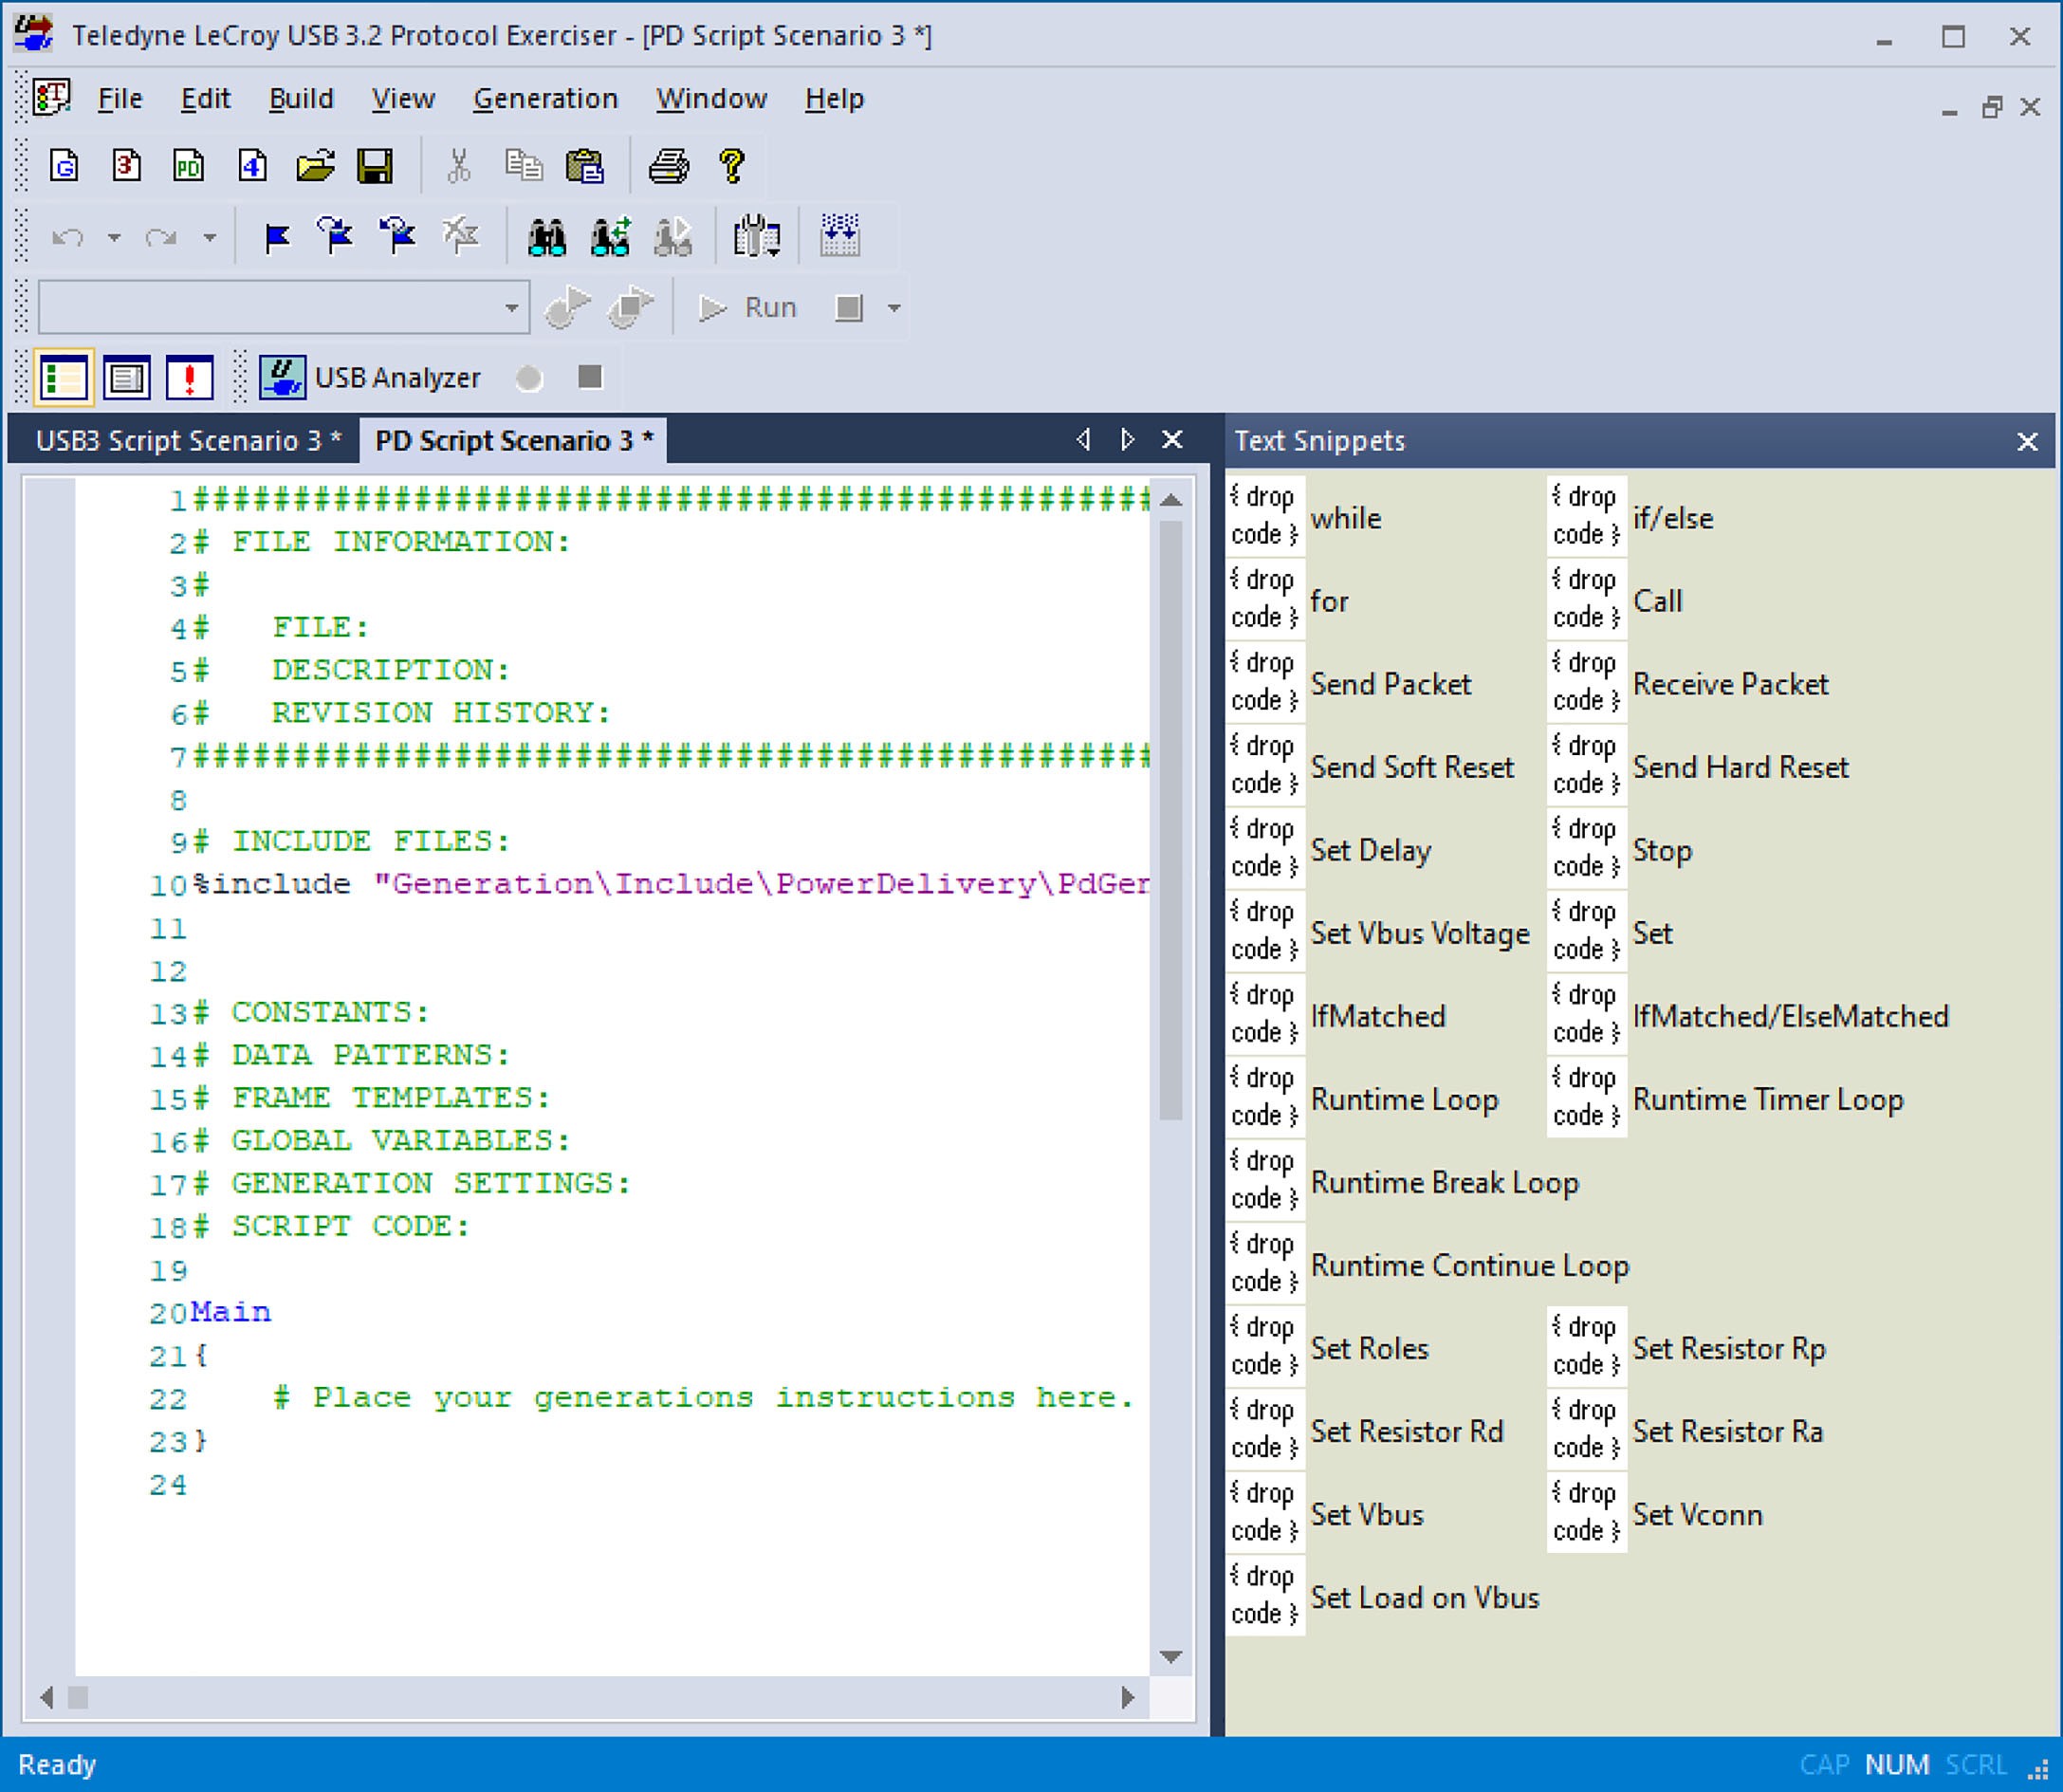
For details on the generation of a Power Delivery (PD) Script, consult the Voyager™ Power Delivery Generation Script Language Reference Manual, accessed from Help > Other Manuals.
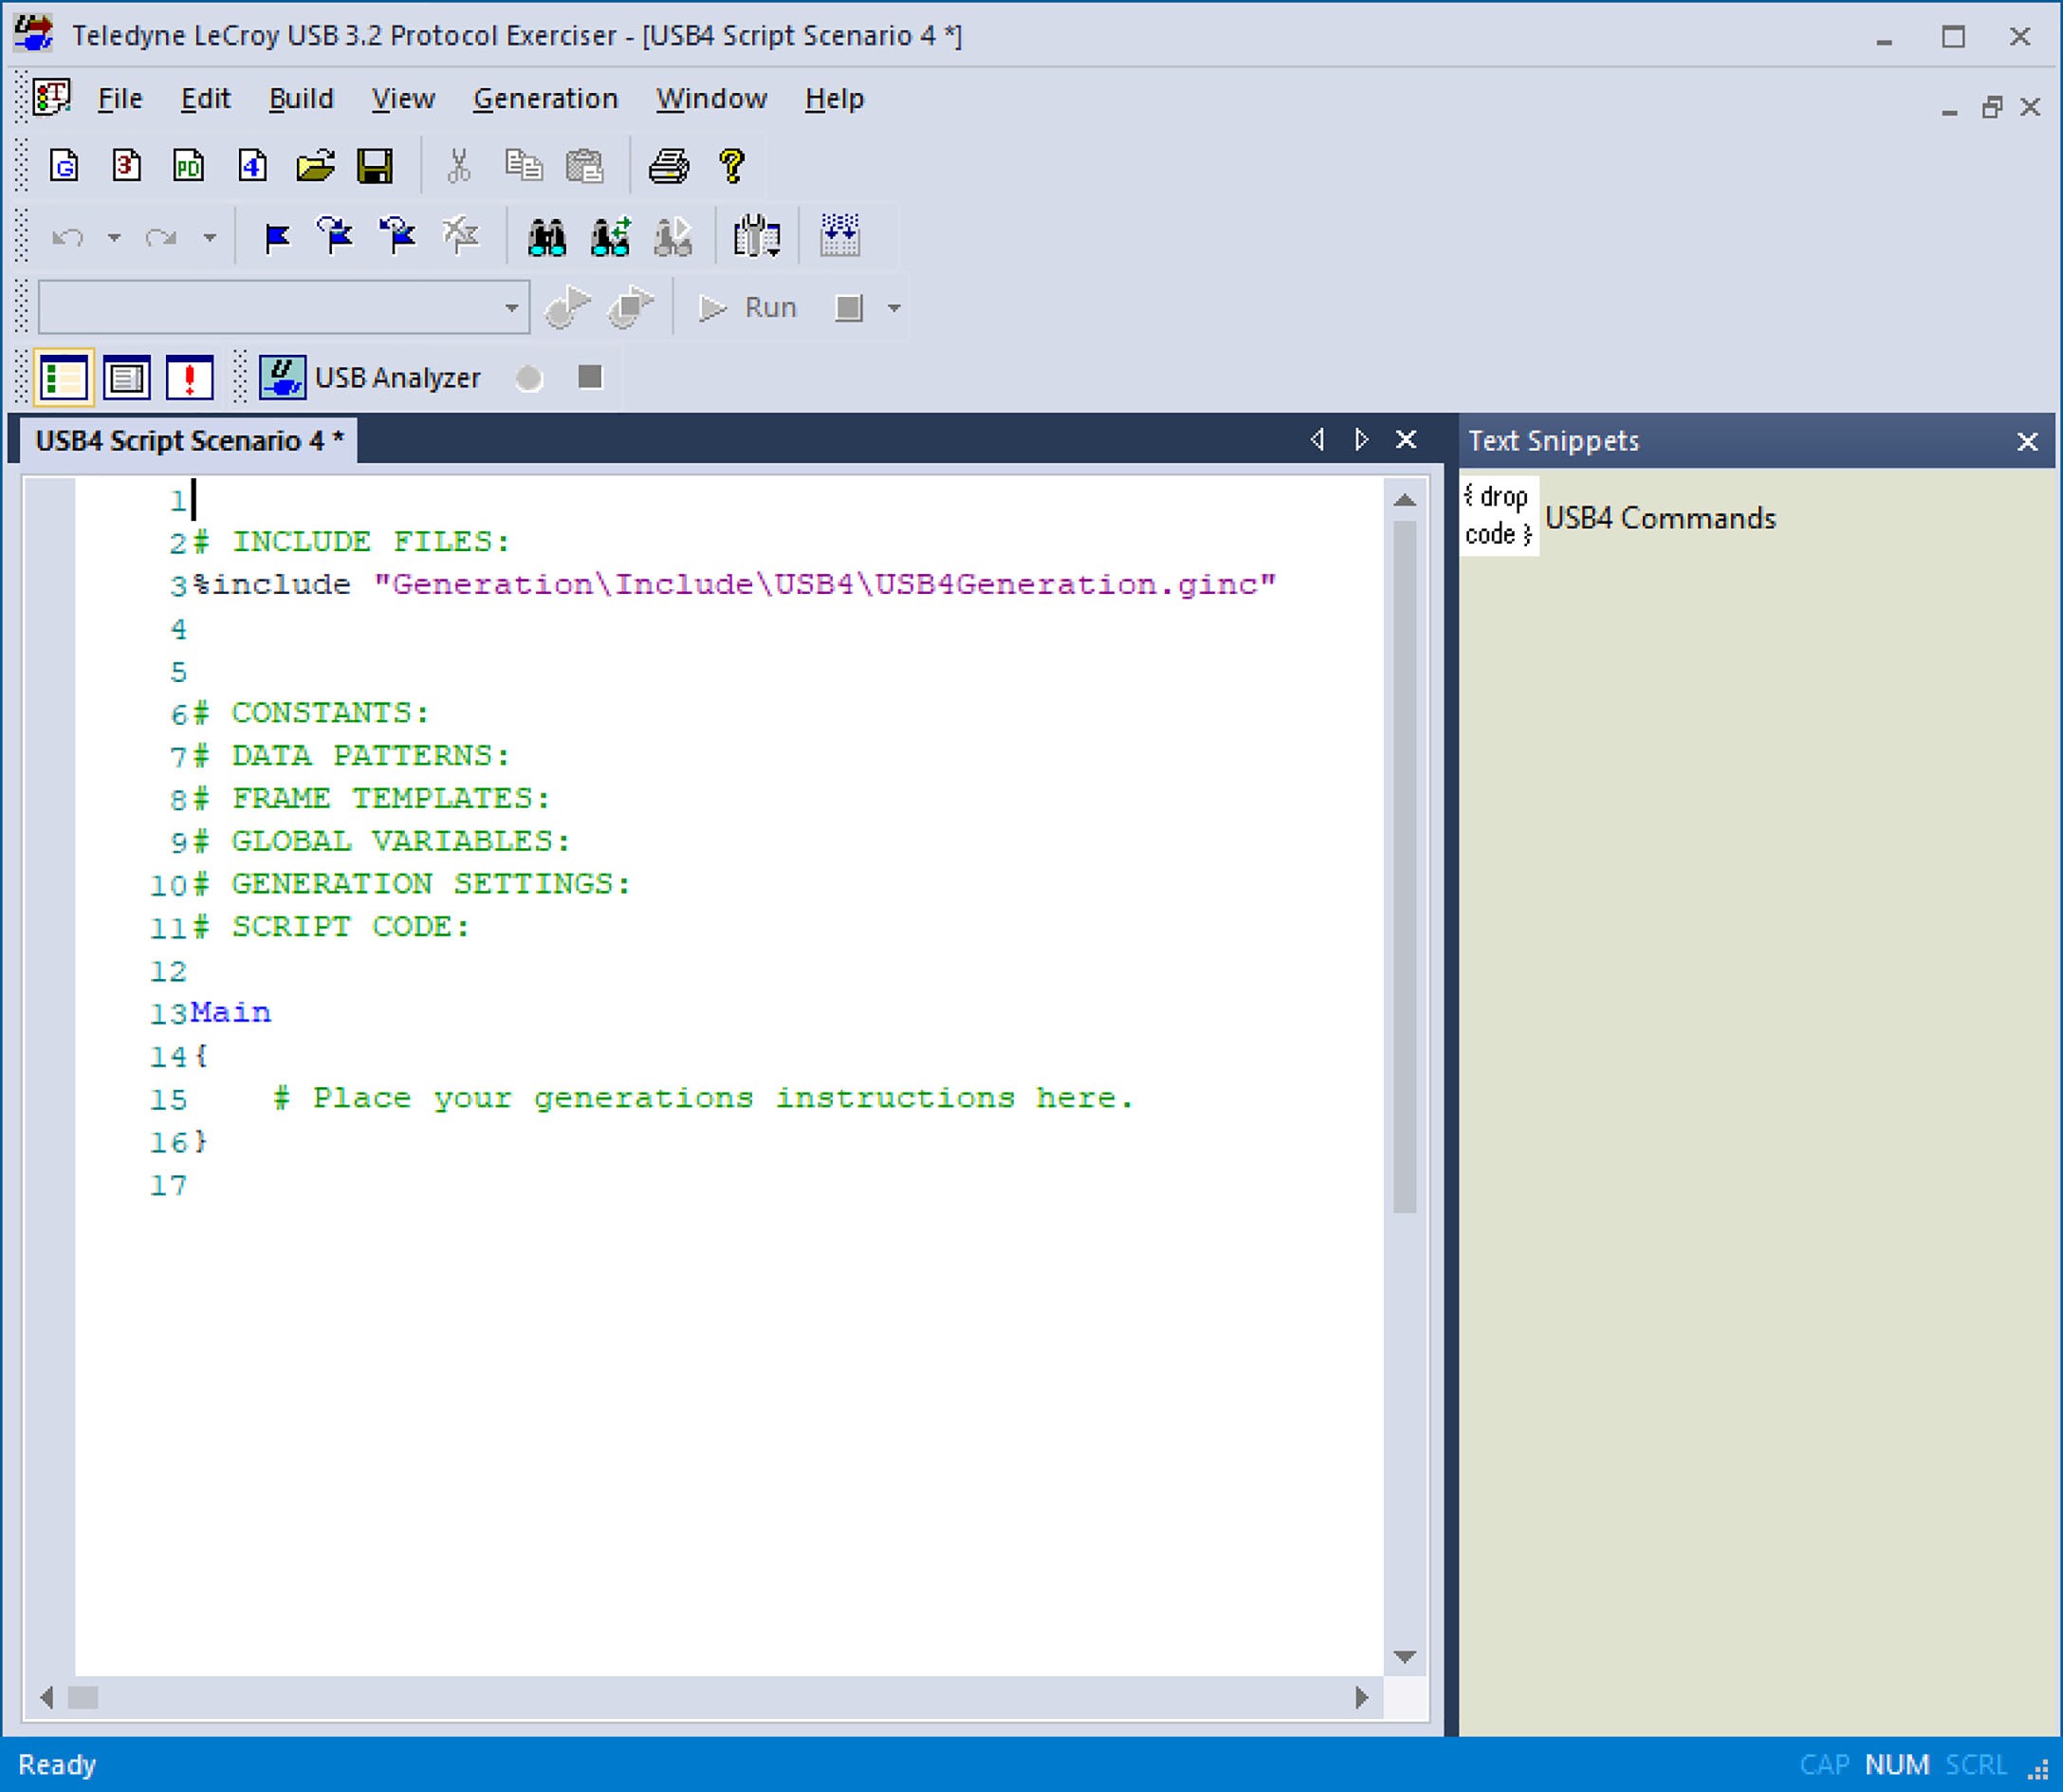
For details on the generation of a USB4 Script, consult the Voyager™ USB4 Exerciser Generation Script Language Reference Manual, accessed from Help > Other Manuals.
Highlighting
-
All known commands and parameters are highlighted in blue.
-
All predefined values and command modifiers are highlighted in brown.
-
Comments are in green.
-
Errors are in red.
Text Editing Commands
The Script Editor supports standard editor commands using toolbar buttons and the Edit menu commands:
-
Undo/Redo
-
Cut/Copy/Paste: Also available by right-clicking a command to display a menu
-
Bookmarks: Toggle, Previous/Next, and Clear All
-
Find/Replace/Find Next/Go to
Help
Right-click a command to access a menu from which you can choose Help.
Properties Window
The Properties window lists all parameters and their values for the selected script command. To change Parameters/values, enter text into the text boxes or select items from drop-down menus.
File Tabs
At the top of the Script Editor window is a tab with the name of the open generation file. If there are Include statements in the generation file that link it to other generation files, these files automatically open and display as tabs at the top of the window. You can click the tabs to toggle between the open generation files.
Errors
When you compile a script and have an error, the error appears in the Error tab at the bottom of the application window. Each error has a file name, line number, and description. Double- clicking the error jumps to the line number.
-
A red square appears next to the line number that contains the error.
-
A yellow square appears next to the line number that has a warnings.
NOTE: You cannot run a script that has syntax errors.
Output
When you compile a script that generates output or when the application sends you a message, the information appears in the Output tab.
Options Menu
Set text options in the Options menu by clicking 
-
Enable Outlining: Adds a hierarchy of levels to the script.
-
Show Line Numbers: Displays the line numbers at the left of the window.
-
Show Tooltips: When you place the cursor over an item, information about the item appears.
-
Enable IntelliSense: Starts the IntelliSense program.
-
Toggle Outlining: If Enable Outlining is checked, allows you to expand or collapse the outlining levels.
Outlining
If you enable outlining at the Options button, you can:
-
Collapse or expand code blocks
-
Toggle outlining at the Options button
-
Right-click a command to display a menu from which you can choose Toggle Outlining
Line Numbers
If you enable line numbers at the Options button, each line has a line number.
Tooltips
If you show tooltips at the Options button, tooltips appear when you place the cursor over a button or command.
USB 3.2 Text Snippets
Text snippets appear in the Text Snippets window. You can drag and drop a text snippet into the script. The available text snippets are:
-
Send: Enter a packet template name, with options to delay or override.
-
SendPipeCommand: Enter a command name, pipe type, total length, setup, data pattern, asn, store data, and send erdy.
-
SetSequenceNumber: Enter a pipe type, device address, endpoint number, data directory, sequence number, and enable.
-
SendFile: Enter a file path, device address, endpoint, delay, start sequence number, payload_size, stream ID, and route string.
-
PrepareWaitPkt: Enter packet type as TP or DP, requested packet subtype for TP, packet endpoint number, packet device address, packet direction, and packet stream ID.
-
WaitPacket: Enter packets to wait (default is 1) and start wait at last end (default is 1) or not (0).
-
TxSleep: Enter an interval.
-
Set Link State: Enter a link state.
-
Loop: Enter a counter.
-
Start Recording: Enter the Recorded Options File Path and Name and the Trace File Path and Name. Indicate whether to keep the old trace.
-
Stop Recording: Enter 0 (no WaitForUpload) or 1 (WaitForUpload). You can also force to stop recording.
-
Trigger Analyzer: Has no options.
-
for: Enter code between the braces.
-
Call: Enter a Procedure name and the procedure parameters.
-
Packet Size: Enter an integer or a template.
-
Pattern Size: Enter an integer or a data pattern.
-
Field Size: Enter an integer or a field name.
-
Set: After the set command, enter a setting and its value.
-
Trace_B: Enter a message.
-
Trace: Enter a message.
-
StartDeviceFrameworkHandler: Starts or stops the Device Framework Handler task on the Trainer
-
InitDevice: Initializes operation of Device Emulation for a device.
-
AddDescriptor: Adds a descriptor structure to the descriptor list for a device.
-
WaitForDeviceRequest: Allows synchronizing the execution of the automatic Device Framework Handler with the rest of the script.
-
AddDrive: Sets up Drive Emulation for the device that is being emulated.
-
DeviceEnumerationInit.snpt: Text snippet for device enumeration.
NOTE: In the syntax for Text Snippets, the /* and */ stand for comment marks. Do not use either the / or * when you enter a parameter. For example:
Send /*packet template name*/ The entry might look like this: Send Name1
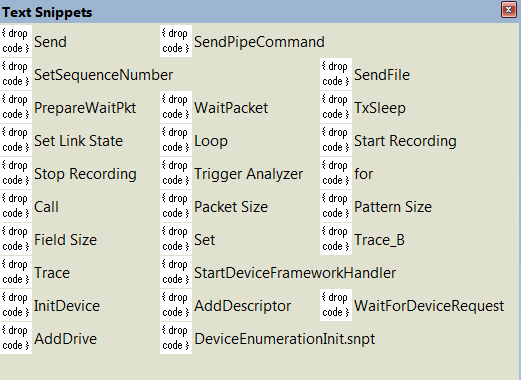
NOTE: For information about each command, see the Voyager USB 3.2 Exerciser—Generation Script Language Reference Manual.
Views Toolbar
The Views toolbar contains the following buttons:


Script Toolbar
The Script toolbar contains buttons for saving your edits, navigating, searching, and other functions.

The buttons have the following functions:
|
Button |
Functionality |
|
Button |
Functionality |
|---|---|---|---|---|
|
|
Undo |
|
|
Add/Remove bookmark. Allows markers to be set or removed to aid in navigation. |
|
|
Redo |
|
|
Go to next bookmark. |
|
|
View Options. Opens a menu with three options: Enable Outlining, Toggle Outlining, and Show Line Numbers. |
|
|
Go to previous bookmark |
|
|
Compile |
|
|
Clear all bookmarks |
|
|
Find |
|
|
Find and Replace |
|
|
|
|
|
Find Next |


Pop-up Menu
Right-click anywhere in the script window to open a pop-up menu with the following options:
-
Cut
-
Copy
-
Paste
-
Toggle Outlining
-
Open All Include Files
The List Values option displays the types of values that can be entered for a parameter in a line. To see the types of values, select the current parameter, then choose Show Values from the pop-up menu.
Error Log
Whenever you create a scripting error, a log opens at the bottom of the application window. When the error is corrected, the window automatically closes.
Tooltips
The Script Editor window includes extensive tooltips for each keyword. To see a tooltip, hover the mouse pointer over a keyword.