
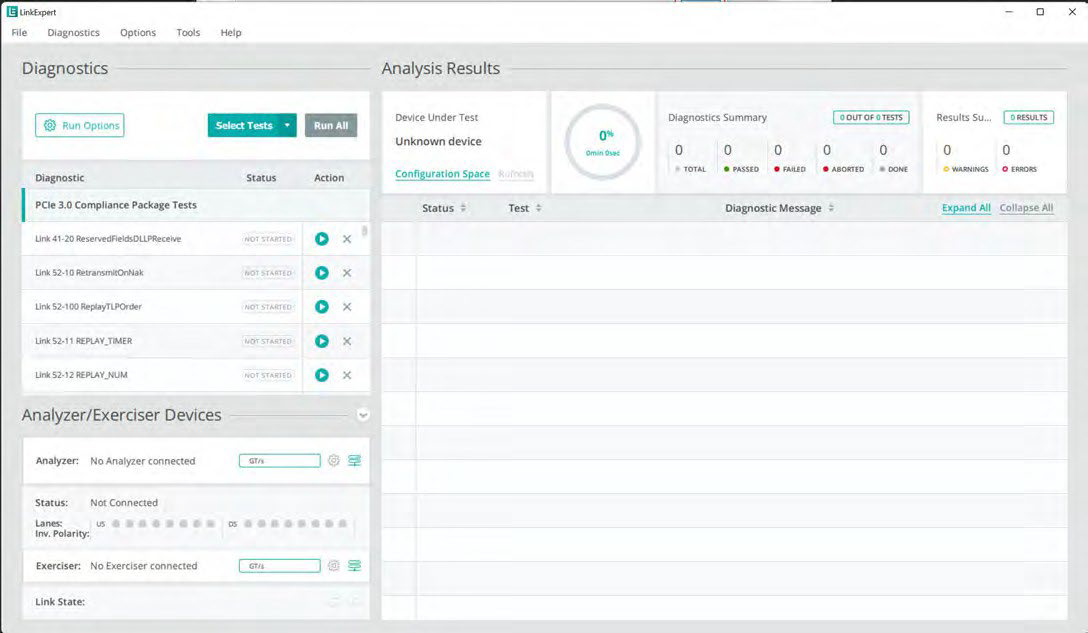
The LinkExpert user interface comprises the following sections:
-
A set of drop-down menus: File, Diagnostics, Options, and Help (see Drop-Down Menus)
-
Diagnostics: A set of tests to run (see Diagnostics Menu)
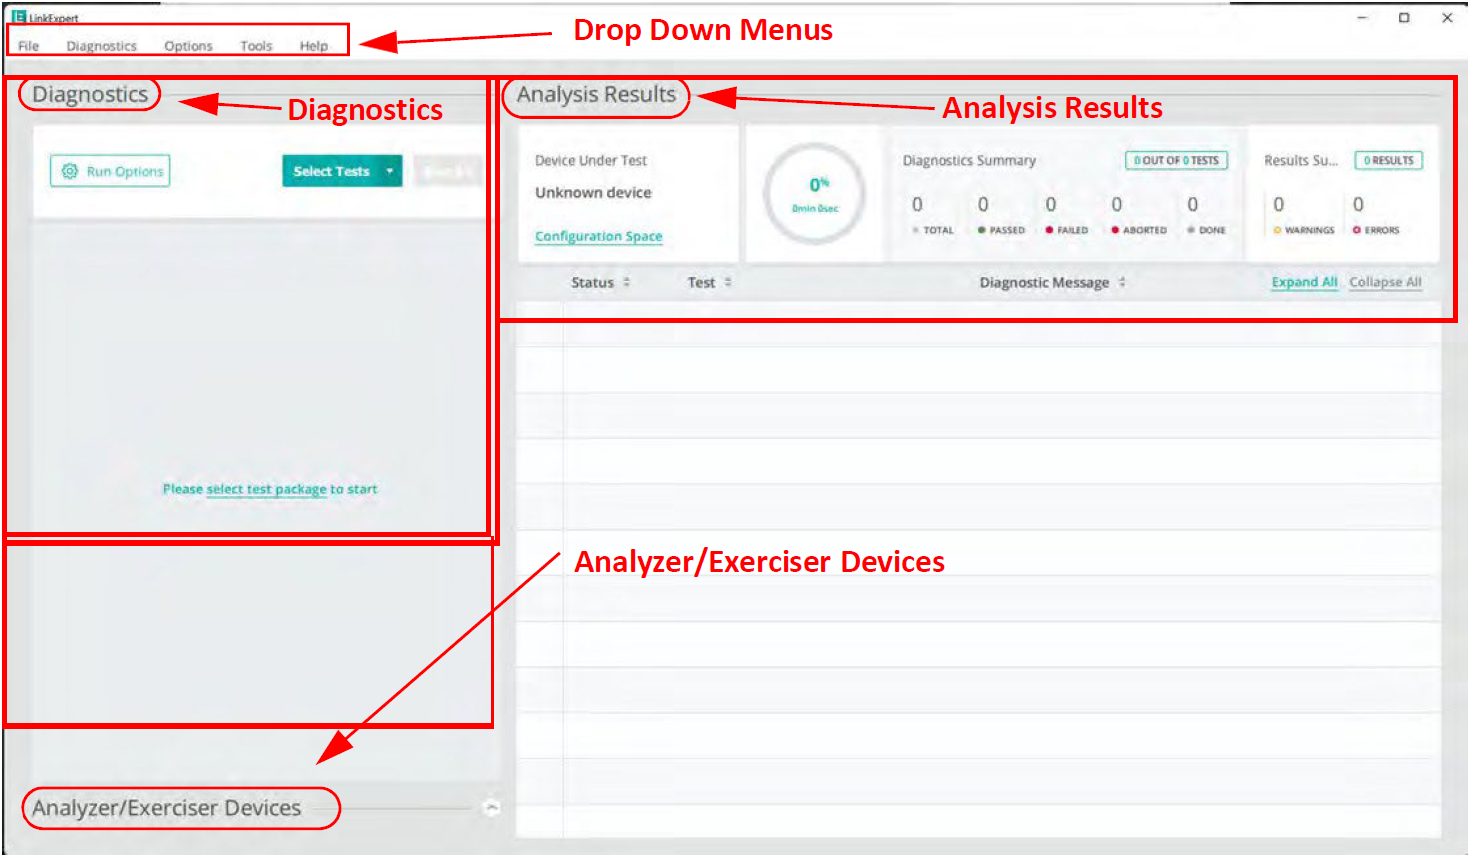
Drop-Down Menus
LinkExpert’s main display includes the following menus:
File Menu
The File menu contains these options:
|
Option |
Description |
|---|---|
|
Start New Session |
Starts a new system diagnostic session. See Start New Session. |
|
Open Test Results |
Opens Test Results file. See Open Test Results. |
|
Save Test Results |
Saves the current Test Results. See Save Test Results. |
|
Export to TraceExpert |
Exports trace information to Trace Expert in the respective Protocol Suite. See Export to TraceExpert. |
|
Save Project |
See Save Project. |
|
Open Project |
See Open Project. |
|
Exit |
Exit LinkExpert. |
Note: Most of the examples below show PCIe tests, but the same methods apply to other protocols.
Start New Session
Selecting Start New Session brings up the following warning message if you have run tests but haven’t saved the results:
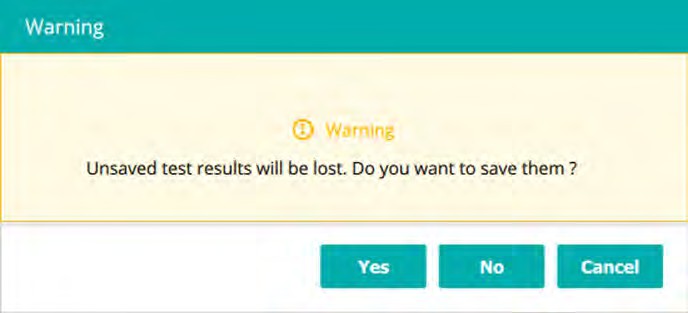
You can either save the previous session’s test results or discard them.
If you choose to save your existing session, the files will be saved as a .lxpt file.
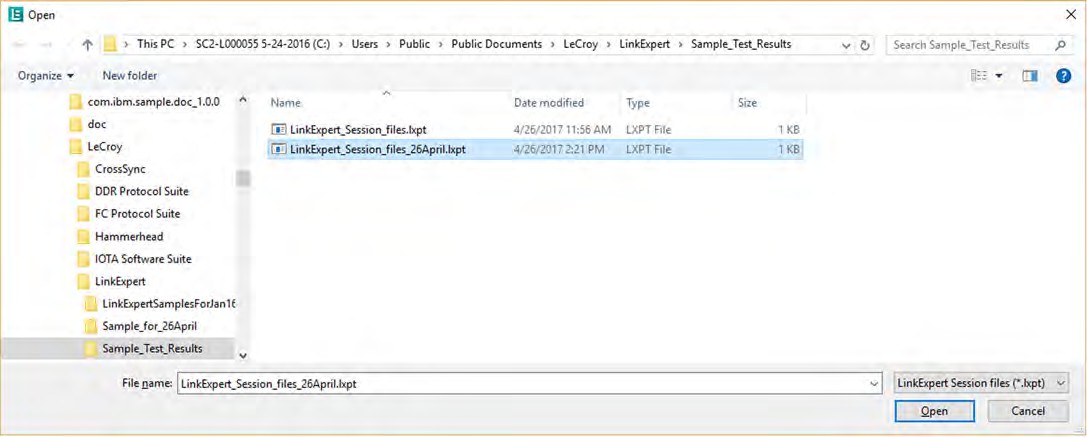
After you have saved a session, you can start a new session by running the tests you have selected. See Diagnostics Menu.
Open Test Results
Select Open Test Results to open stored test results. Select the appropriate test results folder to see your saved sessions.
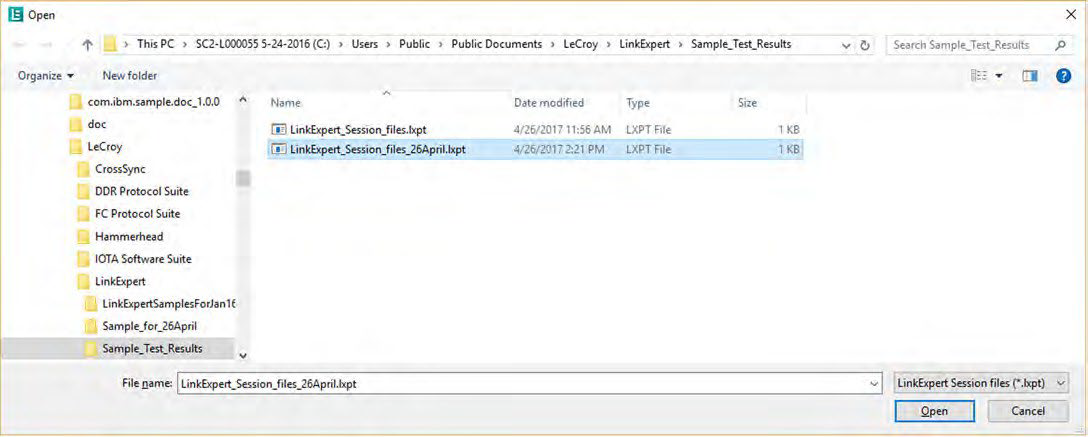
Select the results you want to load into the application, then click Open. The previously stored session populates the LinkExpert User Interface.
Save Test Results
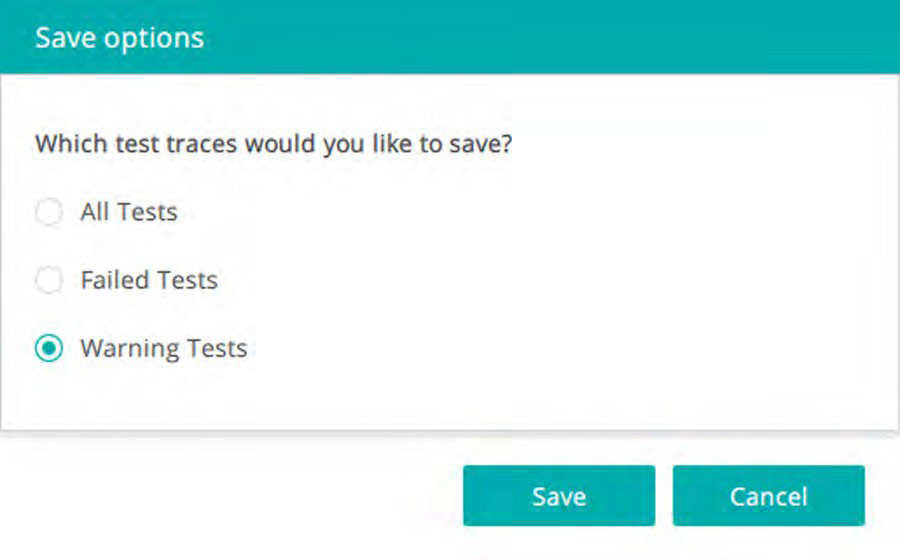
Select File > Save Test Results to save the following types of test traces:
-
All Tests
-
Failed Tests
-
Warning Tests
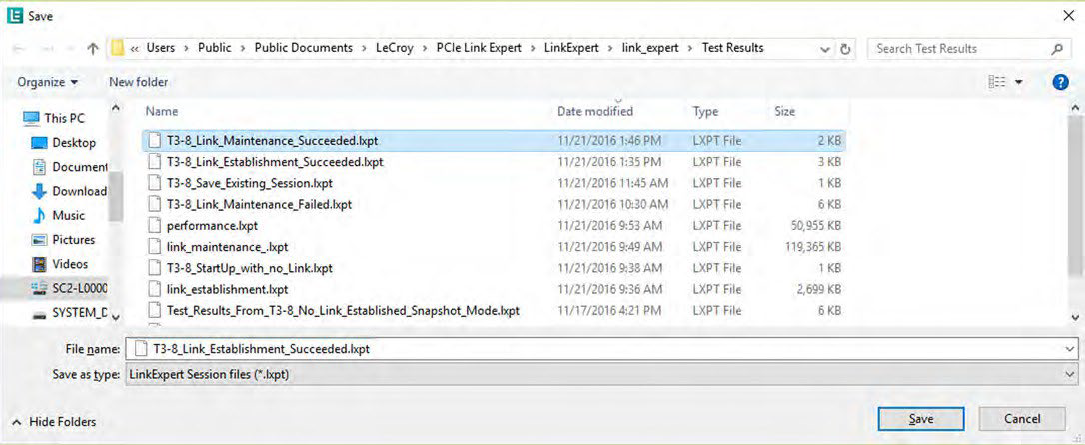
Choose a descriptive title for the test session. Optionally, you can create a new folder to help organize your tests. Click Save to create and save the .lxpt file.
Export to TraceExpert
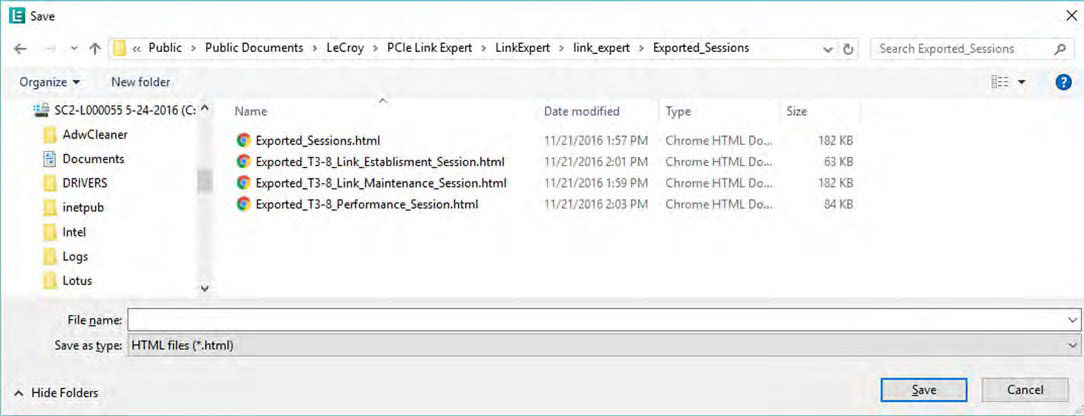
Select Export to TraceExpert to generate HTML files.
Save Project
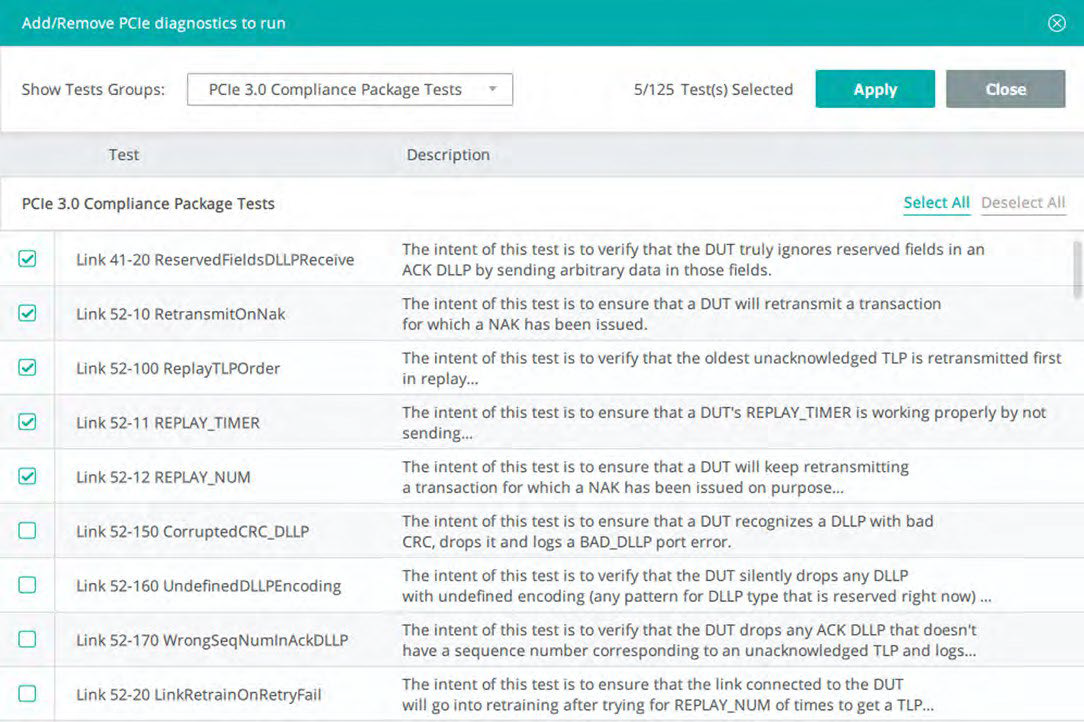
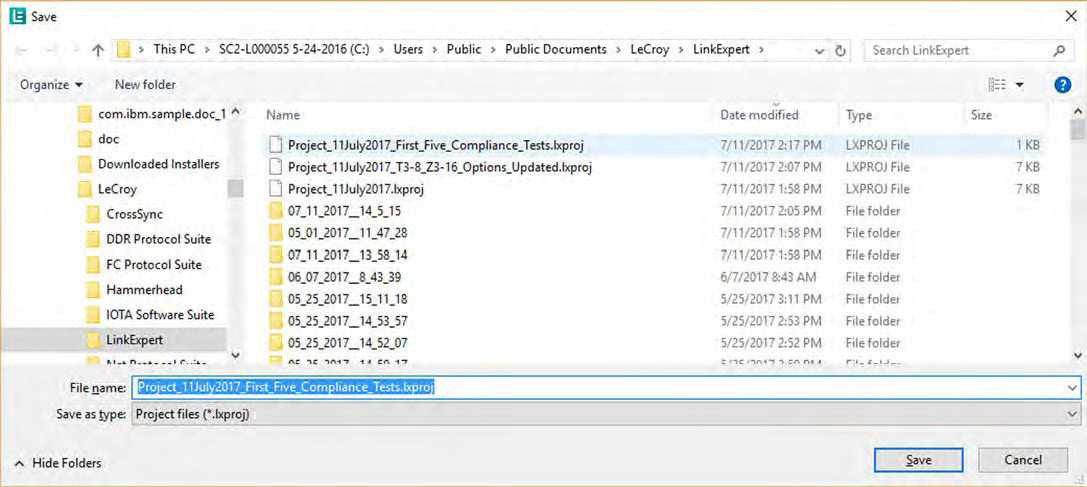
This feature allows you to select a subset of tests you are interested in and save them with a project name. In the example below, the first five PCIe 3.0 Compliance Tests have been saved under the project name First_Five_Compliance_Tests.
Open Project
To open a Saved project, select File > Open Project. The Open dialog displays. Select the project from the list and select Open.
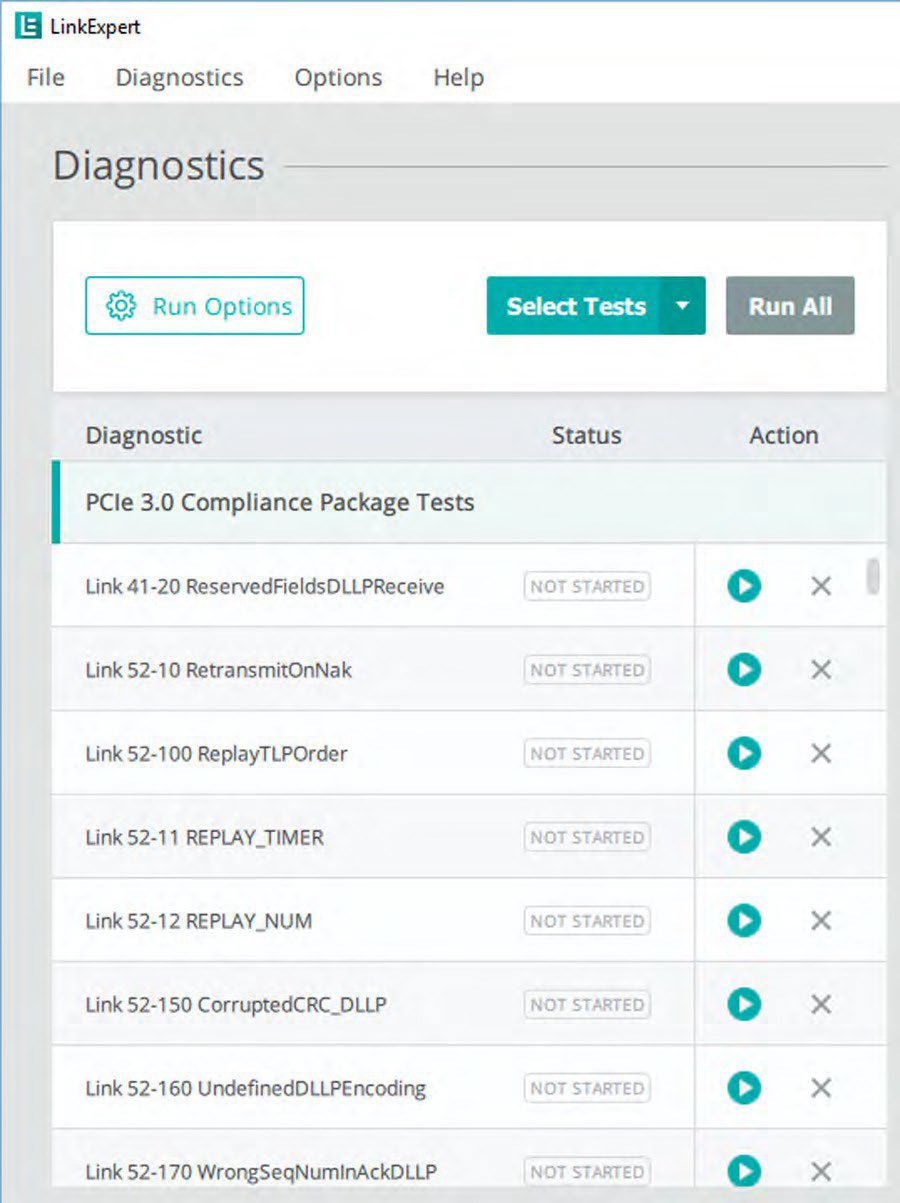
The project loads into LinkExpert.
Exit
Selecting “Exit” closes LinkExpert.
Diagnostics Menu
The Diagnostics menu allows you to Add/Remove Diagnostics or Run Diagnostics.
Note: These examples show PCIe tests, but the same methods apply to other protocols.
|
Option |
Description |
|---|---|
|
Add/Remove Diagnostics |
Add/remove new diagnostics to current system level list. See Add/Remove Diagnostics. |
|
Run Diagnostics |
Executes diagnostics in the current list. See Run Diagnostics. |
Add/Remove Diagnostics
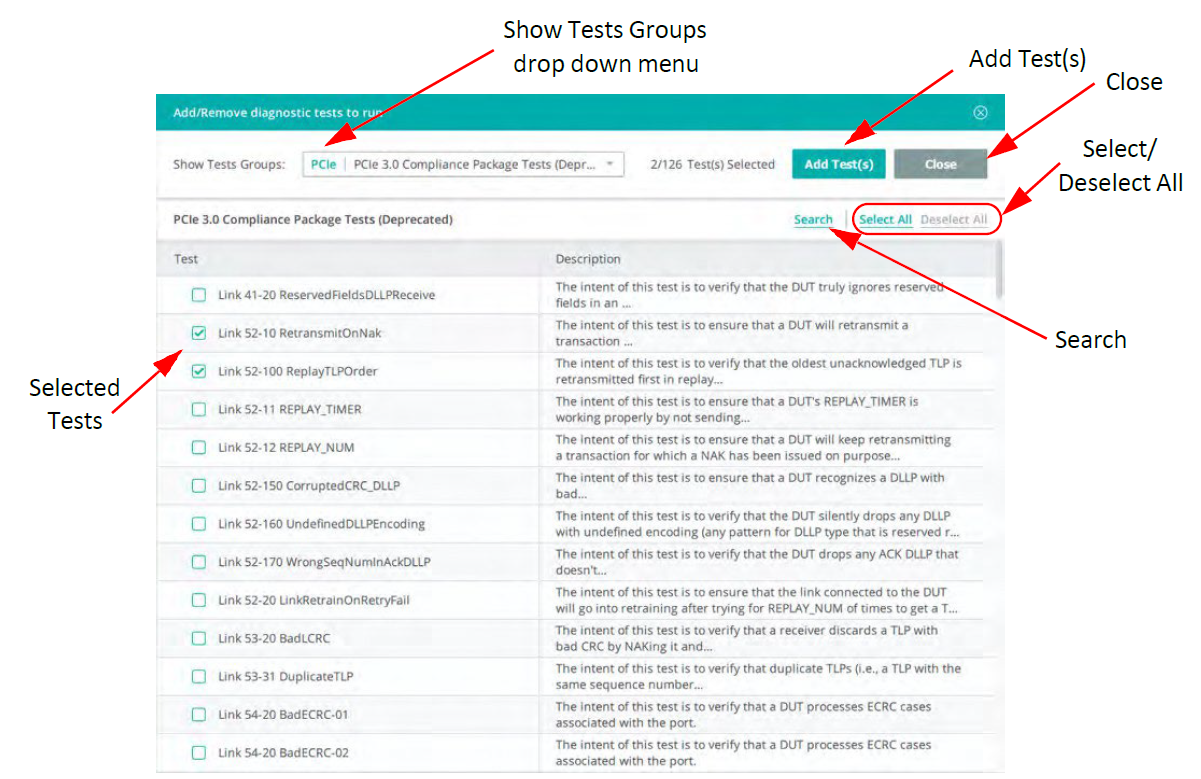
Add new diagnostics to current System Level list. From the Diagnostics menu, select Add/Remove Diagnostics. Alternatively, you can use the shortcut keys Ctrl+A. The Add/Remove diagnostics tests to run dialog displays.
Show Test Groups
Select a wide variety of test types to run by using the Show Tests Groups drop-down menu.
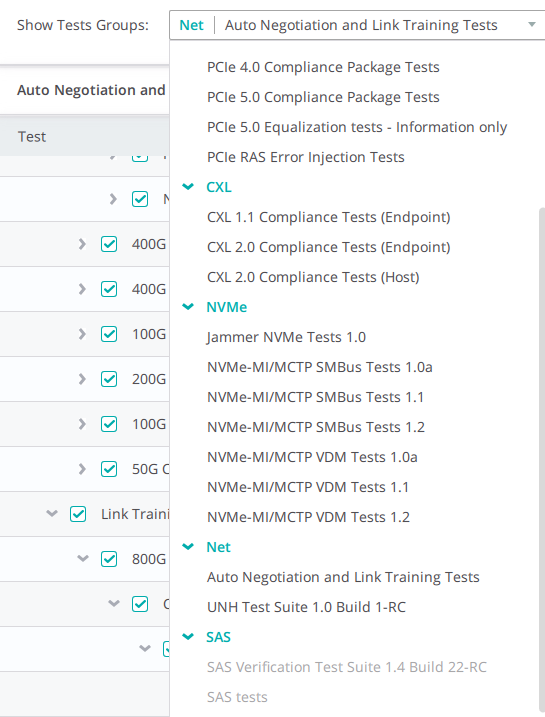
The Ethernet Auto Negotiation and Link Training Tests are under Net > Auto Negotiation and Link Training Tests
Net
-
Auto Negotiation and Link Training Tests
Note: These tests require the Xena Z800 Freya traffic generator and the SierraNet M1288 analyzer.
-
Auto Negotiation Tests
-
Link Training Tests
Search
After loading the tests, click Search to find specific tests.
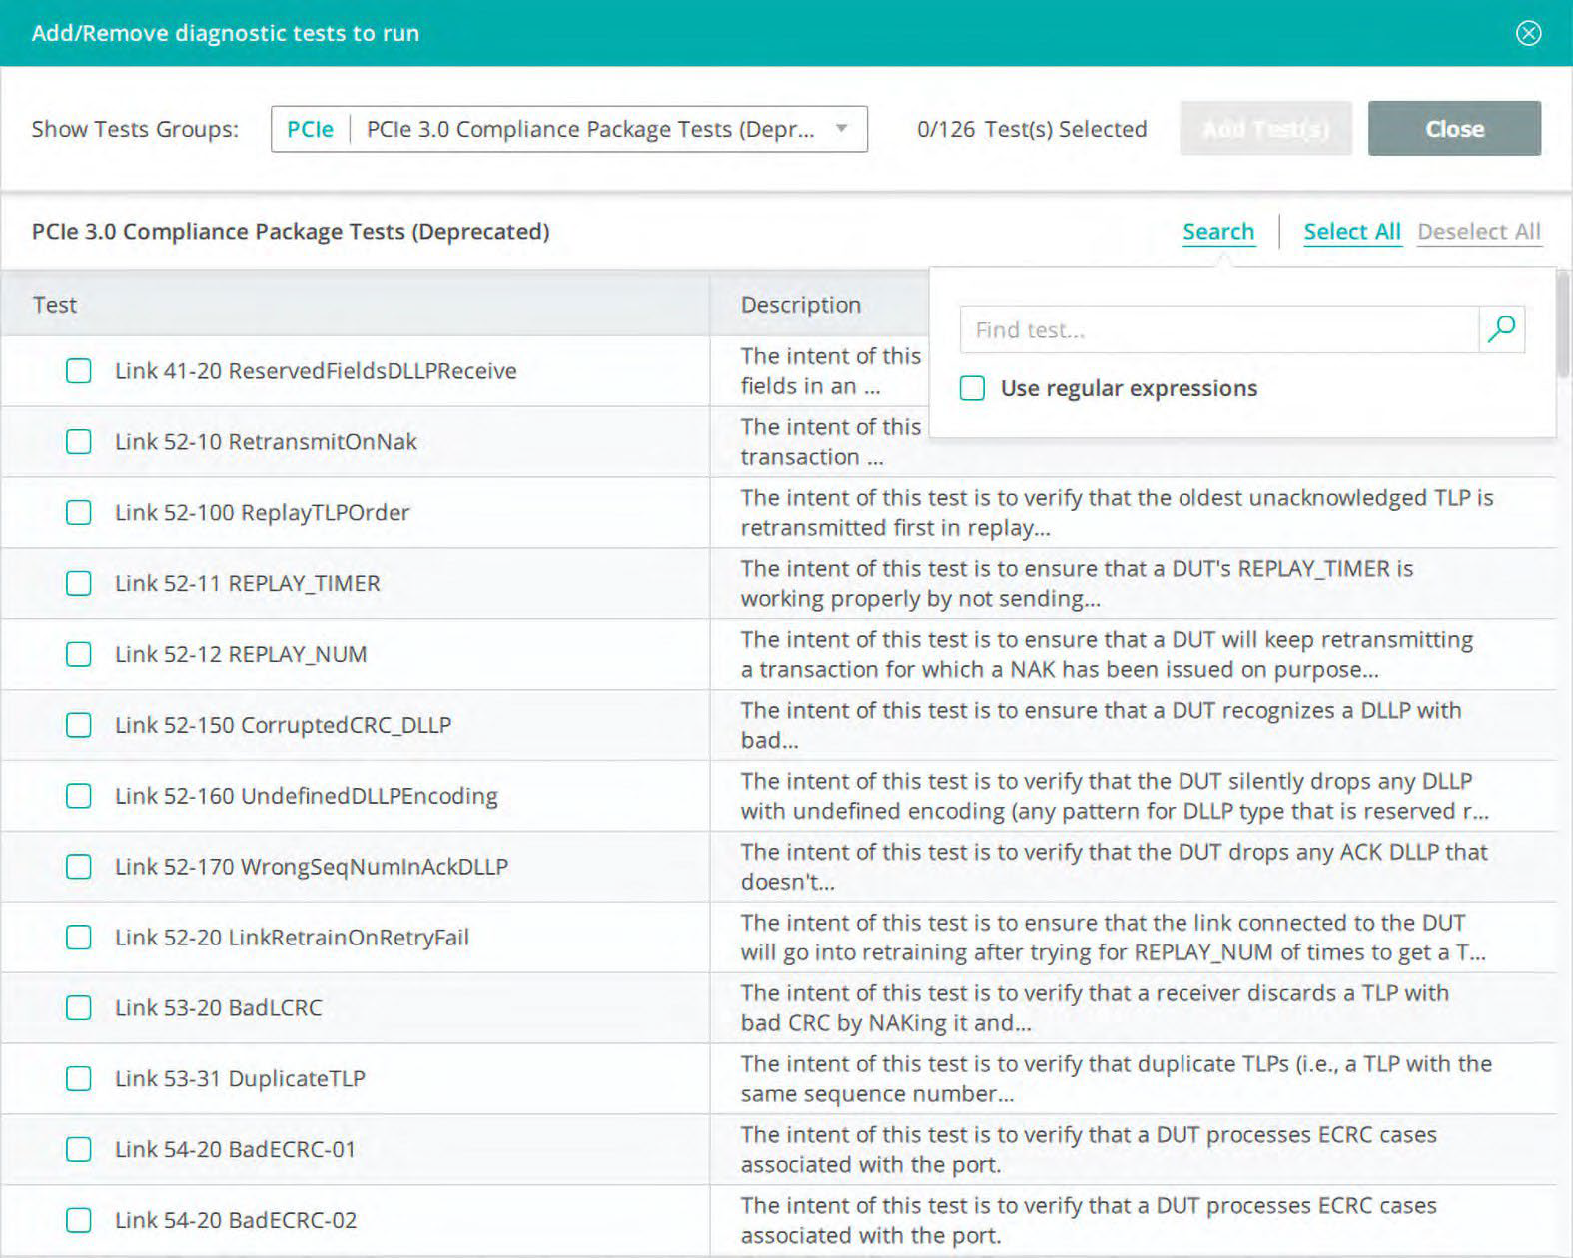
In the Search field, type the search parameters and click the spyglass icon 
Run Diagnostics
After you have added the diagnostics you’d like to run, go to Diagnostics > Run Diagnostics to execute them.
Options Menu
Click the Options menu to display the Disk Usage allocated to log files or to view All Connected Devices.
Disk Usage
Select this to display the default Disk Usage dialog.
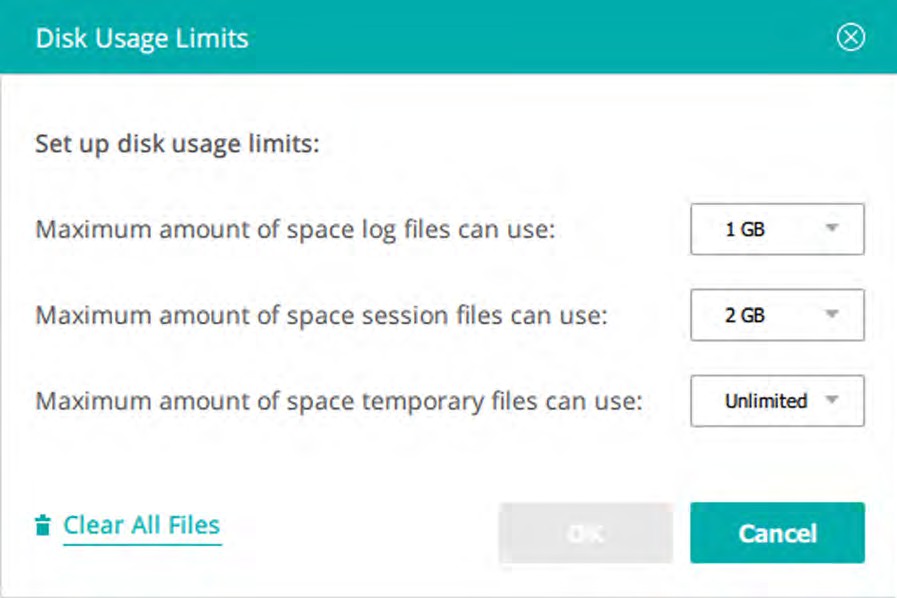
Disk Space Allocations
Log files, session files, and temporary files have drop-down menus where you can set the amount of space allocated to each type of file.
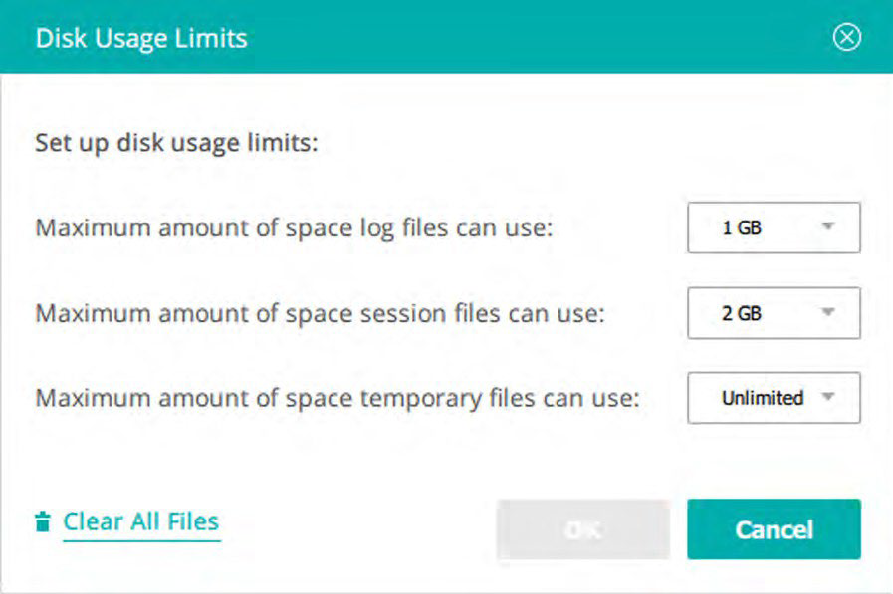
You can select the maximum space for all files from 1 GB to Unlimited in the increments shown above. If you’ve completed your testing, you can also Clear All Files.
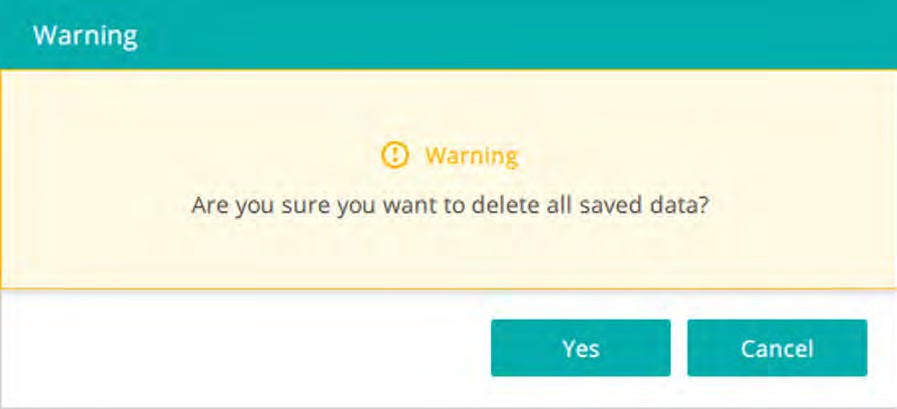
When you select Clear All Files, a warning message appears, to ensure you want to delete the selected log files.
All Connected Devices
If you select “All Connected Devices”, you’ll bring up a dialog box showing the devices available.
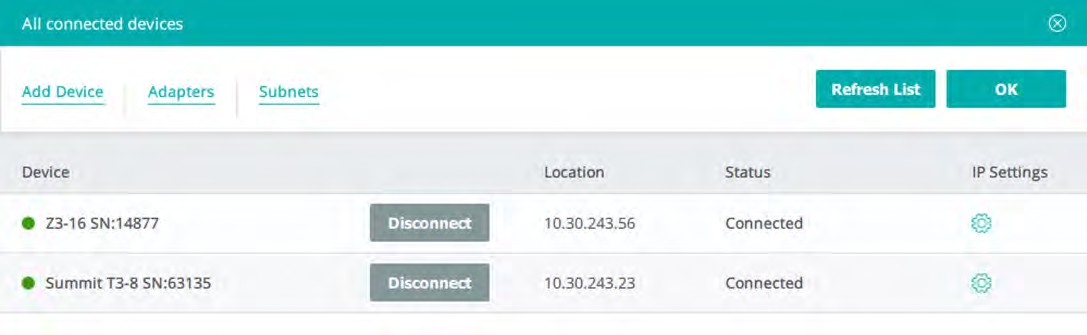
For more detail on All Connected Devices see Drop-Down Menus.
Tools Menu
Use the Tools menu to create your own dedicated packages in open format separately from the main ScriptAutomationTestTool folder.
Create a New Package
First, select the Tools menu, then click Package Manager. The Package Manager dialog opens.
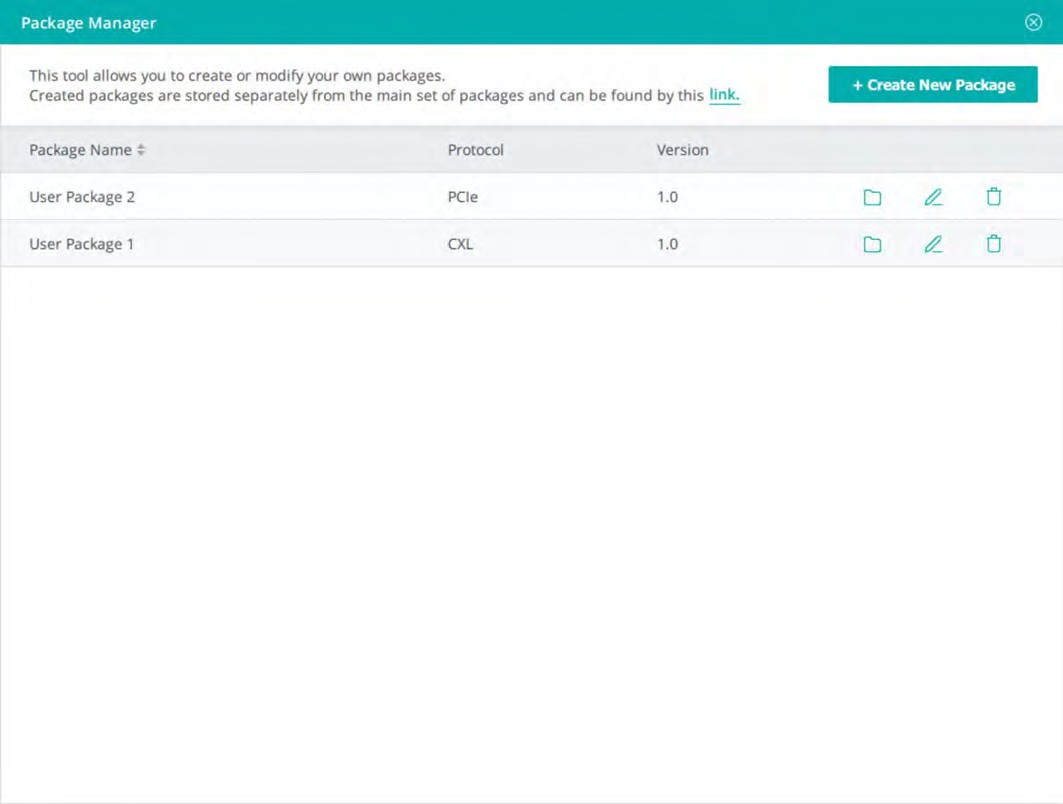
To create a new package:
-
Click +Create New Package.
-
Type in a unique name for your package in the Package Name field.
-
In the Protocol field, choose the desired protocol from the list.
-
Optional: In the Version field, create a version. For help with this feature, a tooltip displays when you hover over the field.
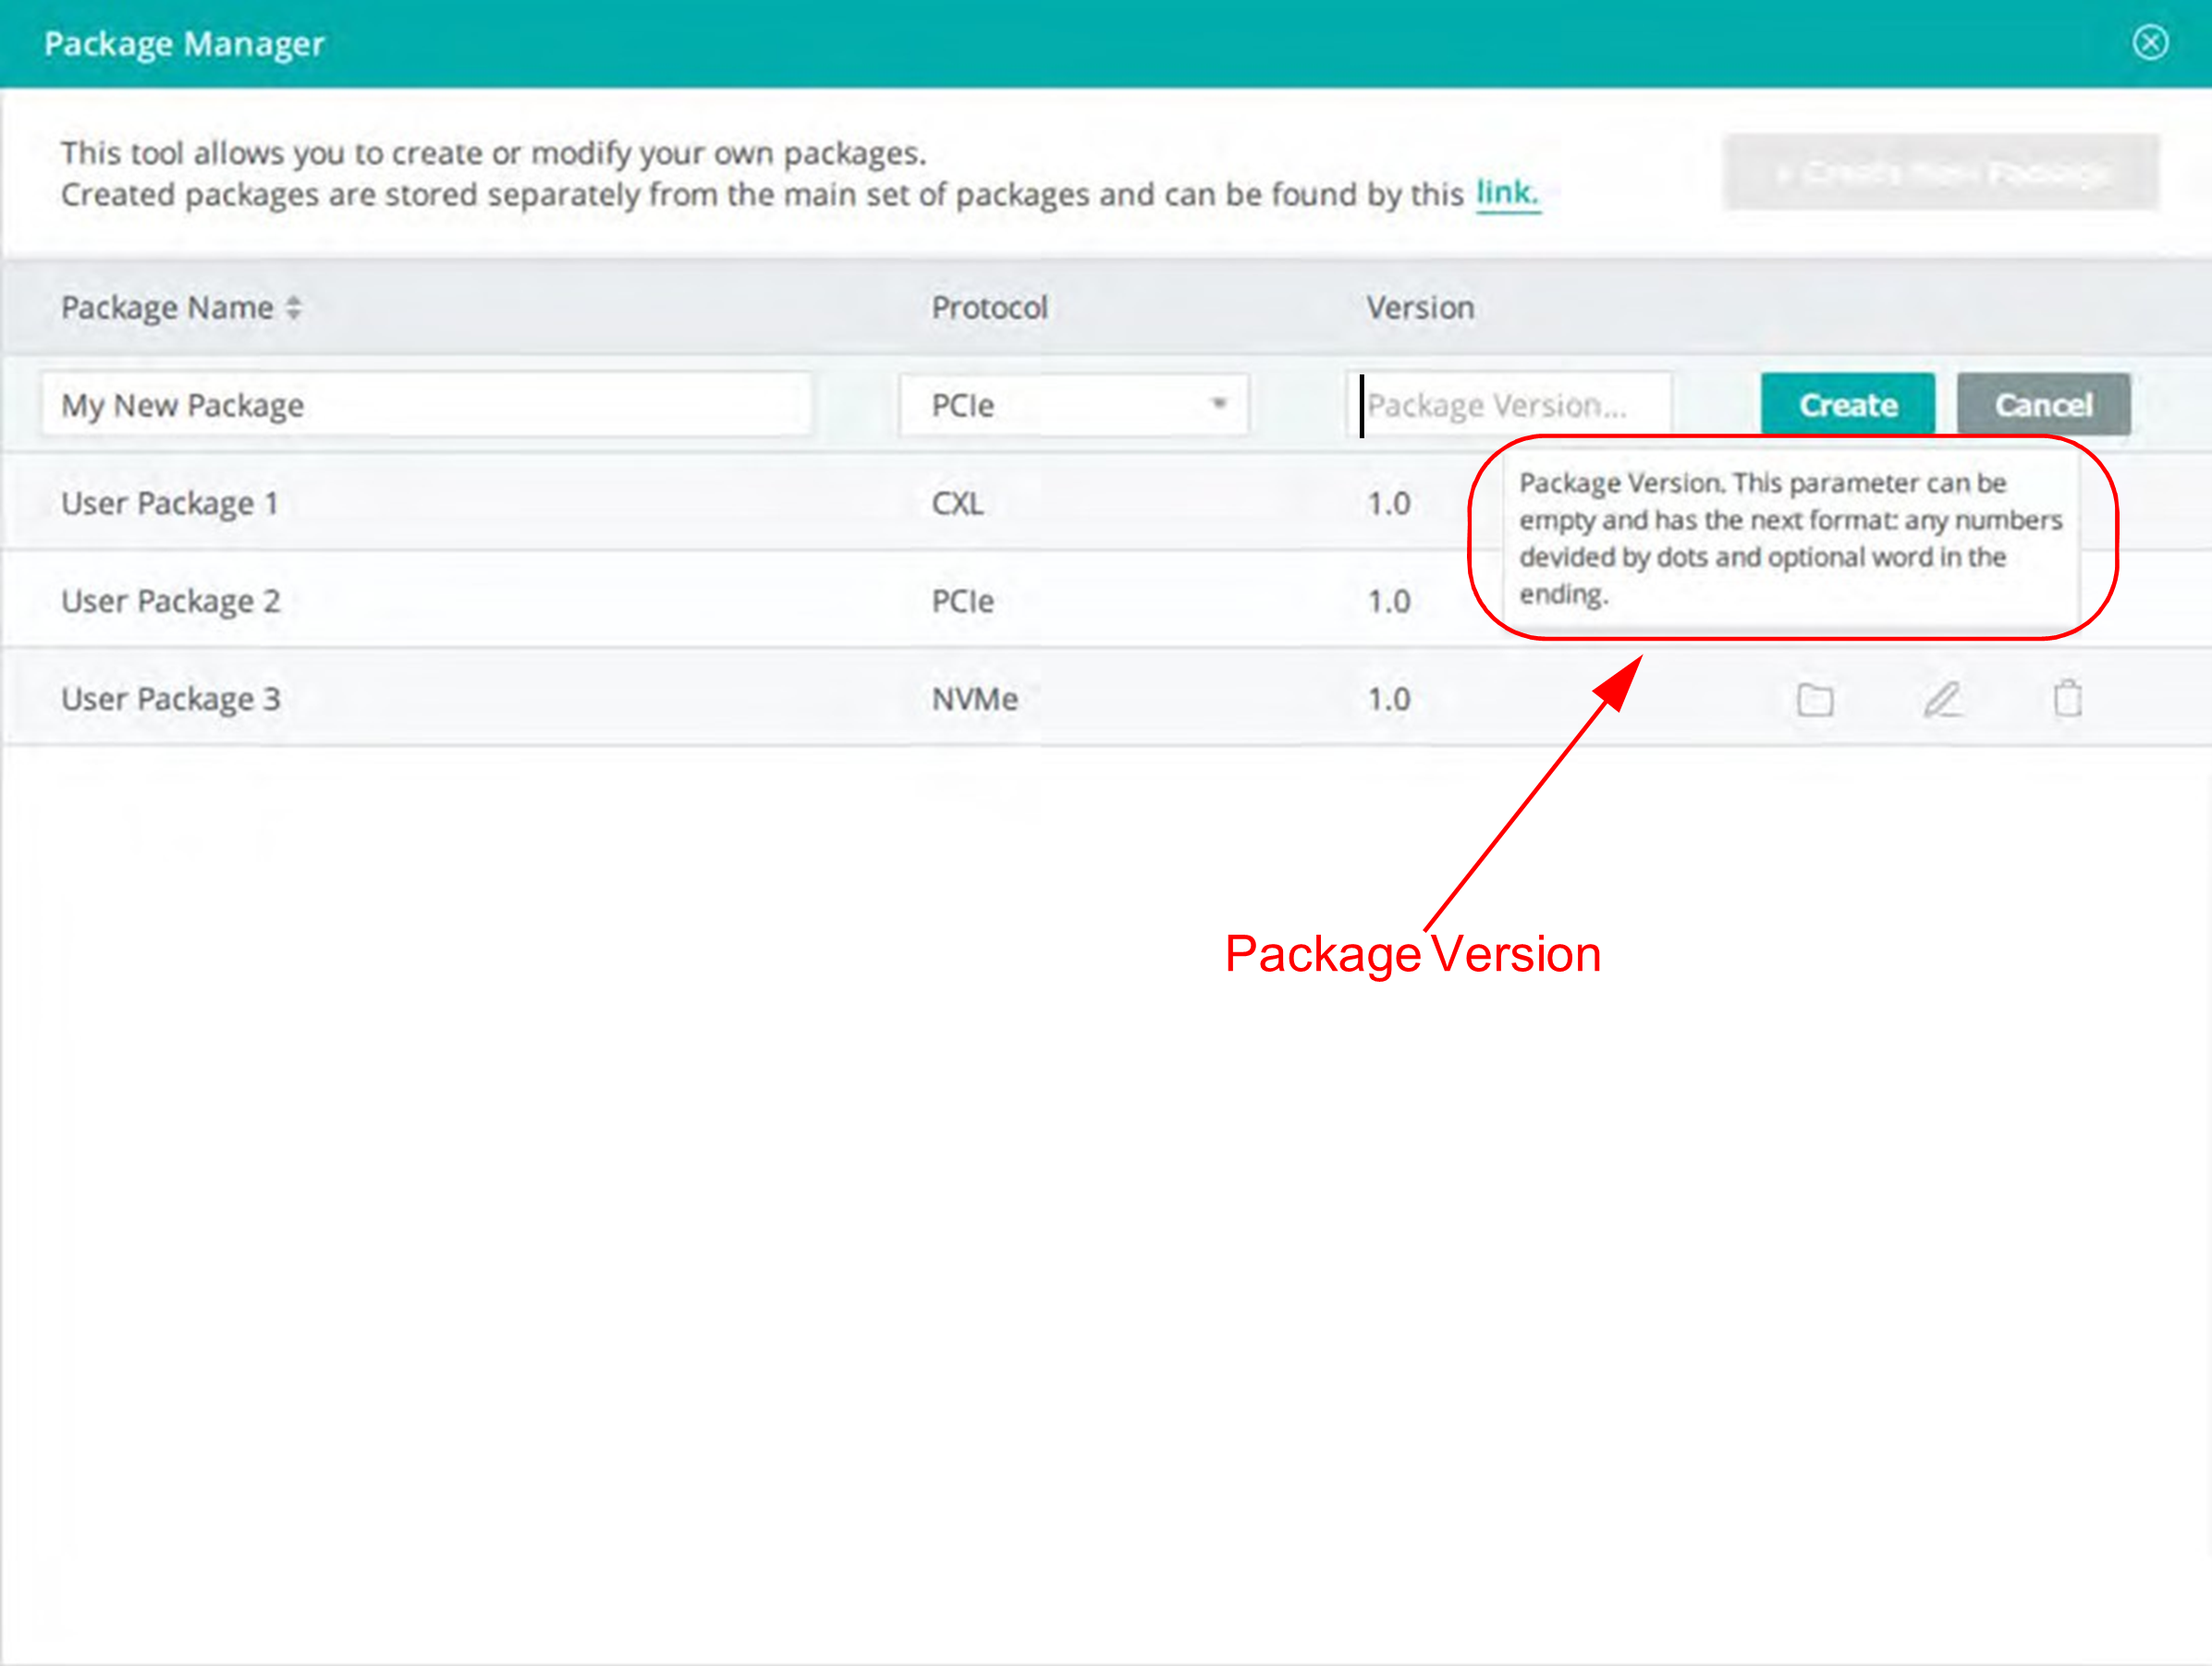
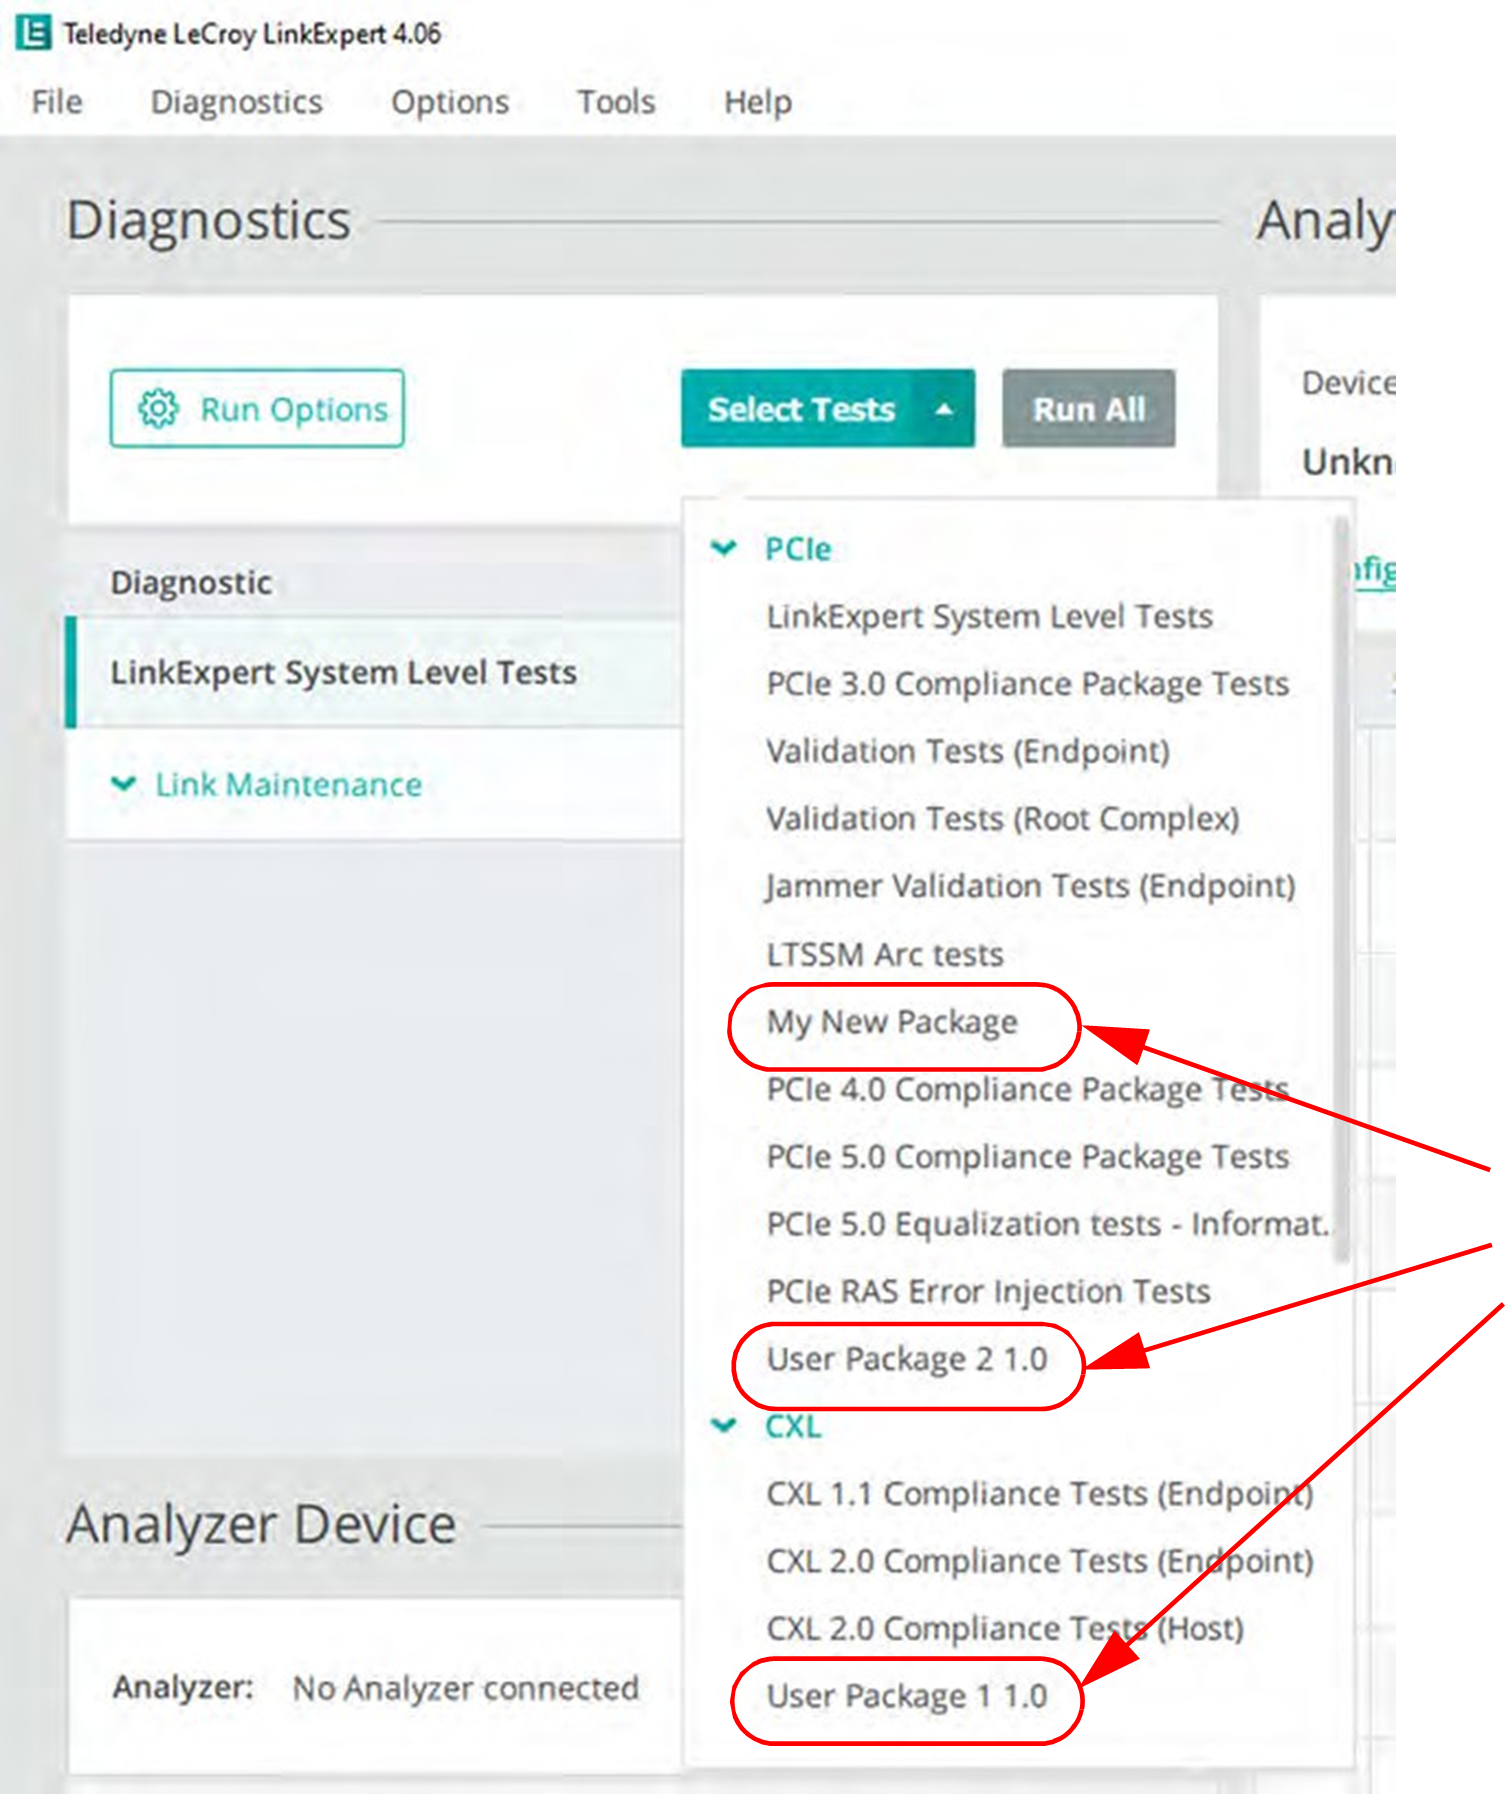
The newly created packages display in the Select Tests list.
Package Options
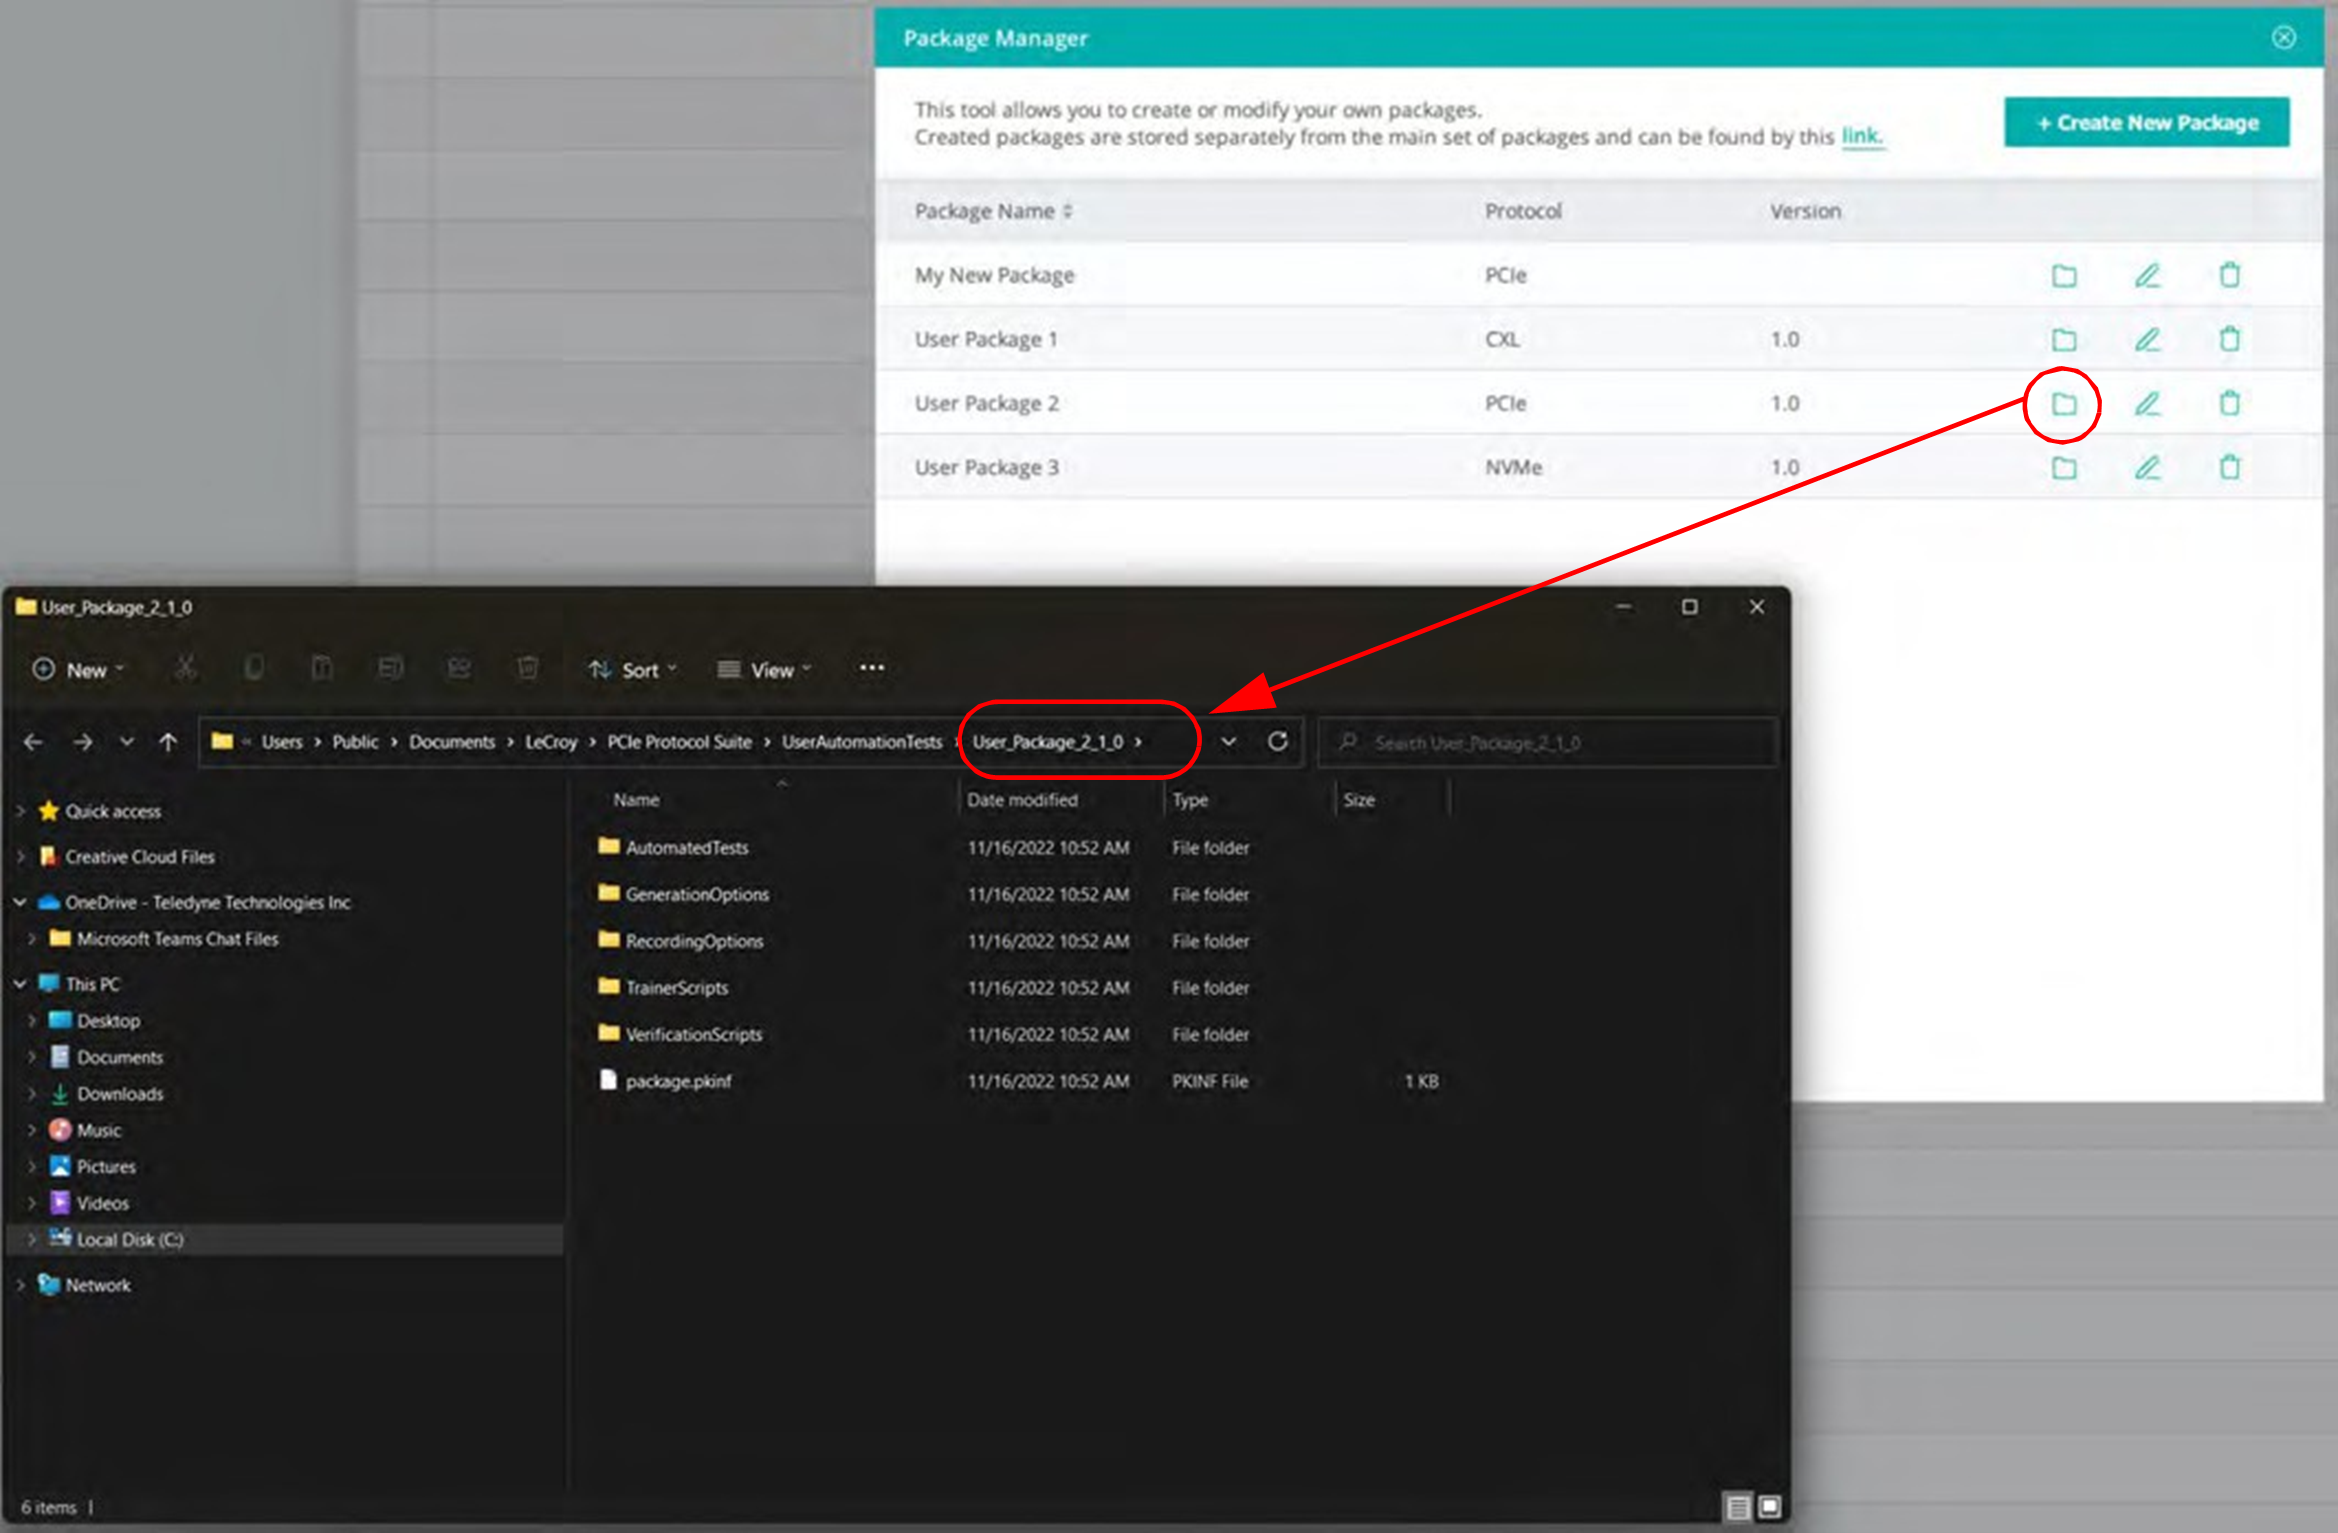
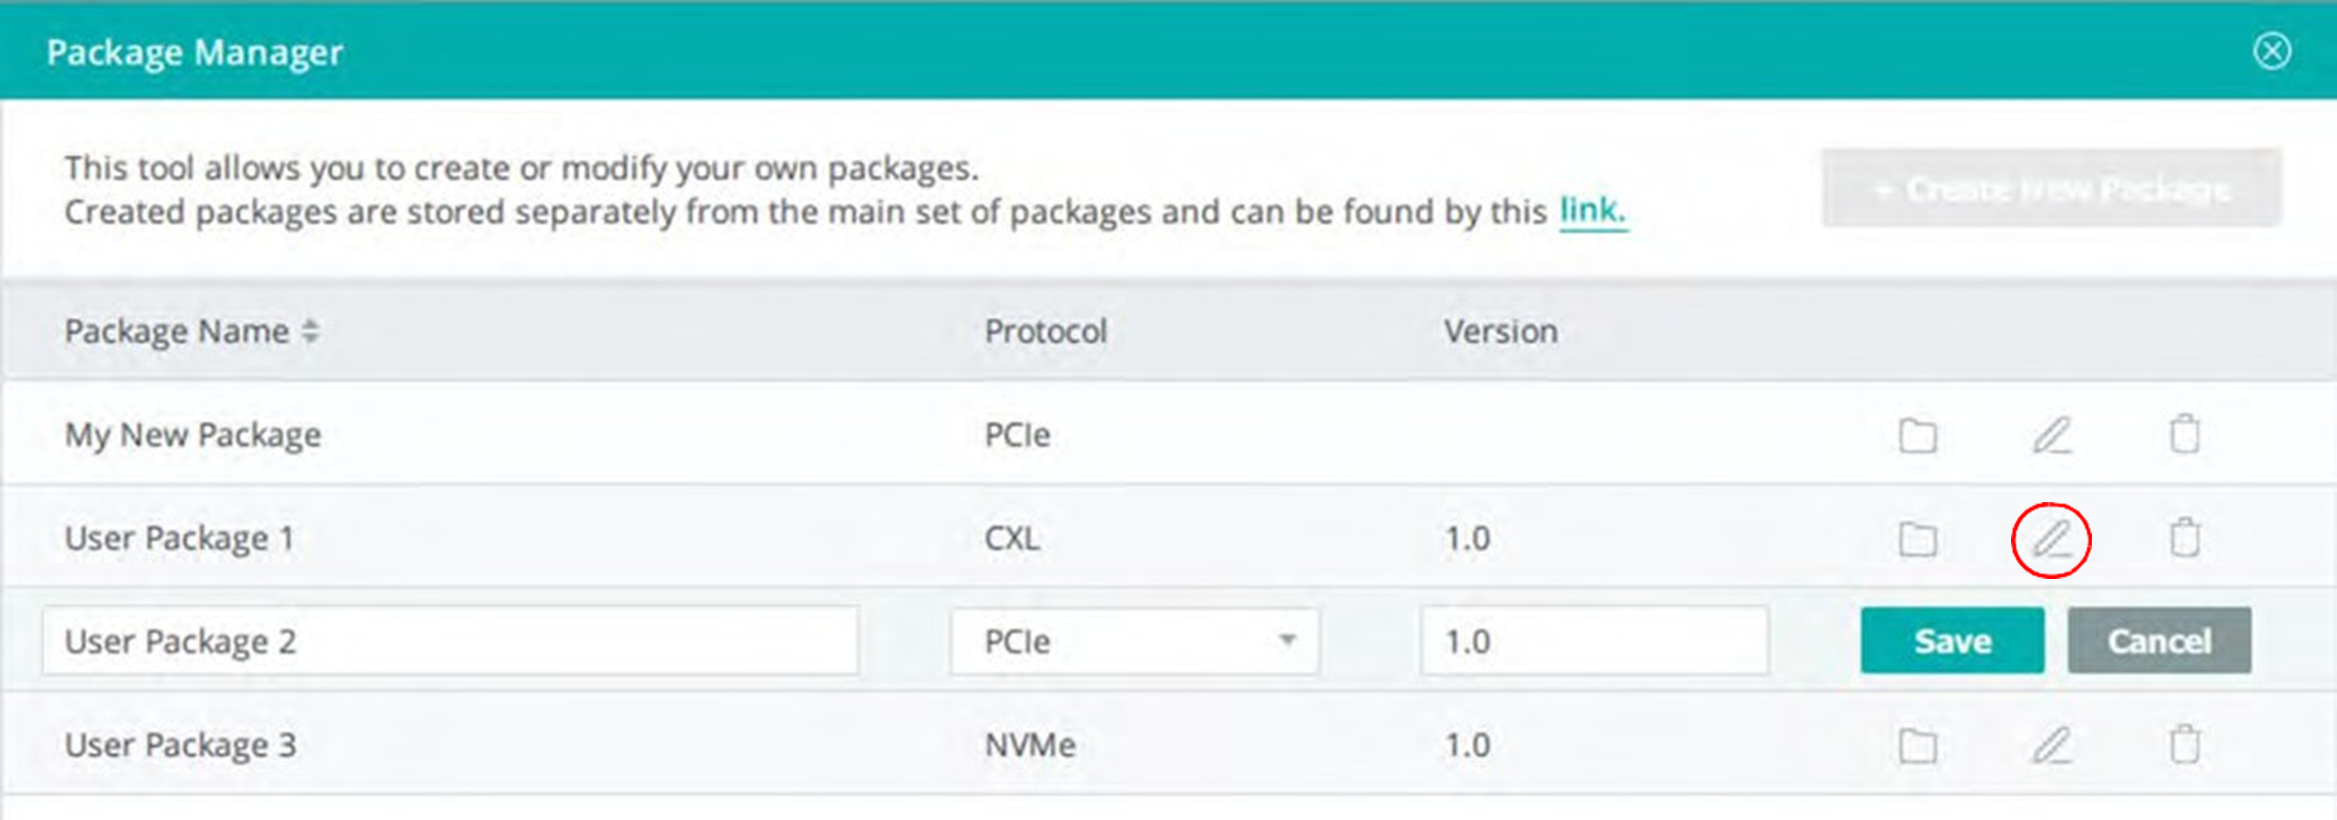
Once you have created a package, you can view its location; edit the package name, test, and version; and delete the package.
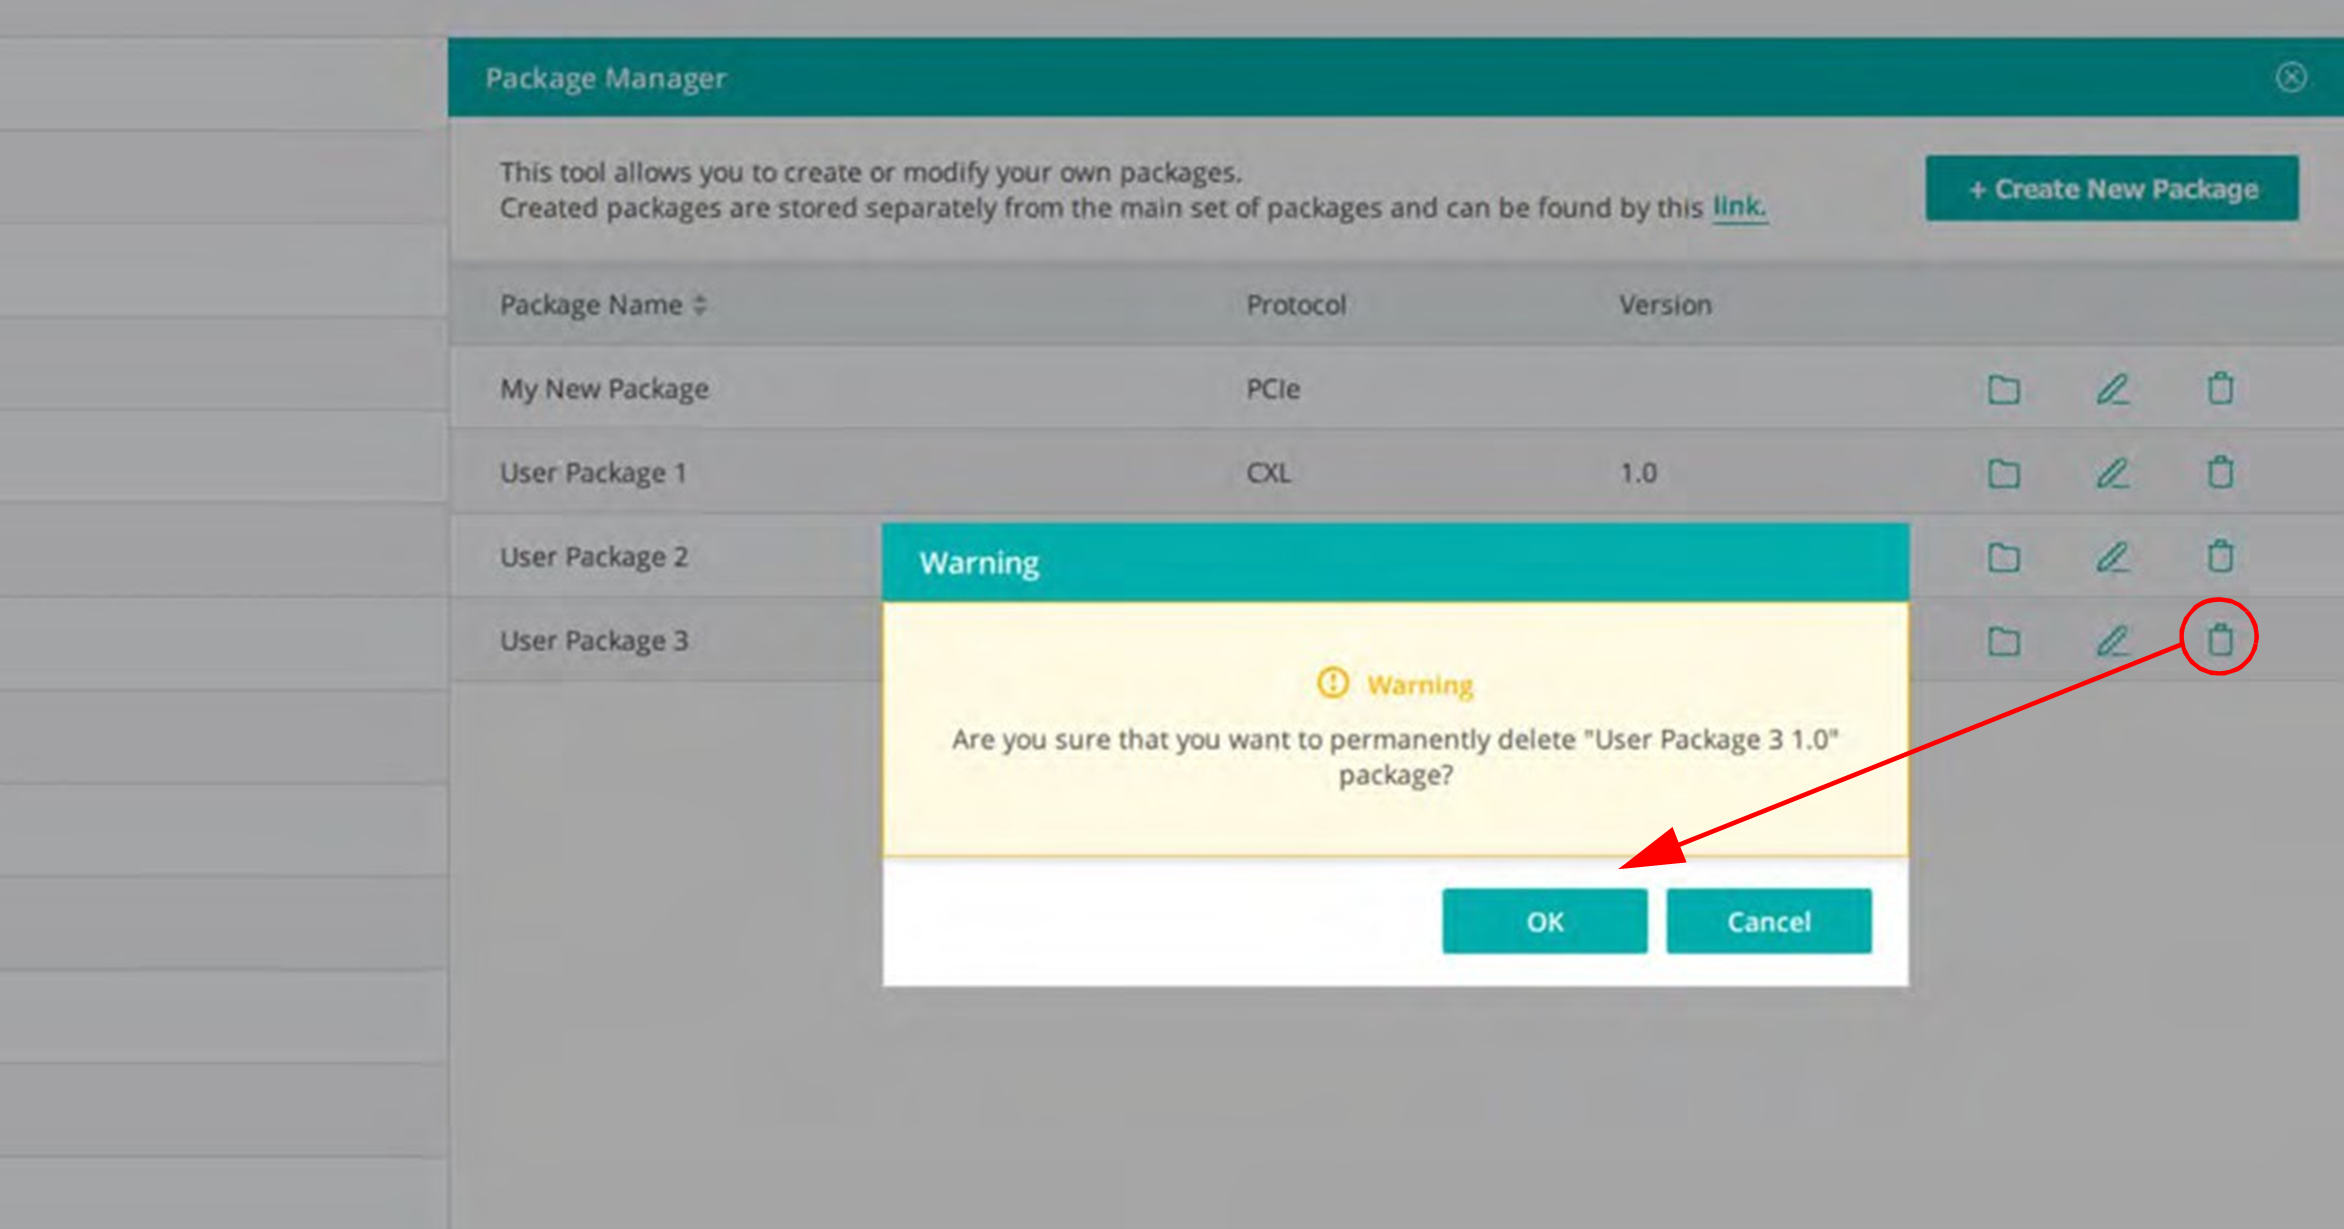
WARNING: Delete is permanent! It will delete the package and all its folders.
|
Option |
Description |
|---|---|
|
View Location |
Folder Icon: Displays the location of the newly created package. Linkexpert creates a folder for the package. |
|
Edit Package |
Pencil Icon: Allows you to edit the name, test, and version. Click Save to save changes. |
|
Delete Package |
Trash Can Icon: Deletes the package. Click OK on the Warning dialog to verify that you want to permanently delete the package. |
Sections
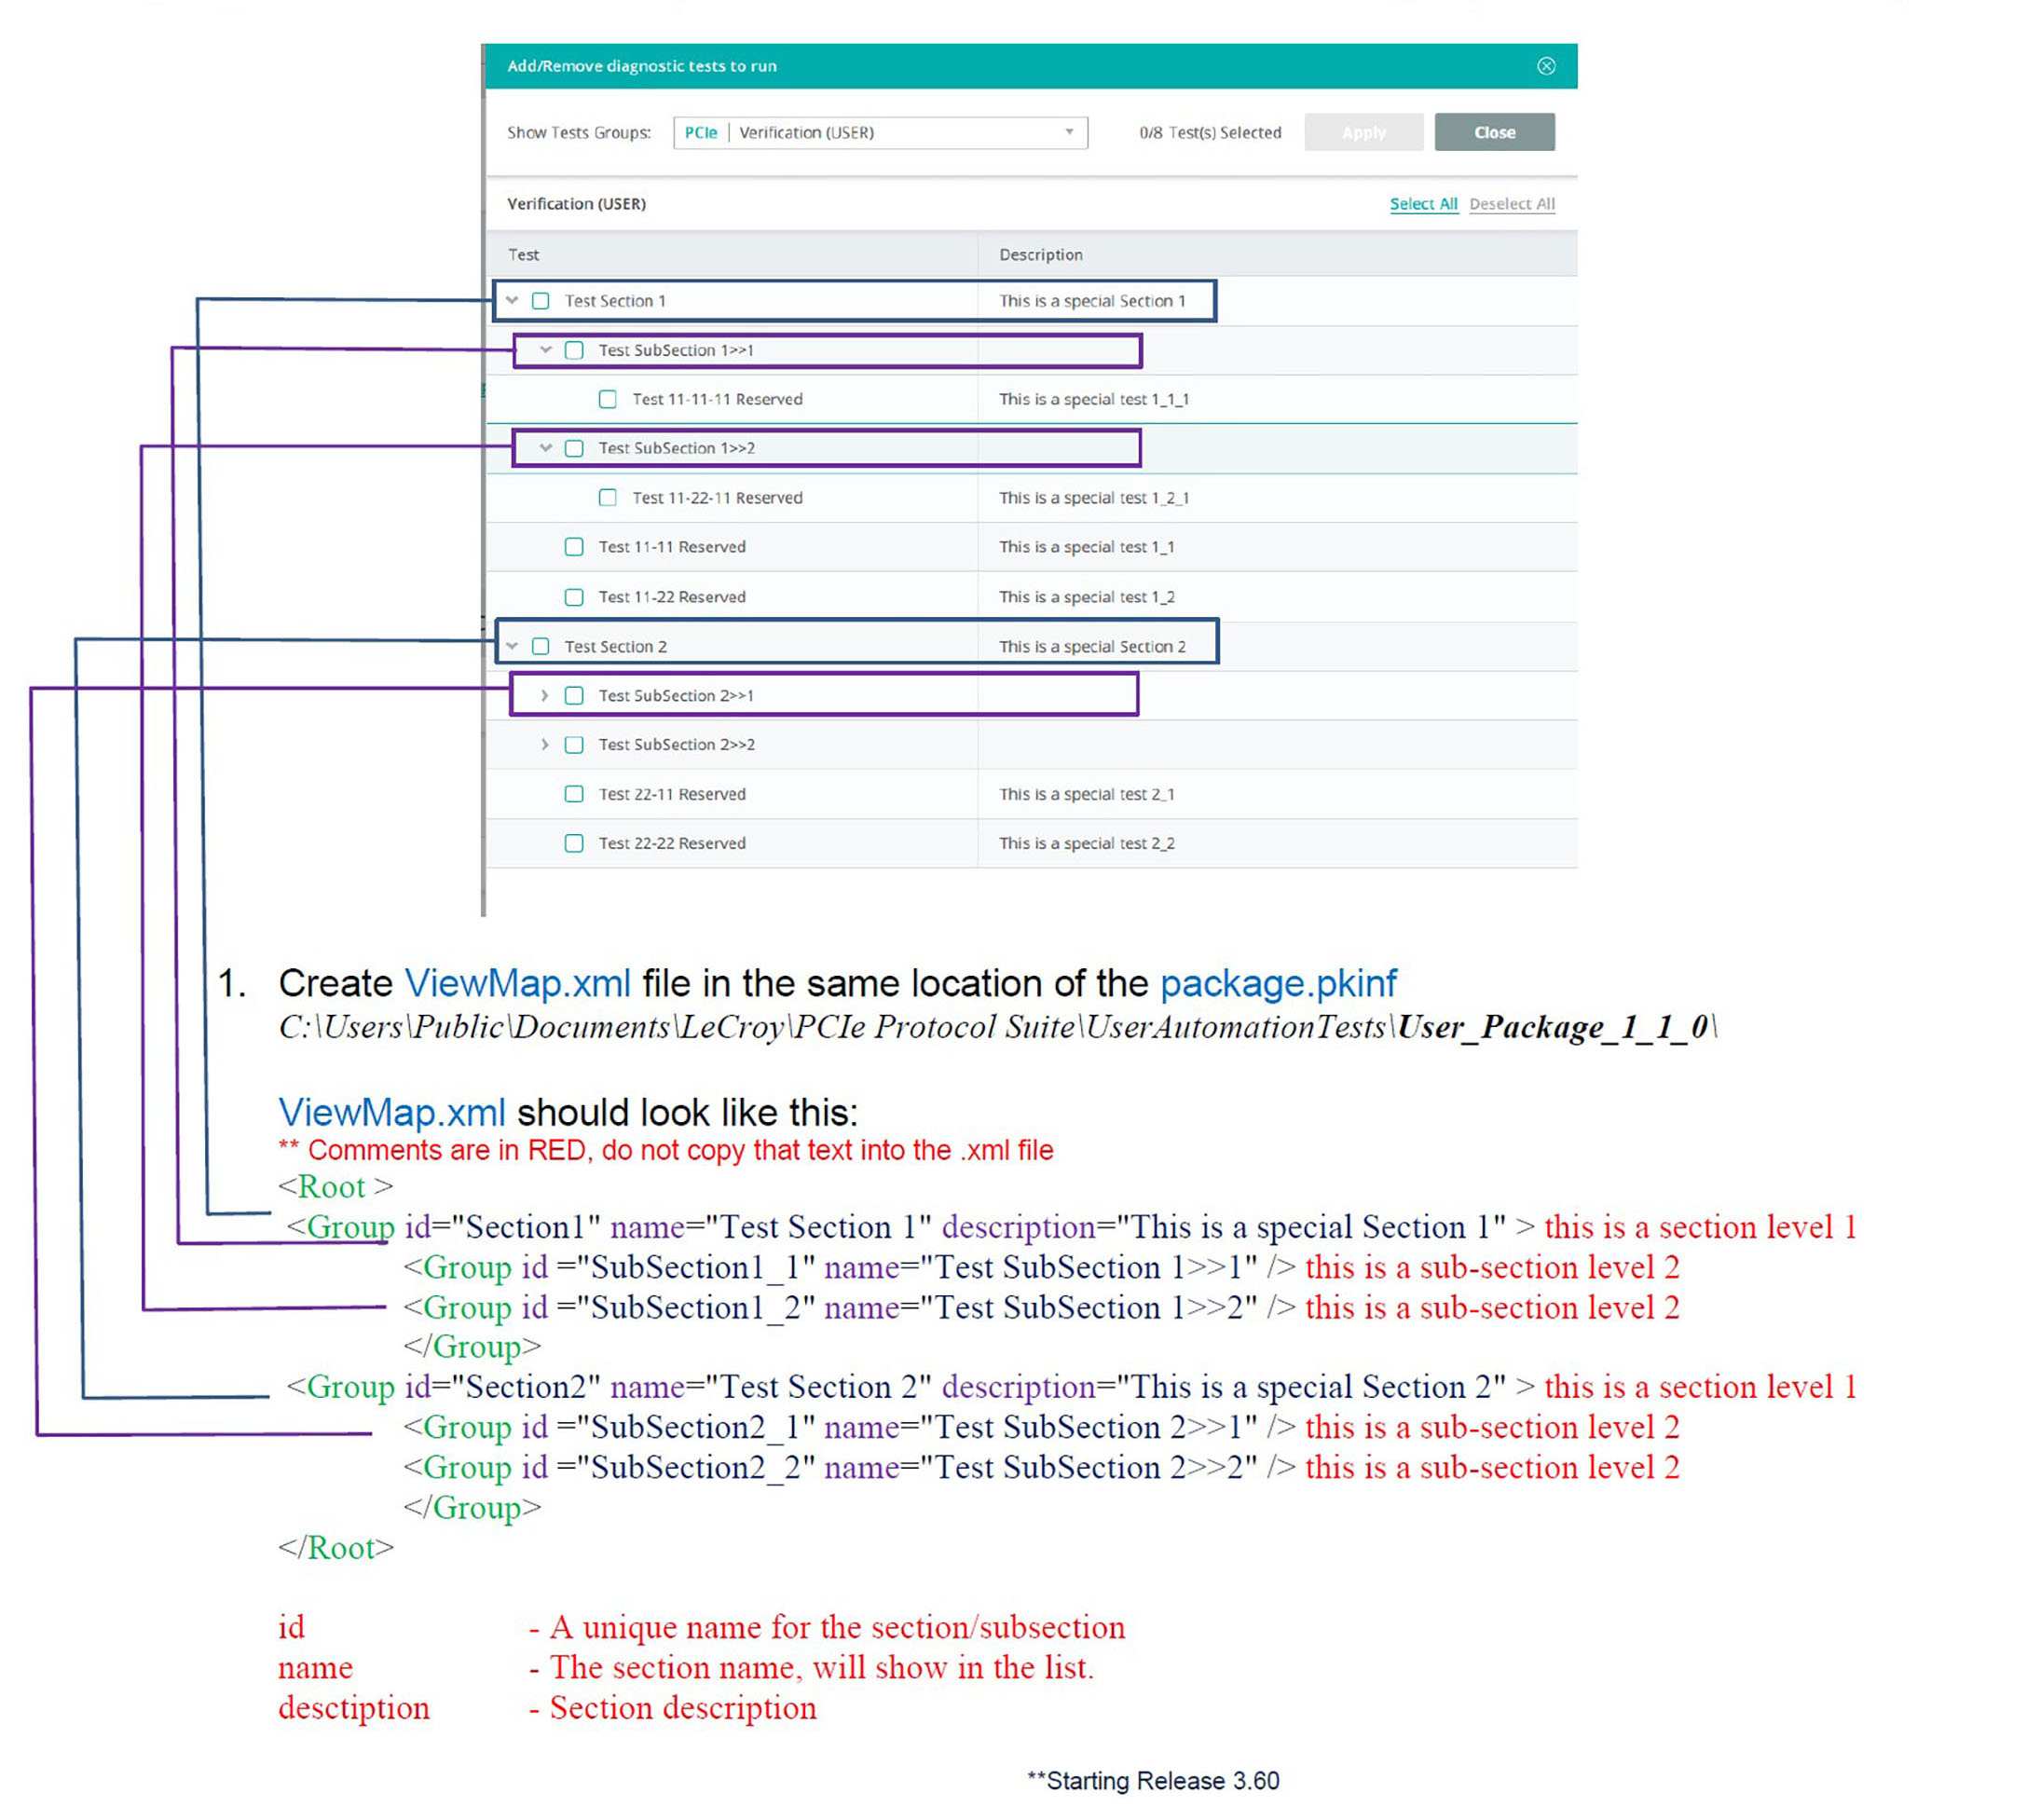
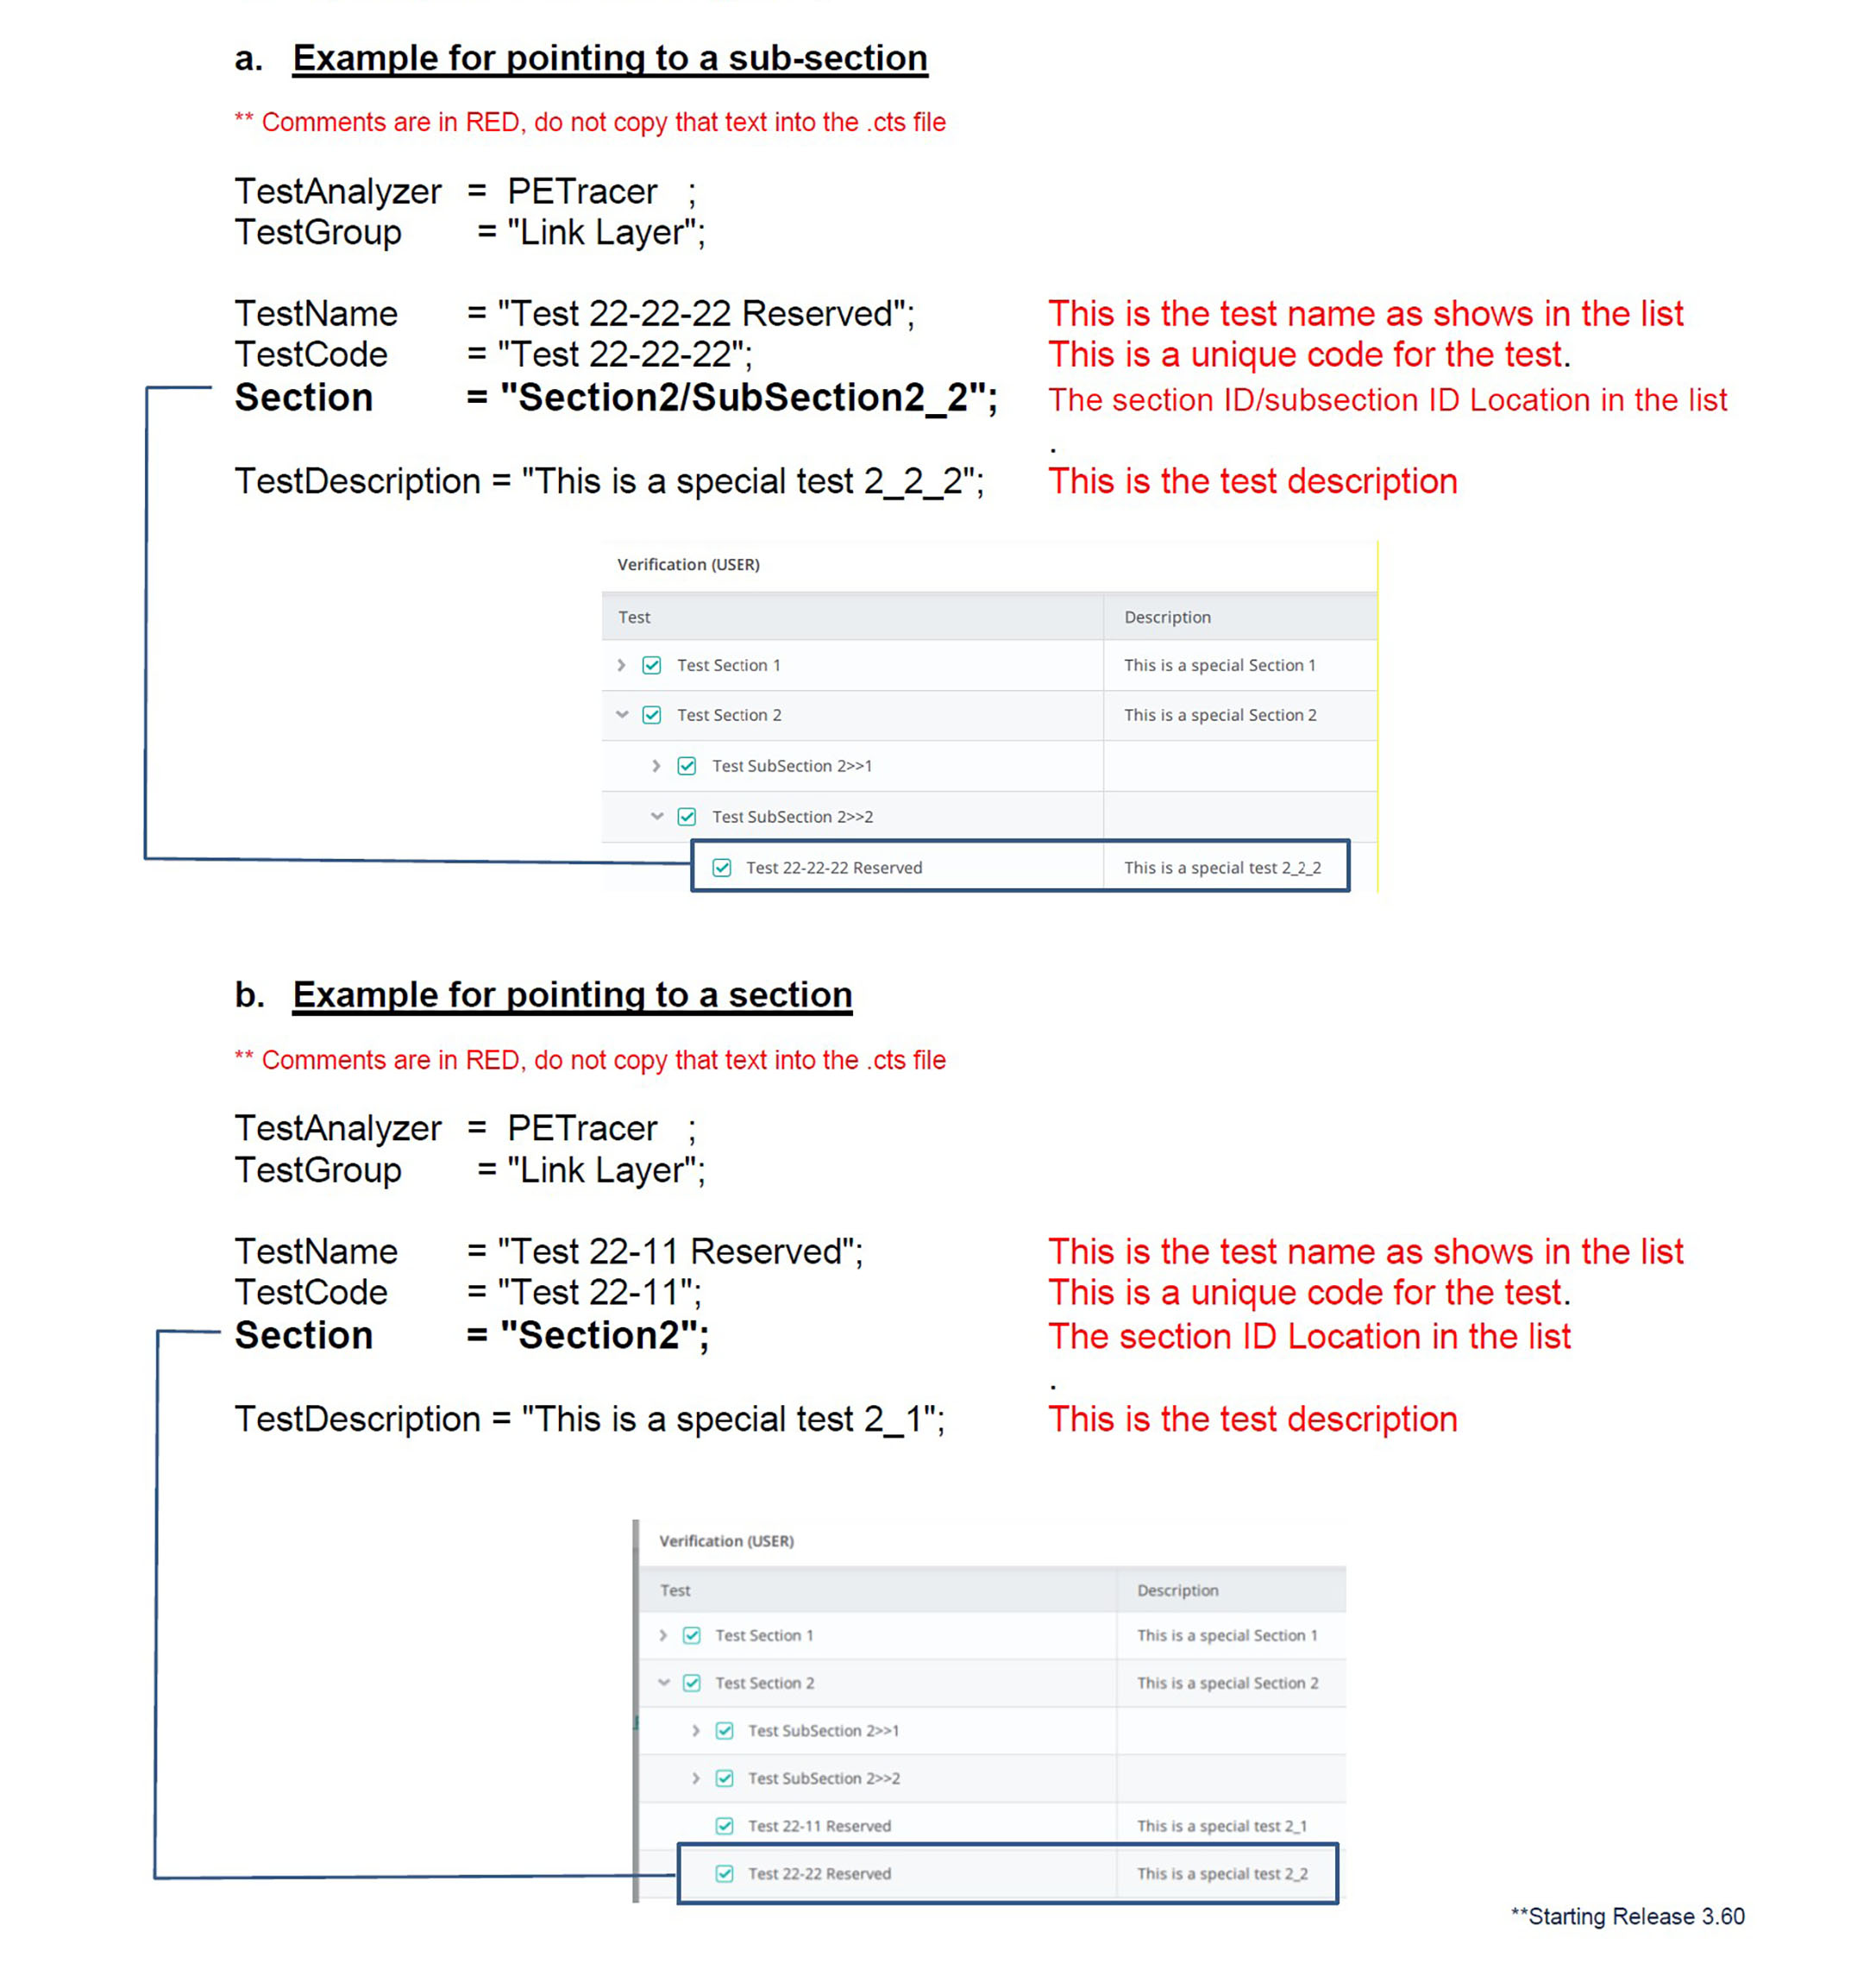
You can separate your test scripts into sections and sub-sections as part of a User Tests Package.
For implementing this feature, you create a new ViewMap.xml file and update the .cts files to point to a section/sub-section.
-
Create the ViewMap.xml file in the same location of the package.pkinf file. This is typically the package location, such as:
C:\Users\Public\Documents\LeCroy\PCIe Protocol Suite\UserAutomationTests\User_Package_1_1_0\
-
Edit the user’s *.cts files, adding the pointers to the section or sub-section.
Package Manager Sections: Step 1
Help Menu
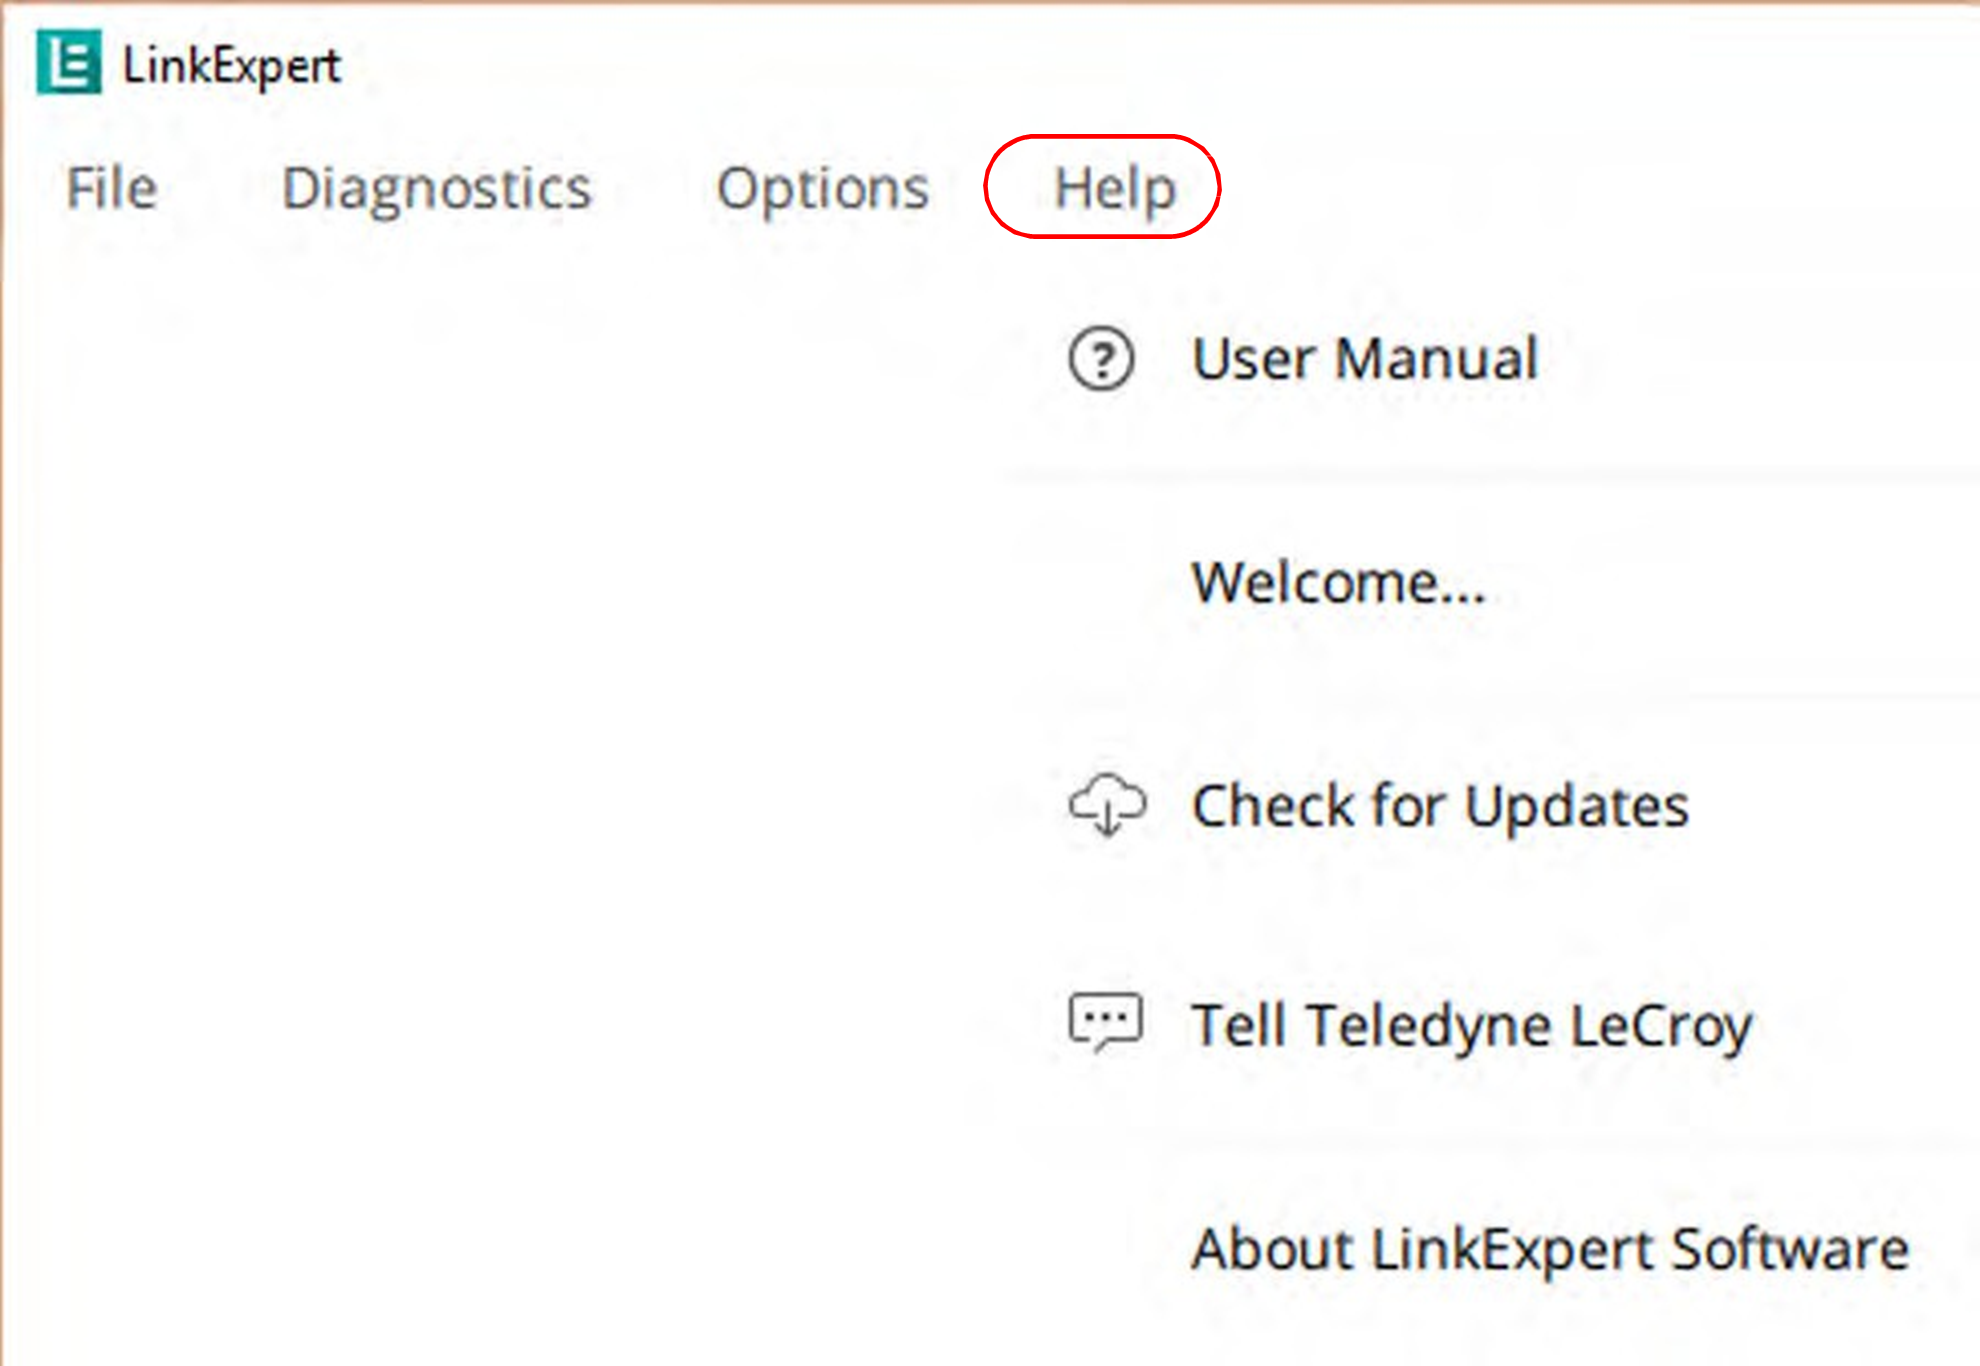
Click the Help menu to display the following dialog.
Diagnostics Pane
The Diagnostics Pane shows available diagnostic tests.
Note: Not all tests are available for all protocols.
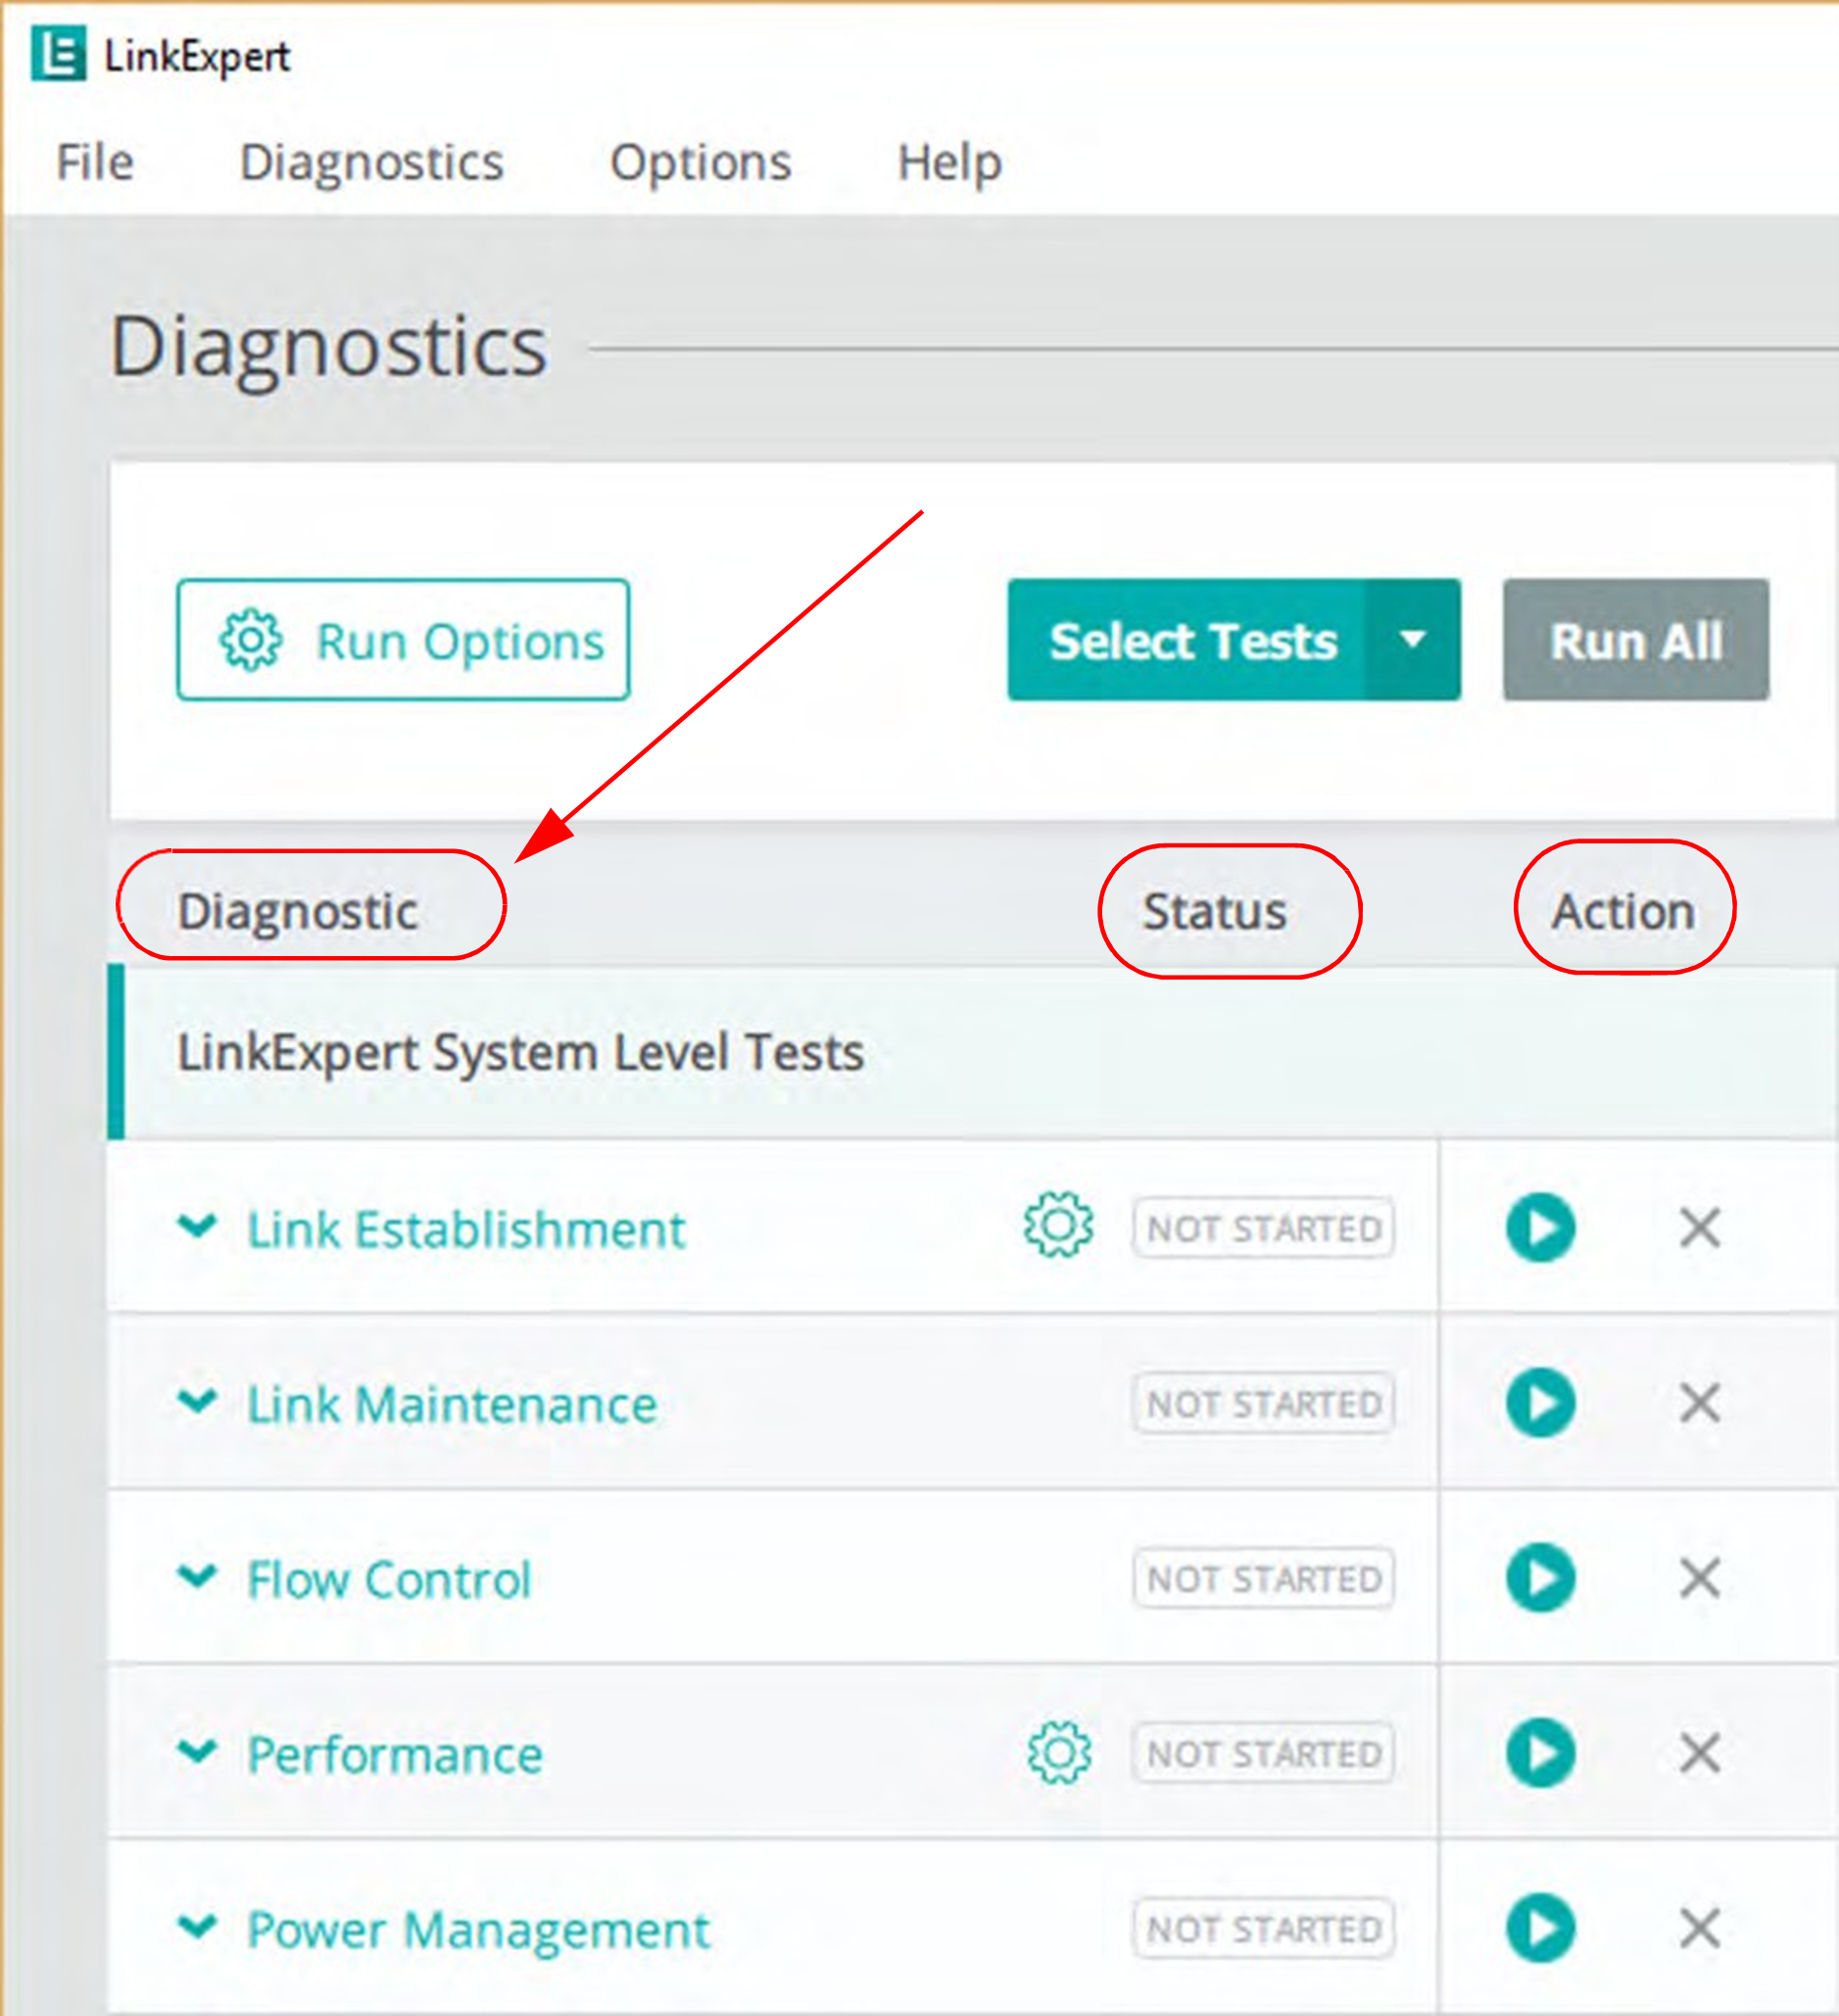
The Diagnostics Section of the Main LinkExpert Screen has the following sections:
-
Diagnostic: List of selected tests
-
Status: Not Started, Running, Stopped, Passed/Failed
-
Action: Run a Test, Delete a Test
Run Options
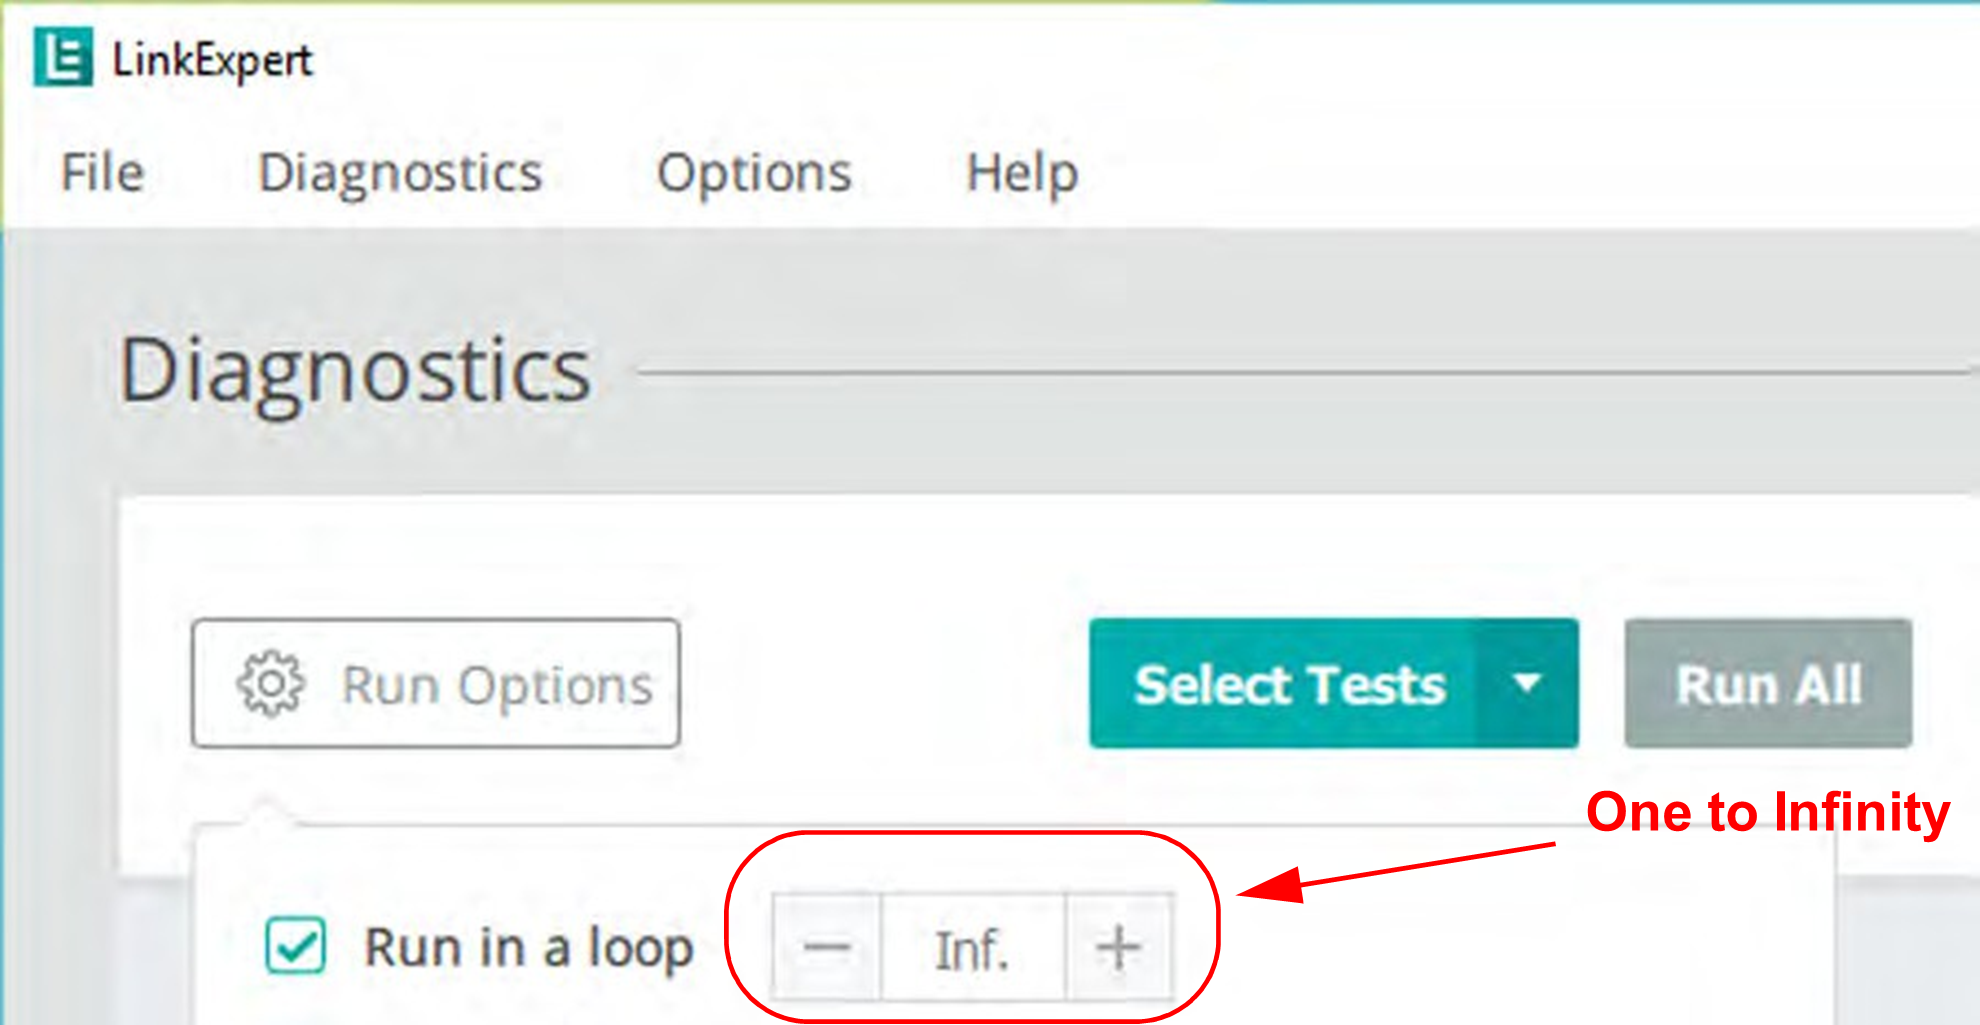
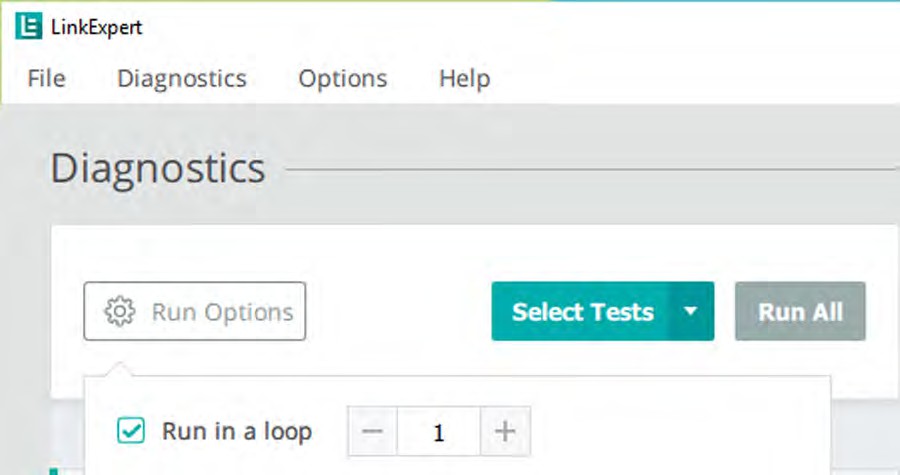
You can select how many times you want the diagnostic to be executed from 1 to infinity times.
Run in a loop (Infinity)
Run in a loop (1)
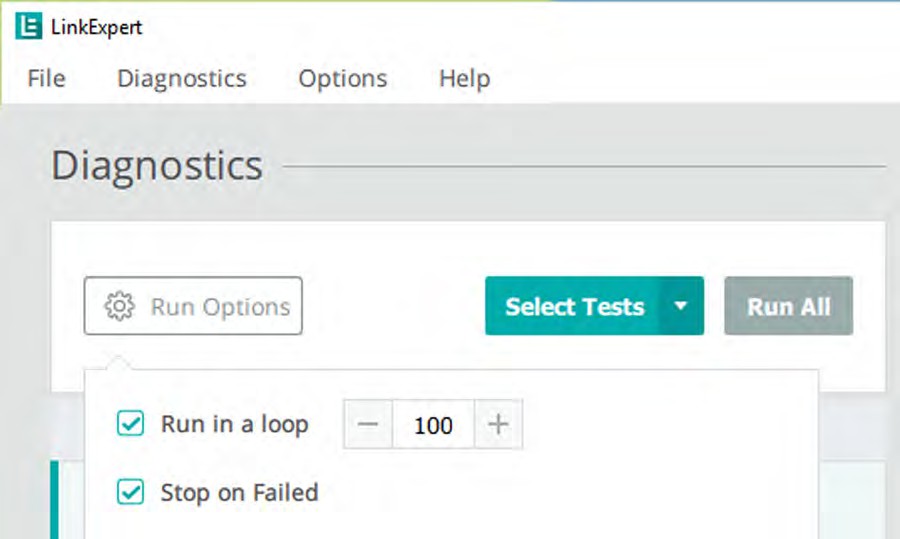
Stop on Failed (While in Loop)
Execution of Testing Stops on First Failure. You can also set the number of loops to execute.
Select Tests
Note: This is an alternative way to load the sets of tests, similar to the method described in “Diagnostics Menu”.
When you click the Select Tests button, a window pops up with all the sets of diagnostic tests available and a short description of their functionality.
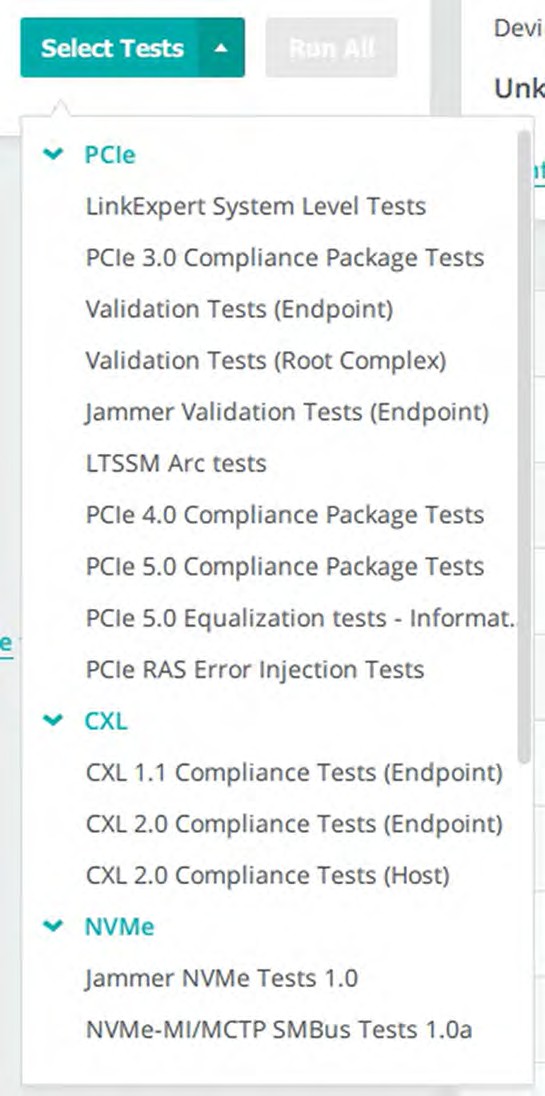
From the Select Tests dialog, select from the following sets of test to run:
PCIe
-
LinkExpert System Level Tests
-
PCIe 3.0 Compliance Package Tests
-
Validation Tests (Endpoint)
-
Validation Tests (Root Complex)
-
Jammer Validation Tests (Endpoint)
-
LTSSM Arc Tests
-
PCIe 4.0 Compliance Package Tests
-
PCIe 5.0 Compliance Package Tests
-
PCIe 5.0 Equalization Tests - Information Only
-
PCIe RAS Error Injection Tests
CXL
-
CXL 1.1 Compliance Package Tests (Endpoint)
-
CXL 2.0 Compliance Package Tests (Endpoint)
-
CXL 2.0 Compliance Package Tests (Host)
NVMe
-
Jammer NVMe Tests 1.0
-
NVMe-MI/MCTP SMBus Tests 1.0a
-
NVMe-MI/MCTP SMBus Tests 1.1
-
NVMe-MI/MCTP VDM Tests 1.0a
-
NVMe-MI/MCTP VDM Tests 1.1
Net
-
Auto Negotiation and Link Training
-
UNH Test Suite 1.0 Build 1-RC
SAS
-
SAS Tests
Select Tests and Run All
The Select Test and Run All buttons have tooltips, which define the function of each button. To see the tooltip, hover the mouse over the button and the tooltip displays.
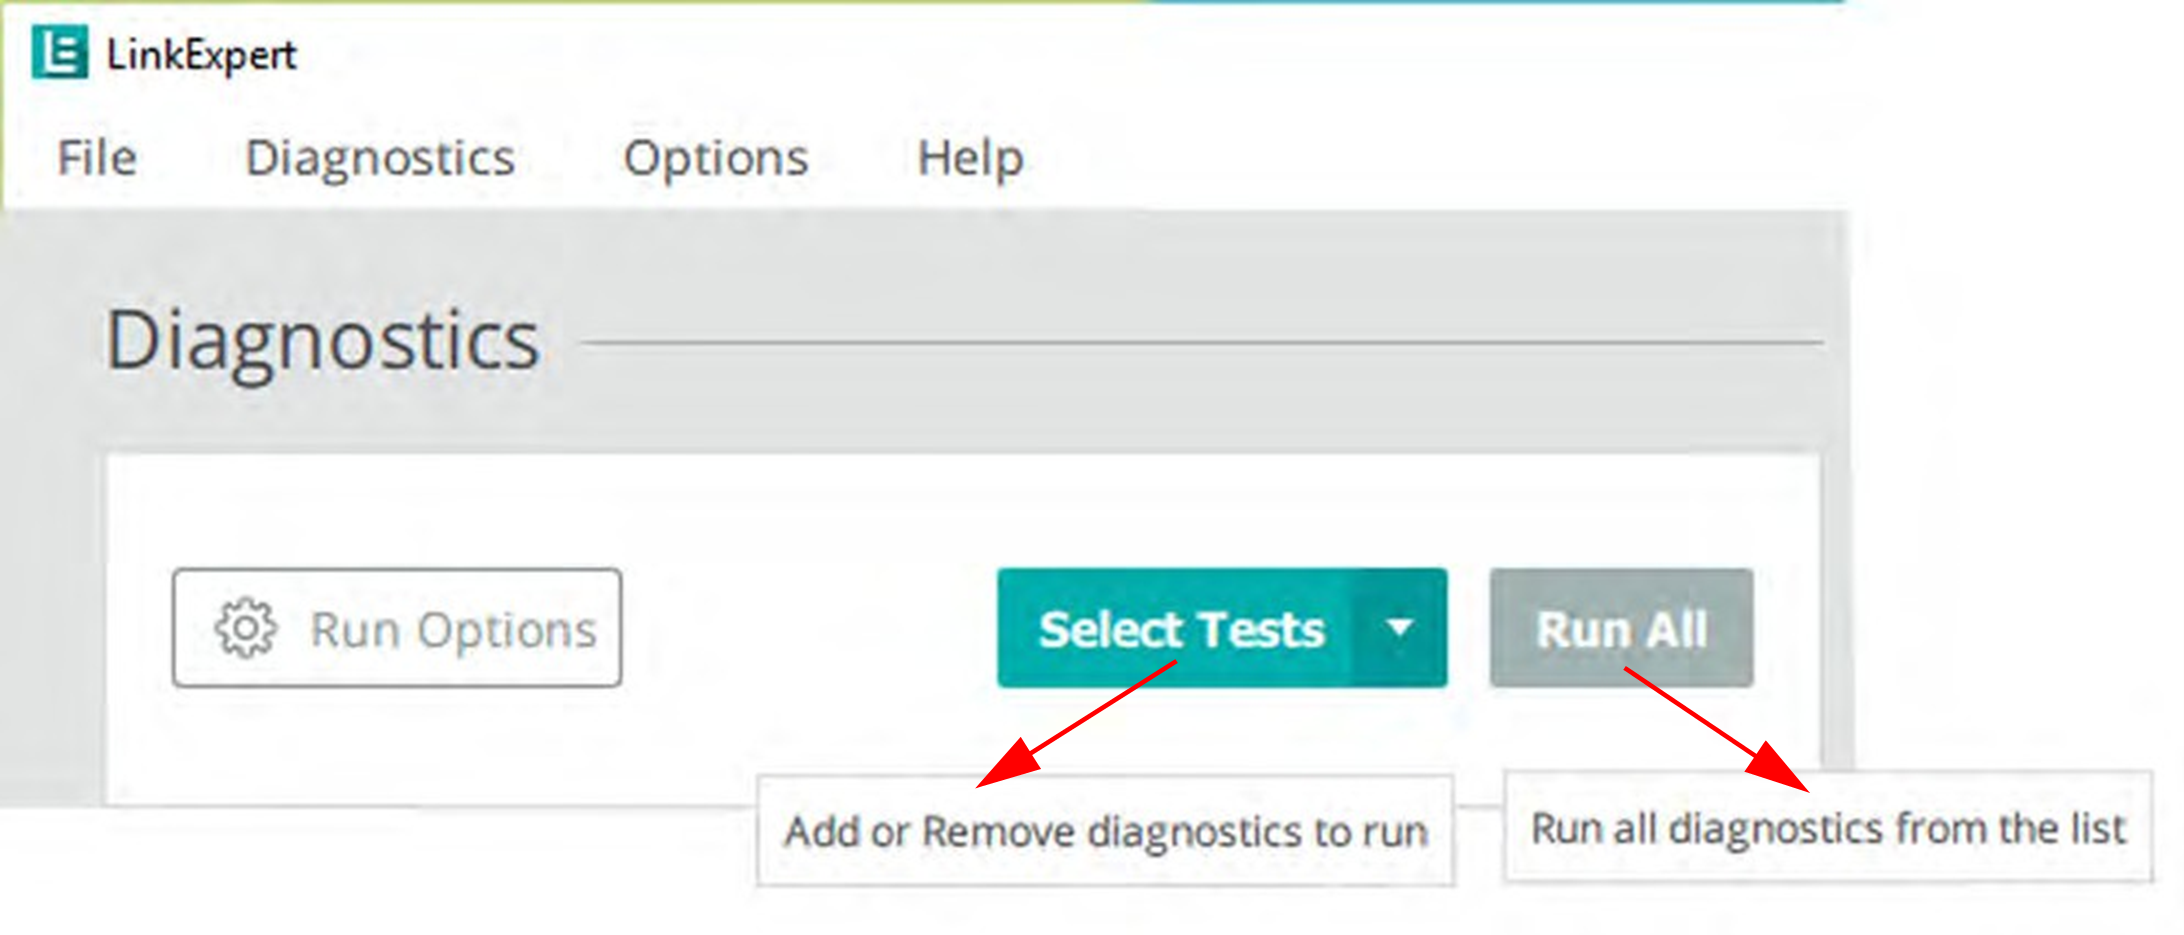
After you select the Run Options and sets of tests to execute, click Run All to execute all of the selected tests sequentially.
The results of each test can be seen Analysis Results section of the user interface.