
Software Installation Requirements
The following table shows the required Xena software version to run AN/LT tests.
|
Component |
Required |
|---|---|
|
Xena Manager software |
r106 or later versions |
|
Freya Firmware |
66 or later versions |
Hardware Configurations for Specific Test Sets
The following table shows the hardware configurations required to execute specific test sets.
|
Test Set |
Hardware Required |
|---|---|
|
Auto Negotiation and Link Training Tests |
Host PC DUT SierraNet M1288 Analyzer SierraNet M1288 Probe Xena Z800 Freya Traffic Generator |
Initial Connection
-
Analyzer Devices: The analyzer/exerciser you have chosen to use (see Initial Connection Process)
-
Initially, no analyzer has been connected
-
Initial Connection Process
Initially no devices will be connected after power up.
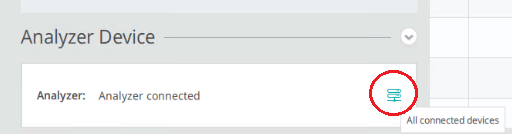
Select the All Connected Devices icon in the Analyzer Device Pane. This opens a dialog box showing all the devices available on the network.
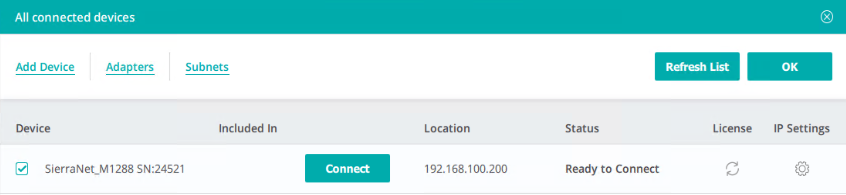
The All Connected Devices dialog box allows you to:
-
Add a device
-
Check on the adapter you are using
-
Add subnets to the network you are using
-
Refresh the list of devices
-
Update IP settings
-
Check on the license for the device
-
Include or excluded an analyzer in the test process
-
Connect to analyzers and exercisers to start using LinkExpert
Note: All of these topics are covered in more detail in the user manual for the analyzer or exerciser you are using.
Add Device
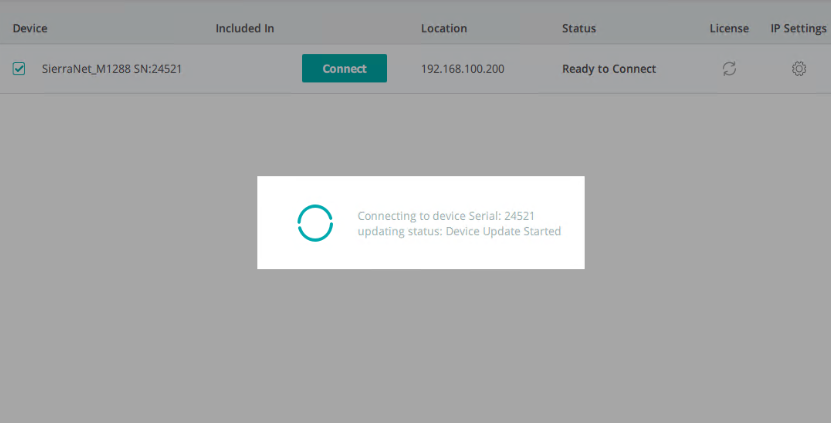
When you select this tab the following dialog box will pop up, which allows you to add other devices to your test set.
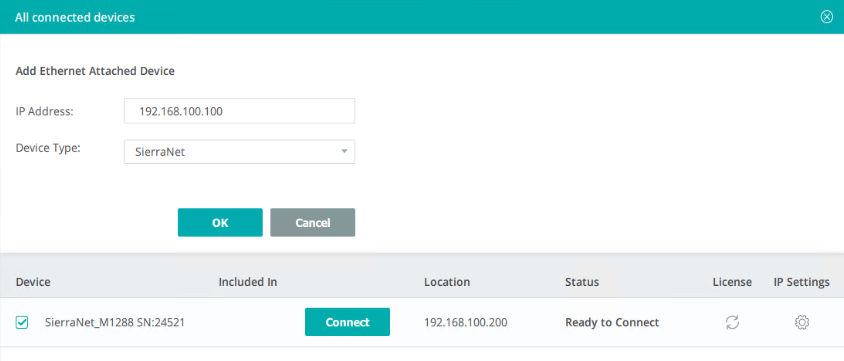
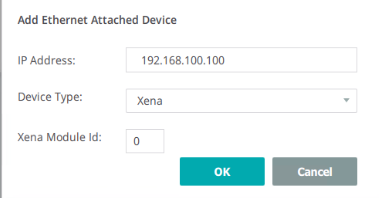
SierraNet devices are automatically discovered and listed. Xena devices must be manually added by IP address and module id.
Upon connecting to a SierraNet device, a device update might be required; updates can take 15 minutes to complete.
Check Adapter
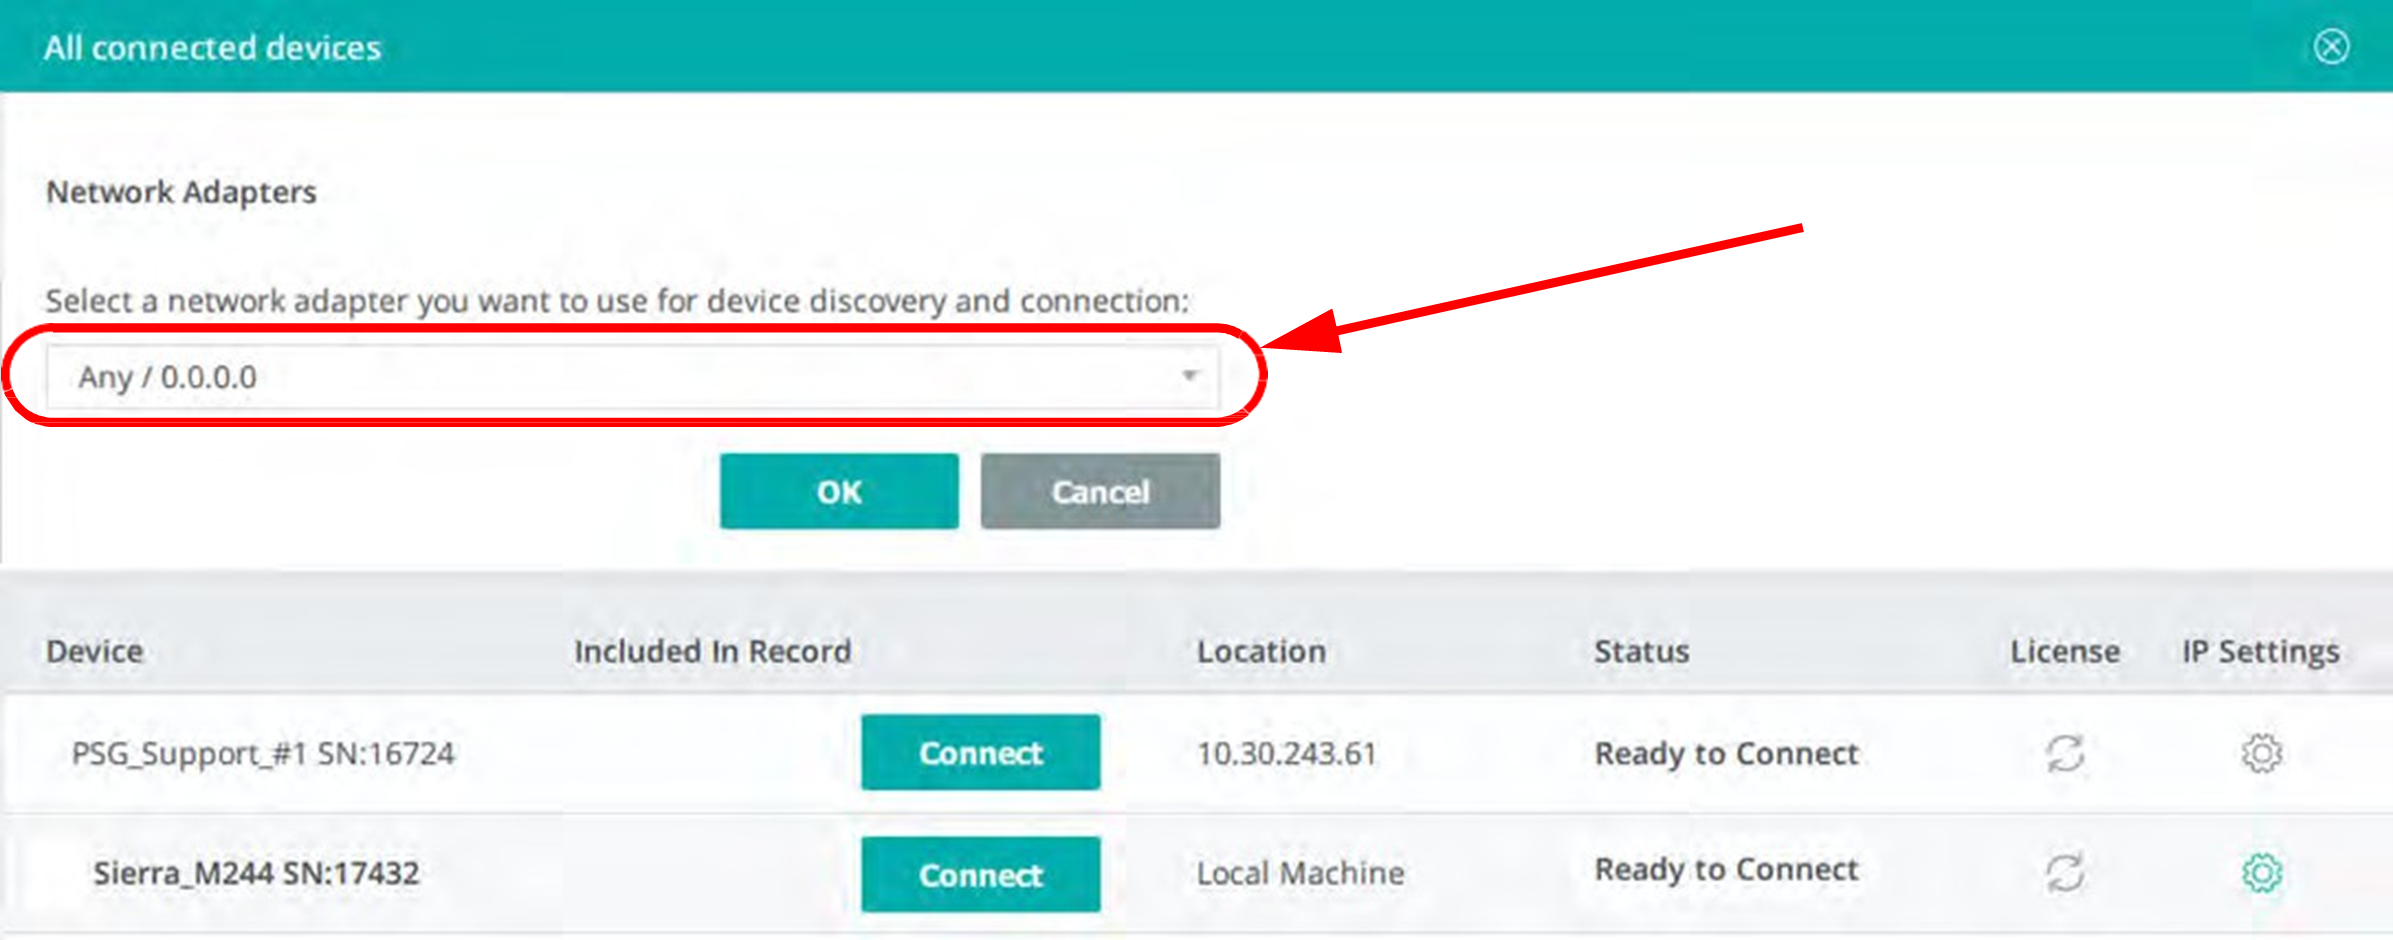
If you select this tab, the following information about the Adapter you are using opens.
Add Subnet
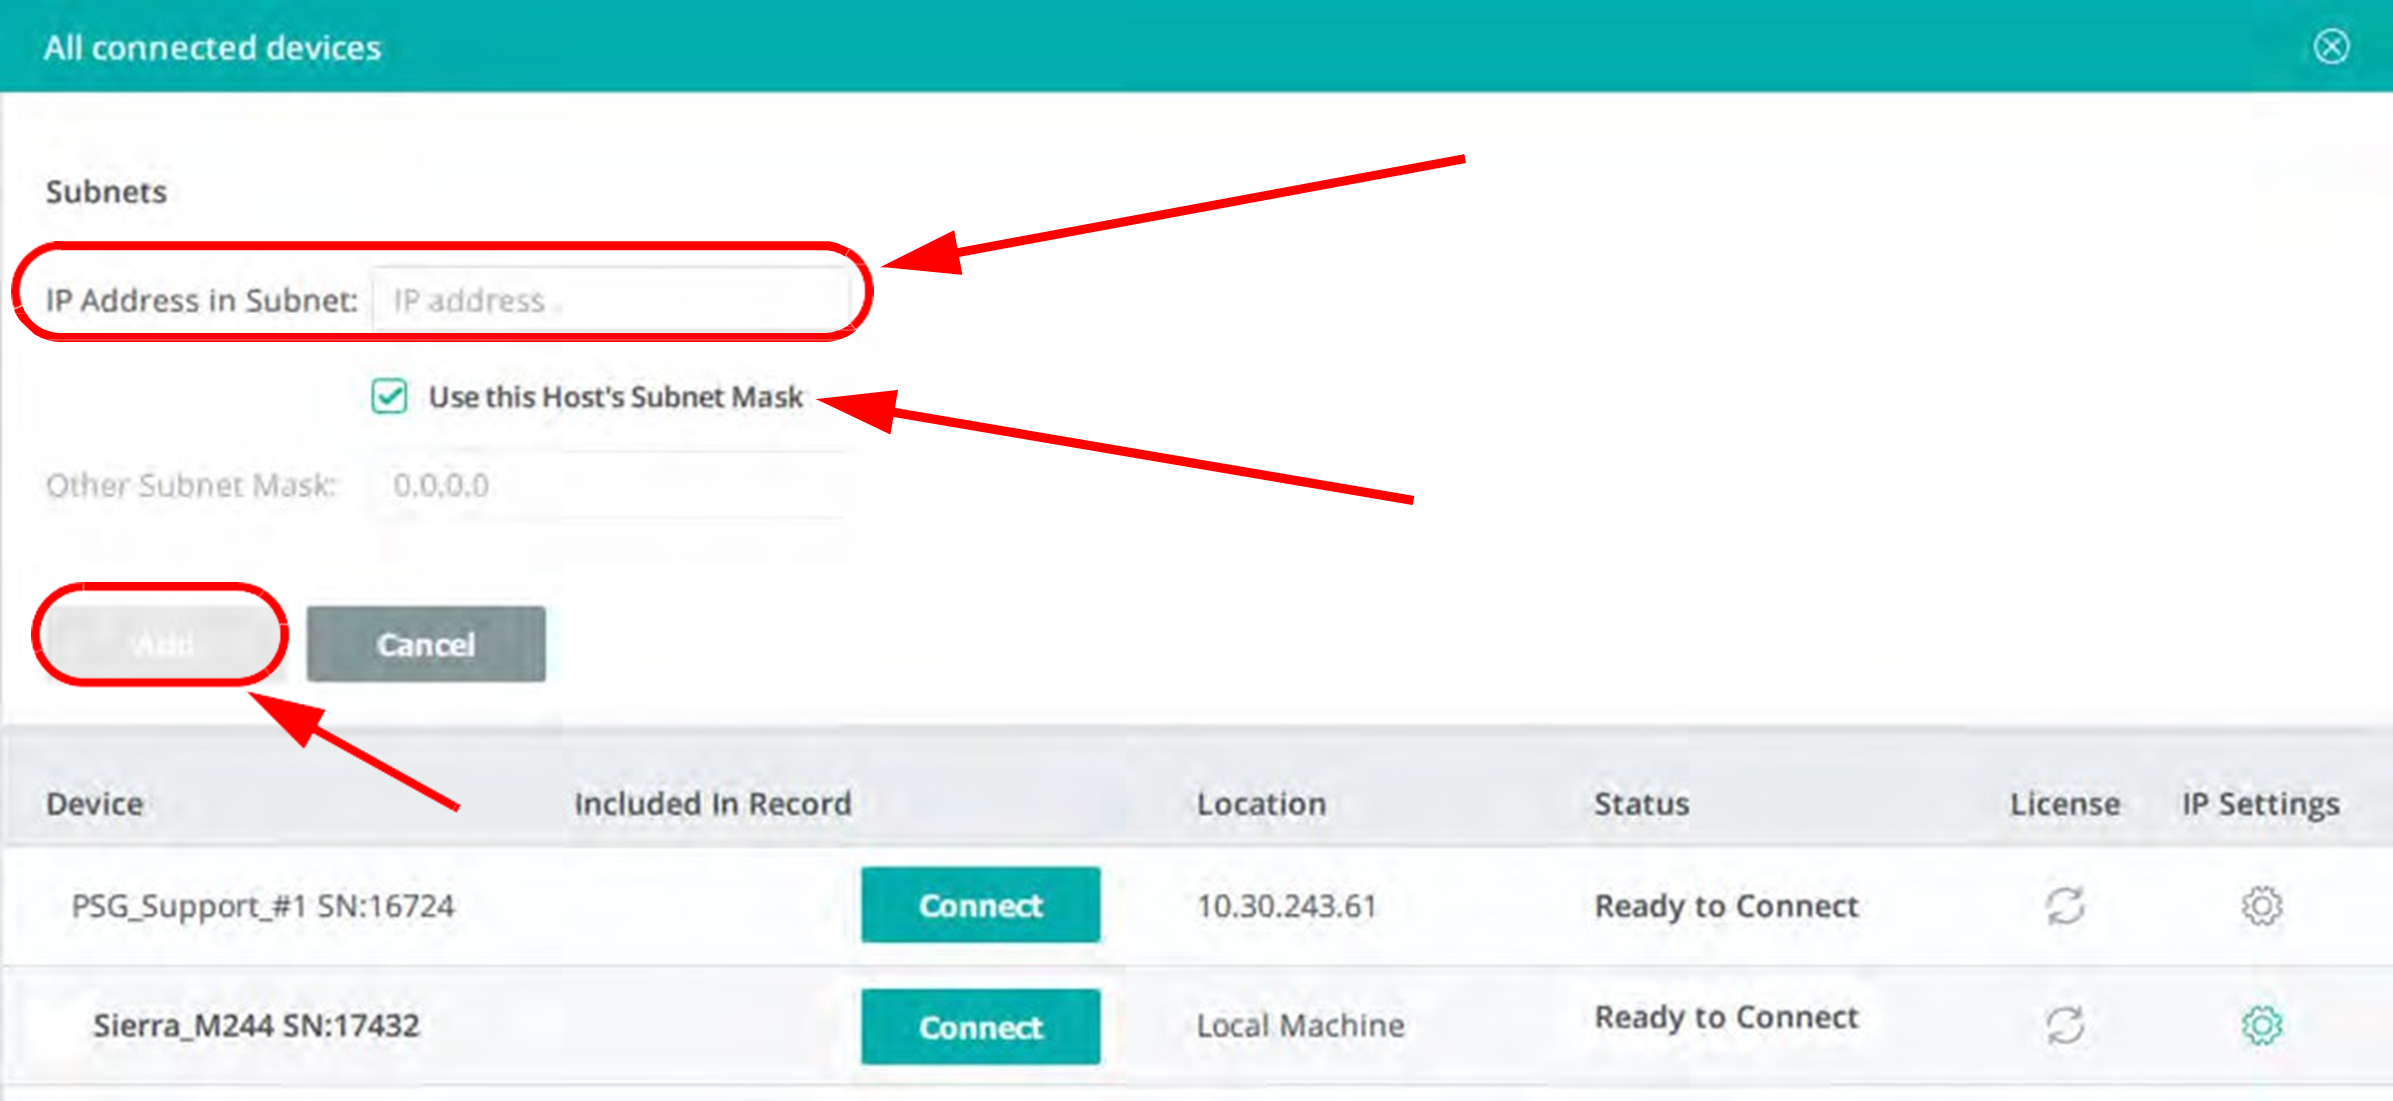
If you want to add a subnet to the system under test, select the Add Subnet tab to open the following dialog.
Example: SierraNet M1288 and Xena Freya
For this example, a SierraNet M1288 analyzer and a Xena Freya module are connected. This is the required configuration for running the Auto Negotiation and Link Training tests.
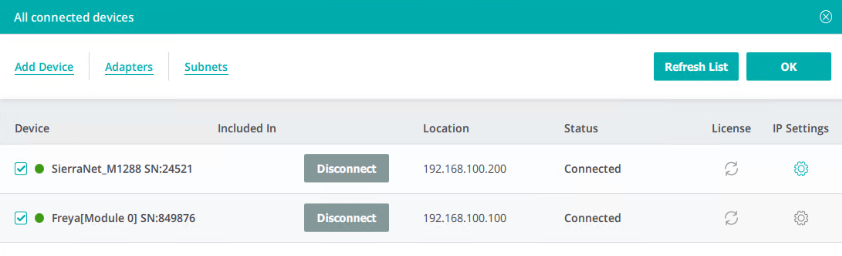
You’ll notice the Status is Connected and the button in front of each device is green.
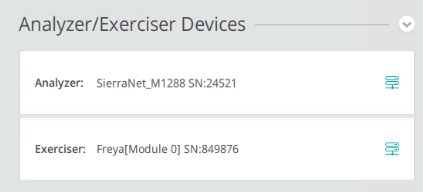
Click OK to return to the main menu. You’ll see that the devices are connected. The SierraNet M1288 functions as an analyzer, and the Xena Freya functions as an exerciser.
Selecting and Running Tests
You can select a subset of all the tests in a group by clicking on the first test you want to run .
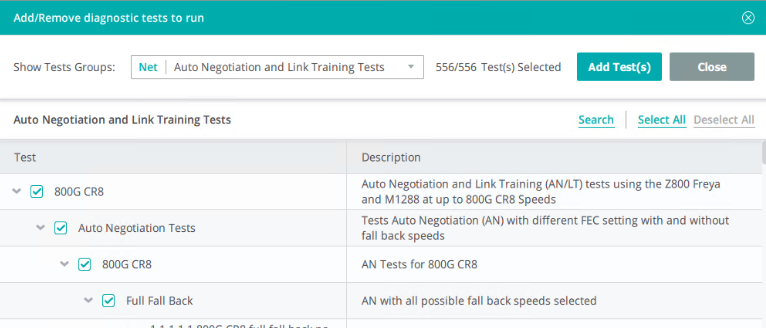
Once a subset of tests has been selected, click Add Test(s).
If you click Add Test(s) and you have selected text from different set, the following warning message opens, explaining that you can only run one type of test at a time:
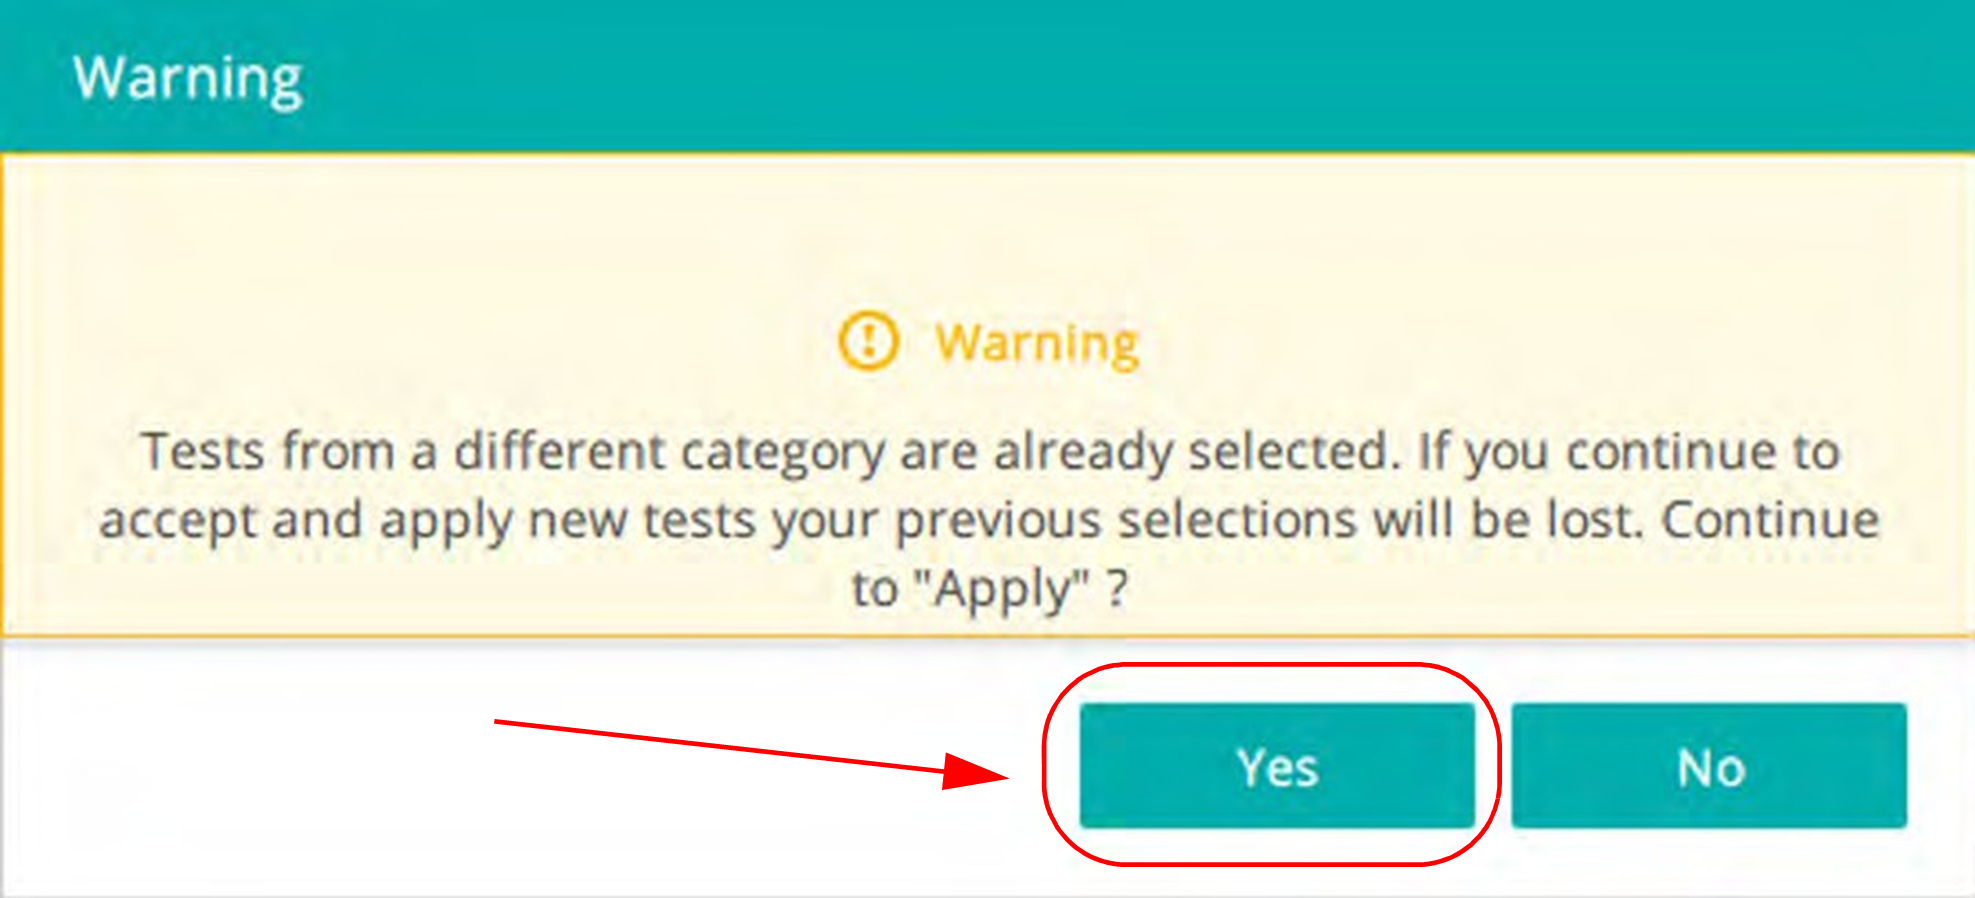
Note: If you have selected one set of tests and then select a new set, the old set will be lost.
After you have selected and applied the tests you want to run, the test selection dialog will change to gray out Apply; only Close button will be active.
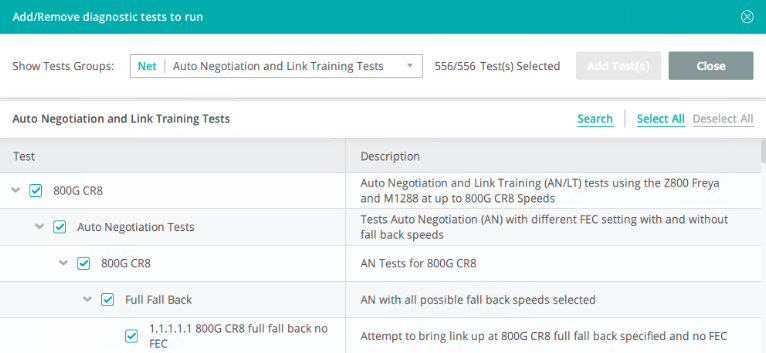
Click Close. The tests are loaded and ready to be executed.
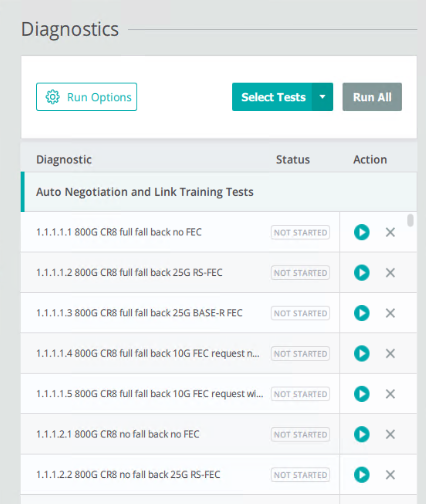
Click the white arrow to run the test.
Upon running a test, you might be prompted to perform one or more configuration actions and confirm before proceeding with the test.
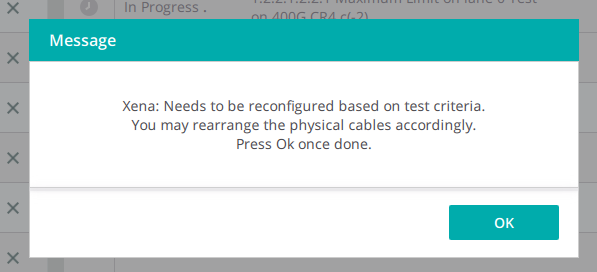
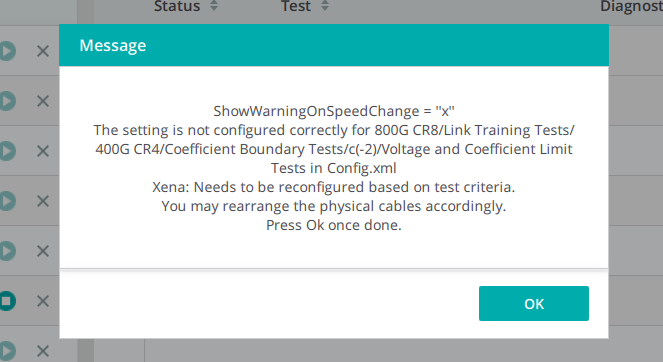
After clicking OK on the prompt, the test will continue.
See “Analysis Results” to see the results of the test.
Enable/Disable Auto Negotiation on Xena Port
You can control the Xena to enable/disable Auto Negotiation on port through the “EnableANFromTesterPort” setting. You can find this setting in C:\Users\Public\Documents\LeCroy\LinkExpert\scripts\Net_Script\Config.xml:
"1": Enable Auto Negotiation
"0": Disable Auto Negotiation
Example : Config.xml
<ConfigMap>

    <!--The following enable AN for every test under “800G CR8” (All test) -->

    <config path="800G CR8" EnableANFromTesterPort="1"></config>

    <!--The following override the previous setting for specific tests to run the test without Auto Negotiation -->

    <config path="800G CR8/Link Training Tests/100G CR1/Coefficient Boundary Tests/c(0)/Maximum Limit Tests" EnableANFromTesterPort="0"></config>

</ConfigMap>
After changing the Config.xml, the effect will be applied to the next test.