
The Toolbar provides access to the most popular program functions. Tooltips briefly describe the functionality of each icon and menu item when the mouse hovers over the icon/item.

Files, Searches & Options
|
Button |
Description |
|
Button |
Description |
|
|
Open Files |
|
|
Set up Recording Options. See Recording Options. |
|
|
Find. See Find Functionality. |
|
Find Next |


Zoom In/Zoom Out
|
Button |
Description |
|
Button |
Description |
|
|
Zoom In |
|
|
Zoom Out |


Miscellaneous
|
Button |
Description |
|
Button |
Description |
|
|
Display Realtime Statistics. See Real-Time Monitoring. |
|
|
Decoding Settings See Decode Requests. |
|
|
Display Stacking View. See Stacking. |
|
|
Export Tunneled USB3.0 or Export Tunneled PCIe traffic to new trace. |


Analysis (Reports)
|
Button |
Description |
|
Button |
Description |
|
|
Link Tracker. See Link Tracker. |
|
|
Bus Utilization. See Bus Utilization. |
|
|
Opens the Navigator Bar. See Using the Navigator. |
|
Spec View. See Spec View. |
|
|
|
Decoded Fields View. See Decoded Fields View. |
|
Detail View. See Detail View. |
|
|
|
Show USB 3.2 Link State Timing View See USB4 Configuration Space View. |
|
Show USB 3.2 LTSSM View. See LTSSM View. |
|
|
|
Show Power Tracker. (Power captures are supported only on Voyager M3i, M3x, M310, and M310C.) See Power Tracker—VBUS & Configuration Channel (CC). |
|||


Recording
|
Button |
Description |
|
Button |
Description |
|
|
Start Recording |
|
|
Manual Trigger |
|
|
Stop Recording |
|
|


Generator (Traffic Generation for USB 3.2)
See Traffic Generation USB 3.2, USB4, & PD Exerciser.
|
Button |
Description |
|
Button |
Description |
|
|
Go to USB 3.2 Exerciser window |
|
|
Manual Trigger |

Generator (Traffic Generation for USB 2)
|
Button |
Description |
|
Button |
Description |
|
|
Start or Stop Traffic Generation (available if you have the Traffic Generation module). |
|
|
Bitstream and Intelliframe modes |
|
|
Repeat Mode. Becomes active when a traffic generation file (*.utg) is open. It only applies during Host Emulation. Device Emulation does not support looping |
|
|


View Level
See “Switch to Transactions View” and the following:
|
Button |
Description |
|
Button |
Description |
|
|
Display Packets. See Trace View Features. |
|
|
Display PTP Objects. See Switch to PTP Object Transfers. |
|
|
Display Transactions. See Switch to Transactions View. |
|
Display PTP Sessions. See Switch to PTP Sessions. |
|
|
|
Display Split Transactions. See Switch to Transactions View. |
|
|
Display SCSI Operations. See Switch to SCSI Operations. |
|
|
Display Transfers. See Switch to Transfer View. |
|
|
Display USB4 Operation Level. See Switch to USB4 Operations. |
|
|
Display PTP Transactions. See Switch to PTP Transactions. |
|
|
PTP Group. Click the down arrow to display the PTP Levels. |


Trace Views
See Compressed CATC Trace View and Spreadsheet View.
|
Button |
Description |
|
Button |
Description |
|
|
Normal CATC Trace View |
|
|
Compressed CATC Trace View |
|
|
Spreadsheet View (Color) |
|
Spreadsheet View (B/W) |


Export Tunneled PCIe Traffic, Tunneled USB3 or Tunneled DP Traffic
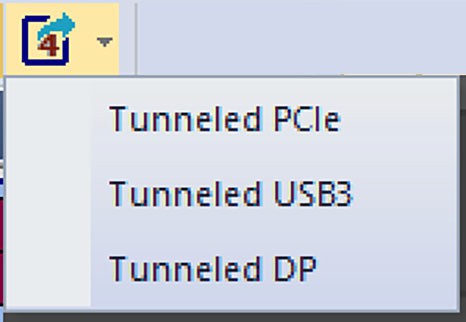
Use the 
PCIe Tunneling
If you load a USB4 trace with PCIe tunneled traffic and select Tunneled PCIe from the dro- down menu, you can quickly export the PCIe tunneled traffic to a new PCIe trace.
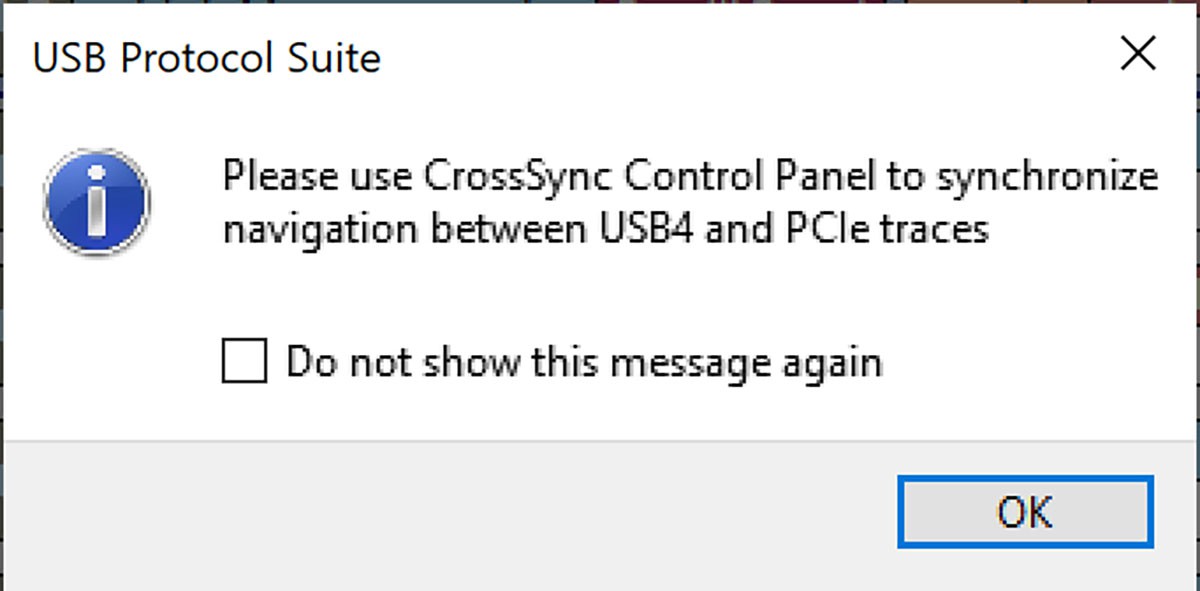
When you perform a Quick Export, an information message about using the CrossSync Control Panel appears. Click OK if you want to see both the USB4 trace and the PCIe trace simultaneously.
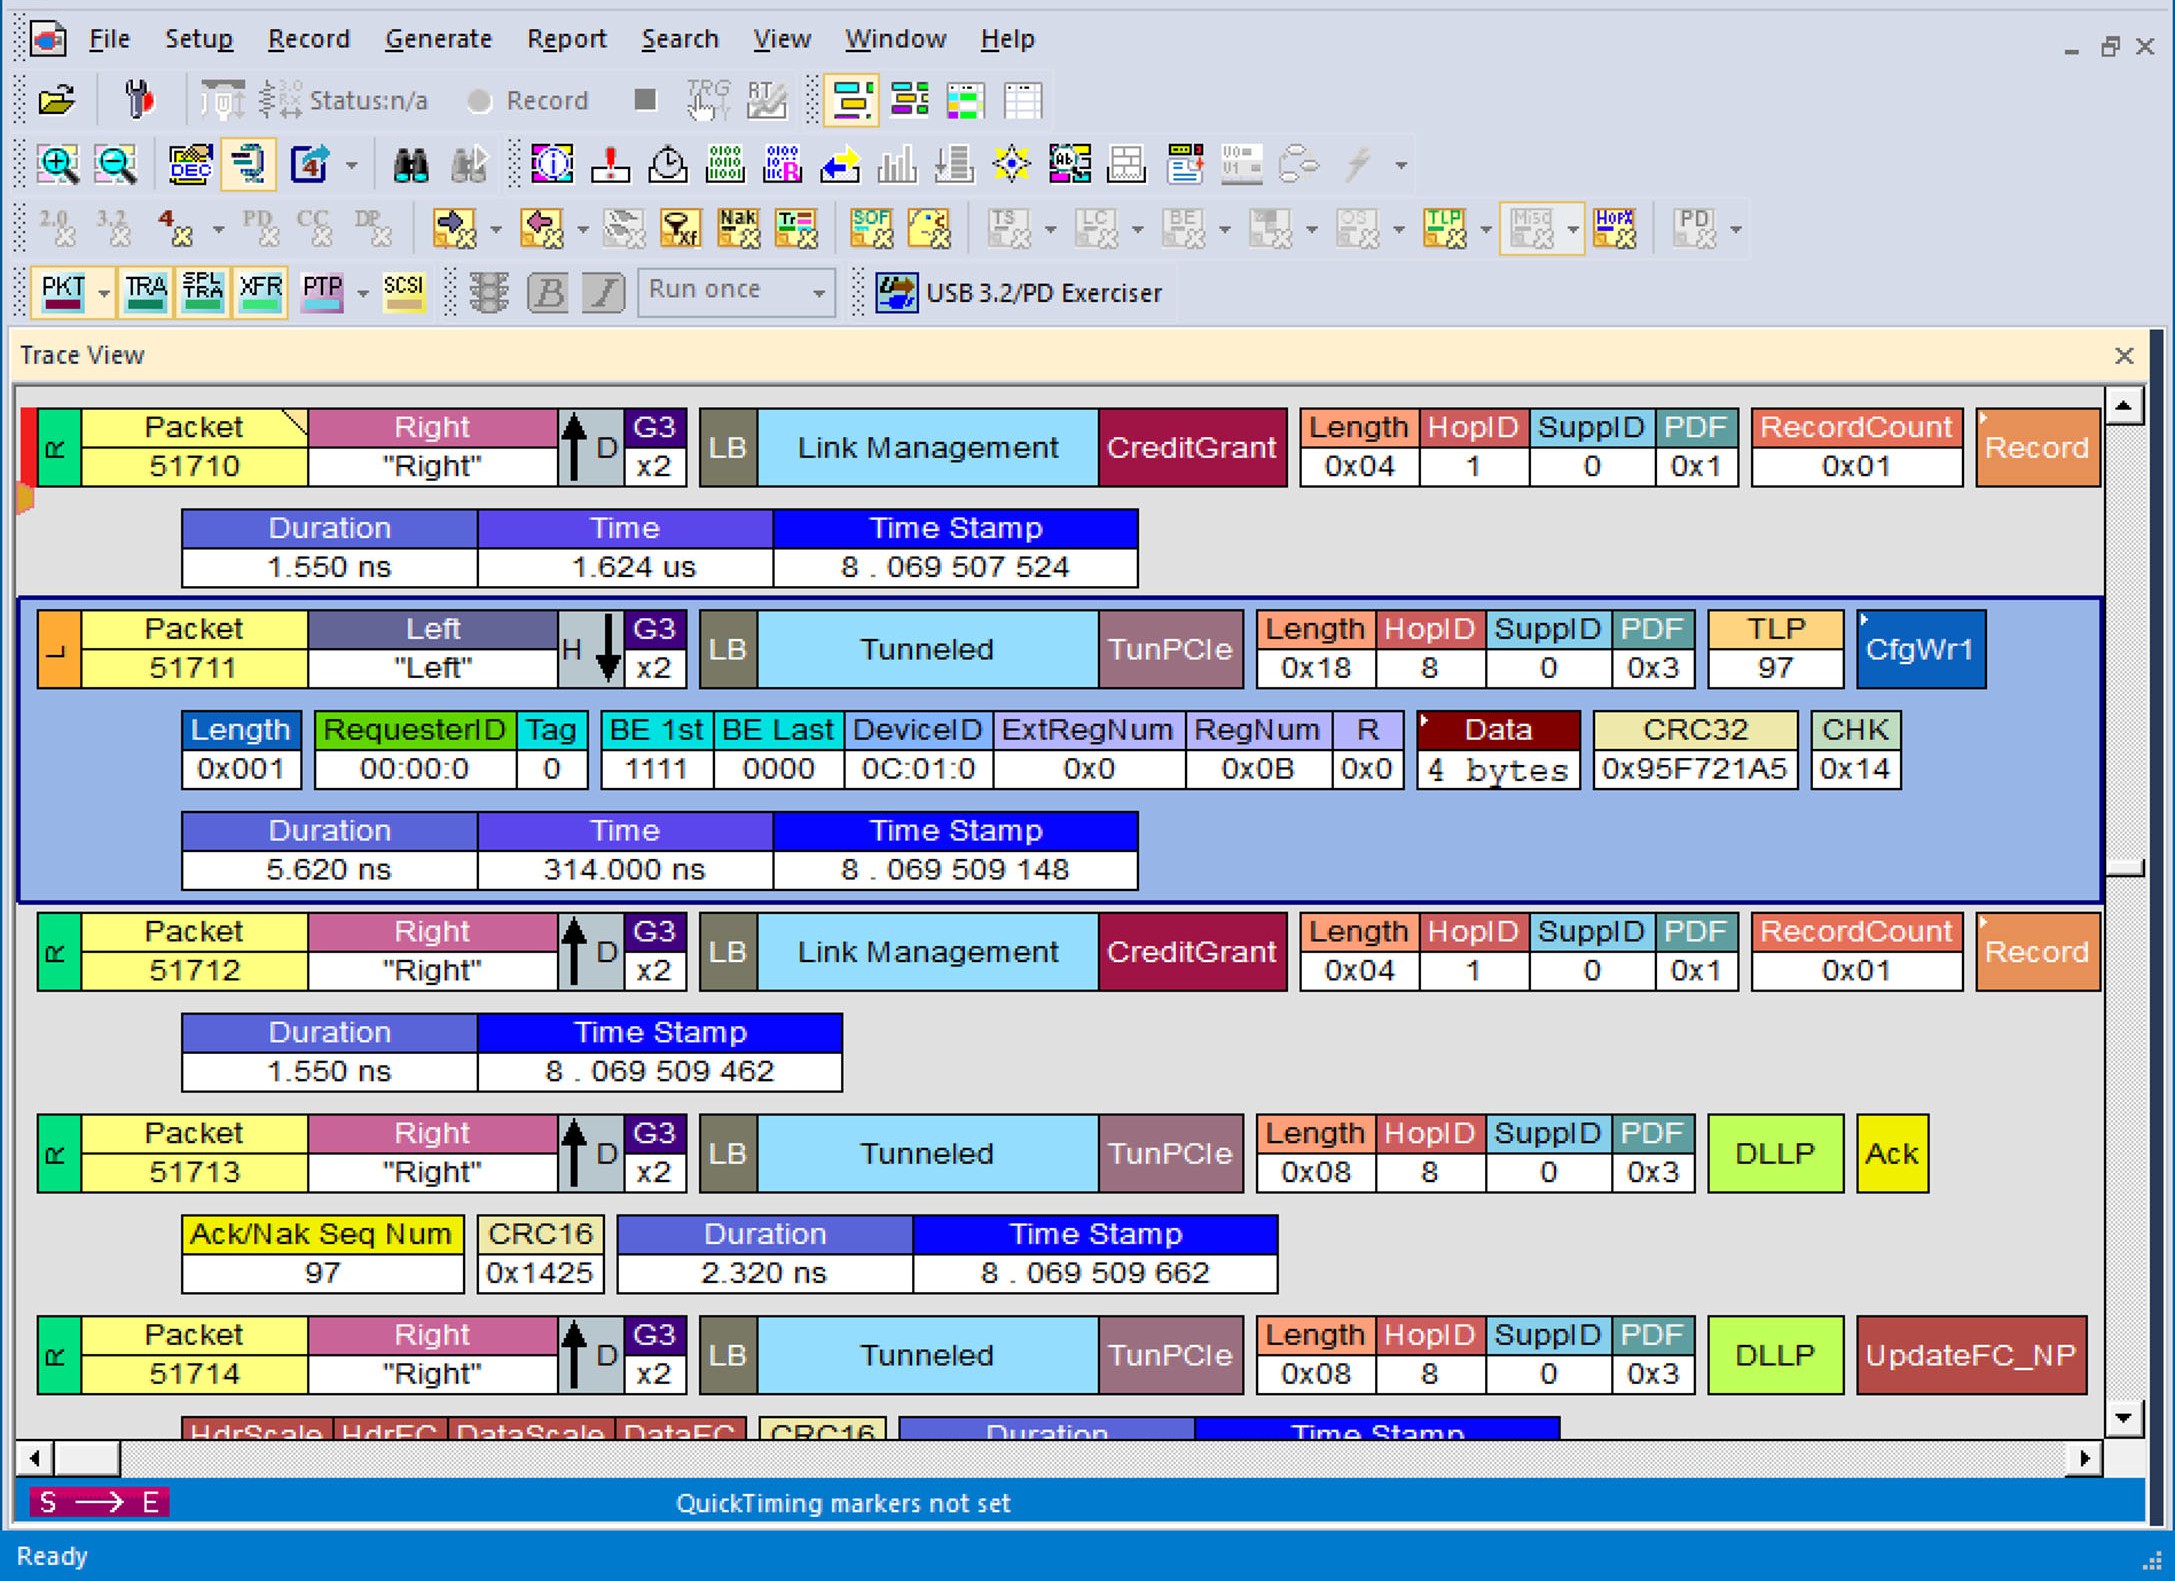
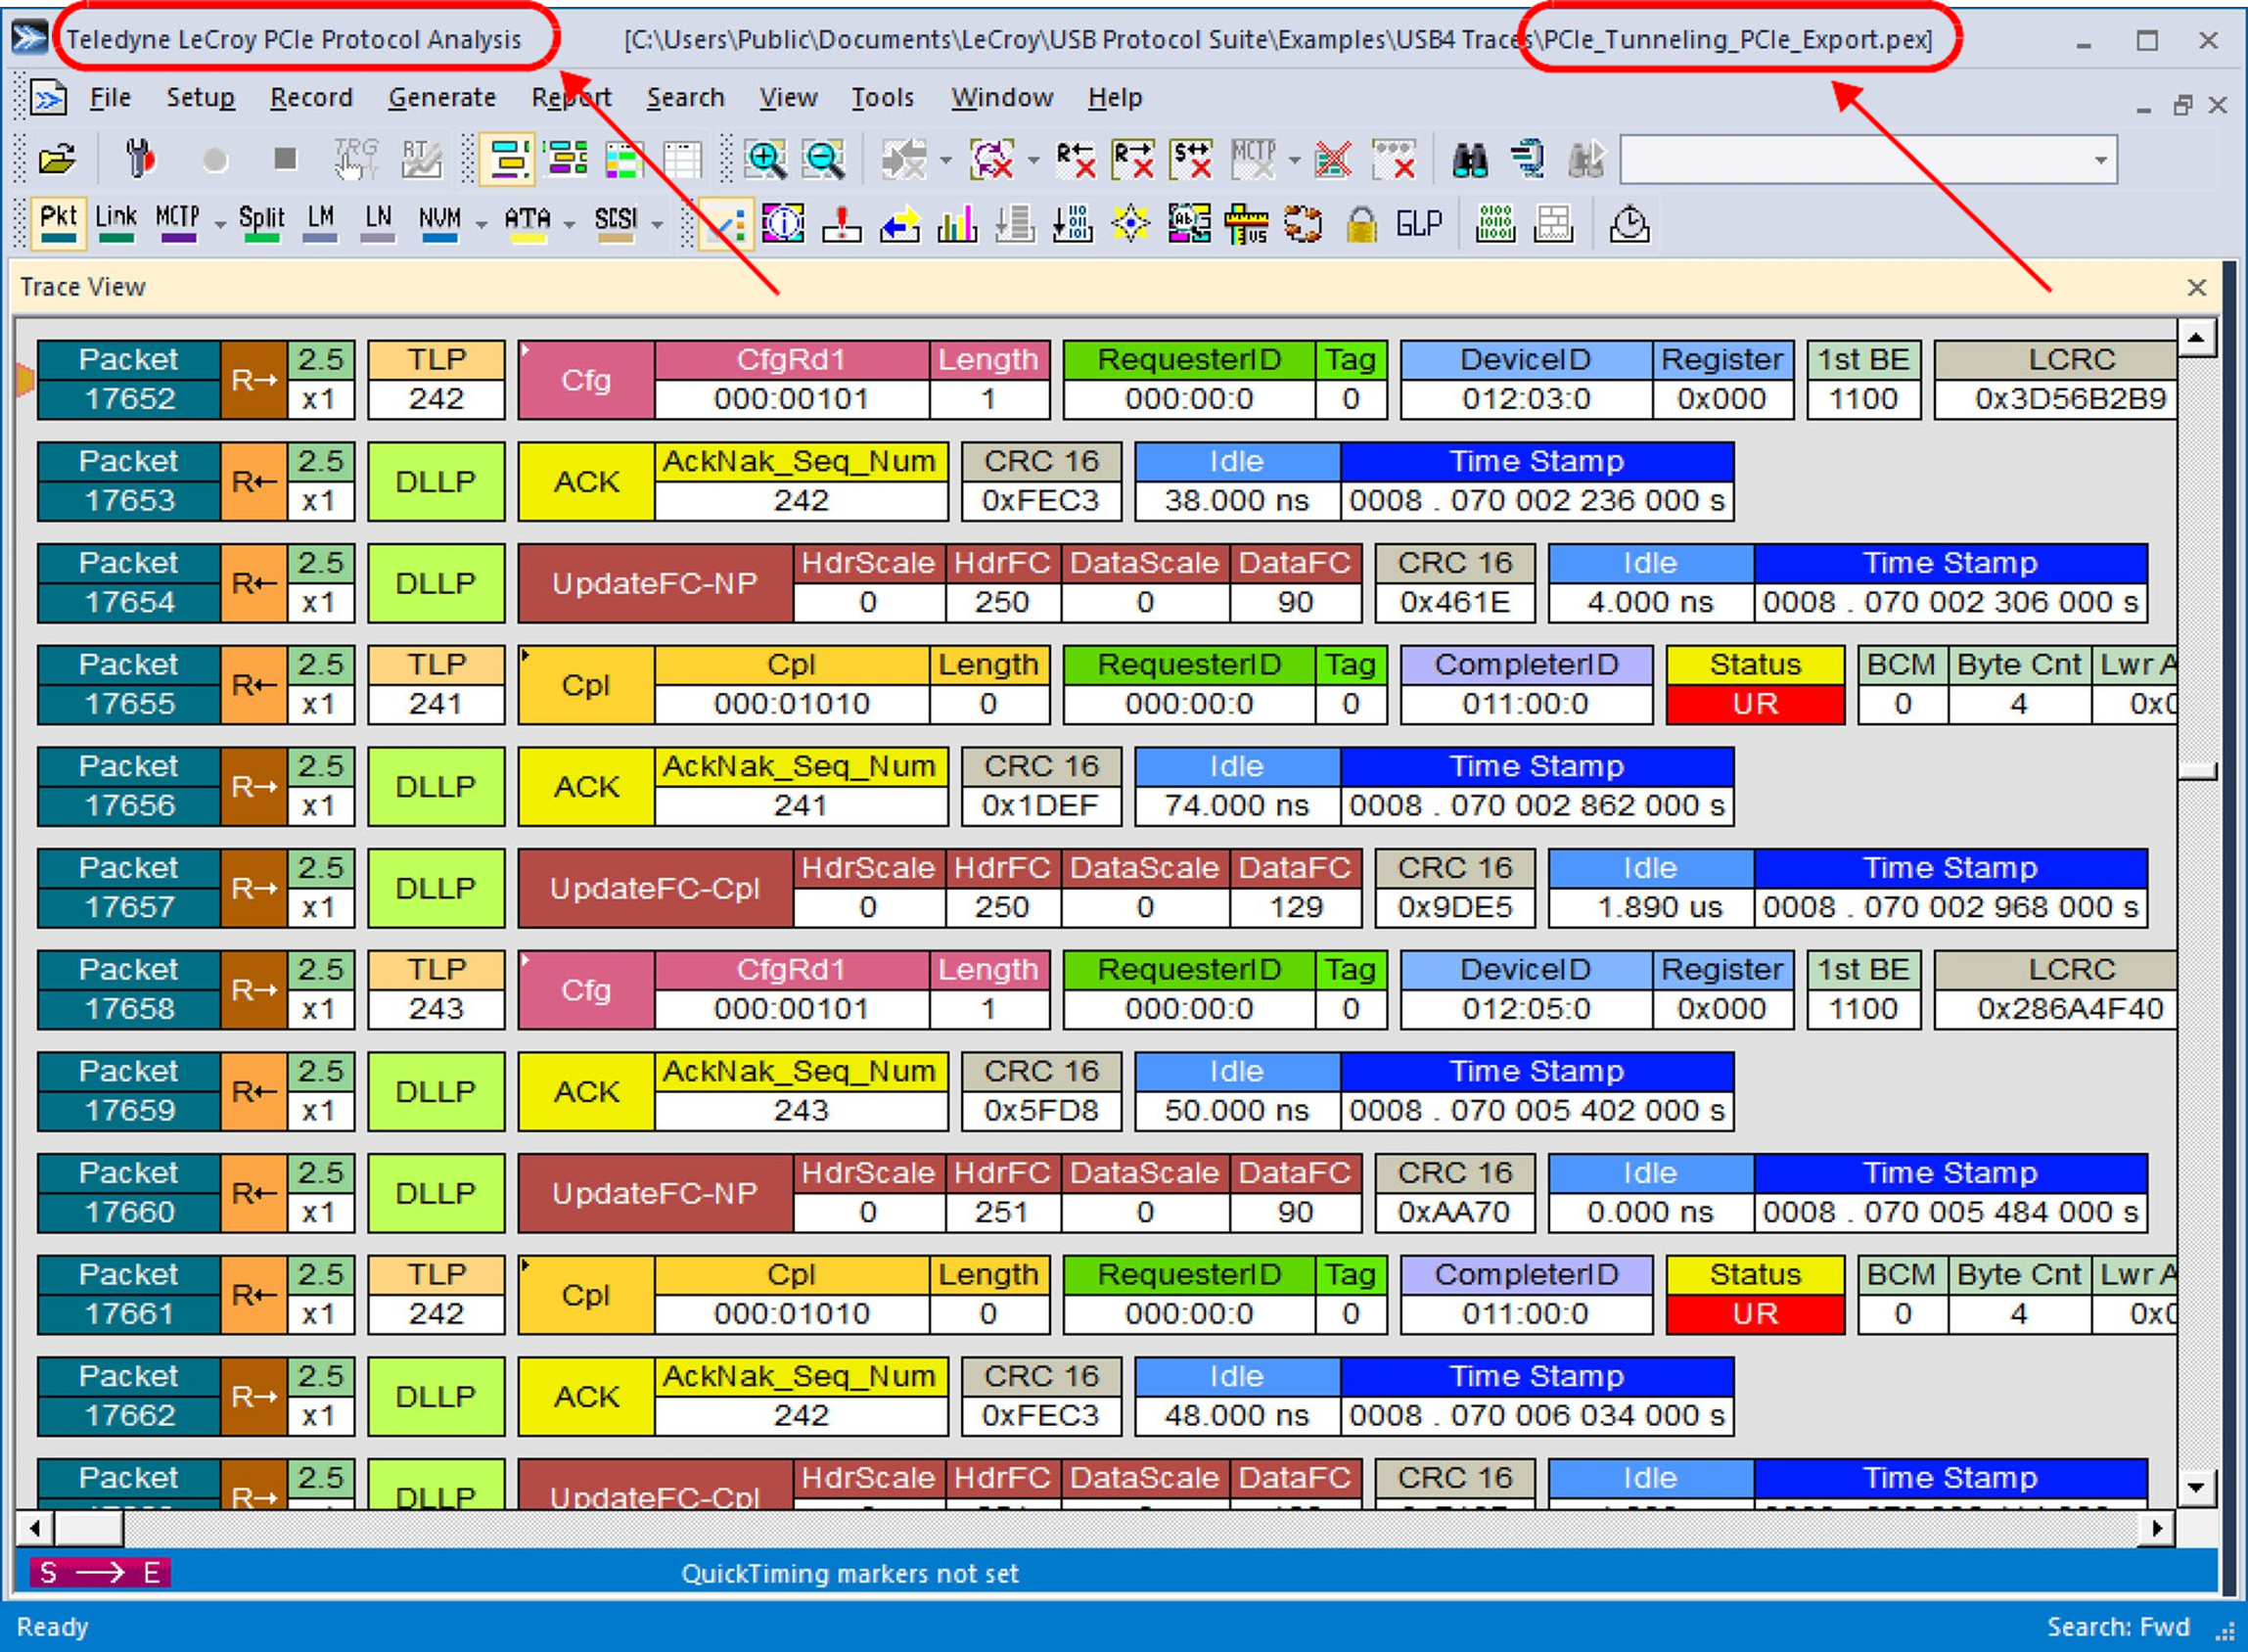
After exporting the tunneled PCIe traffic, the new exported trace will be named as [original_trace_name]_PCIe_Export. This trace is located in same folder as original trace and opened automatically by the PCIe Protocol Analysis software after the export completes. See image below.
Tunneled USB3 traffic
If you load a USB4 trace with USB3 tunneled traffic as shown in the figure below, you can quickly export the tunneled USB3 traffic by selecting the Tunneled USB3 drop-down tab.
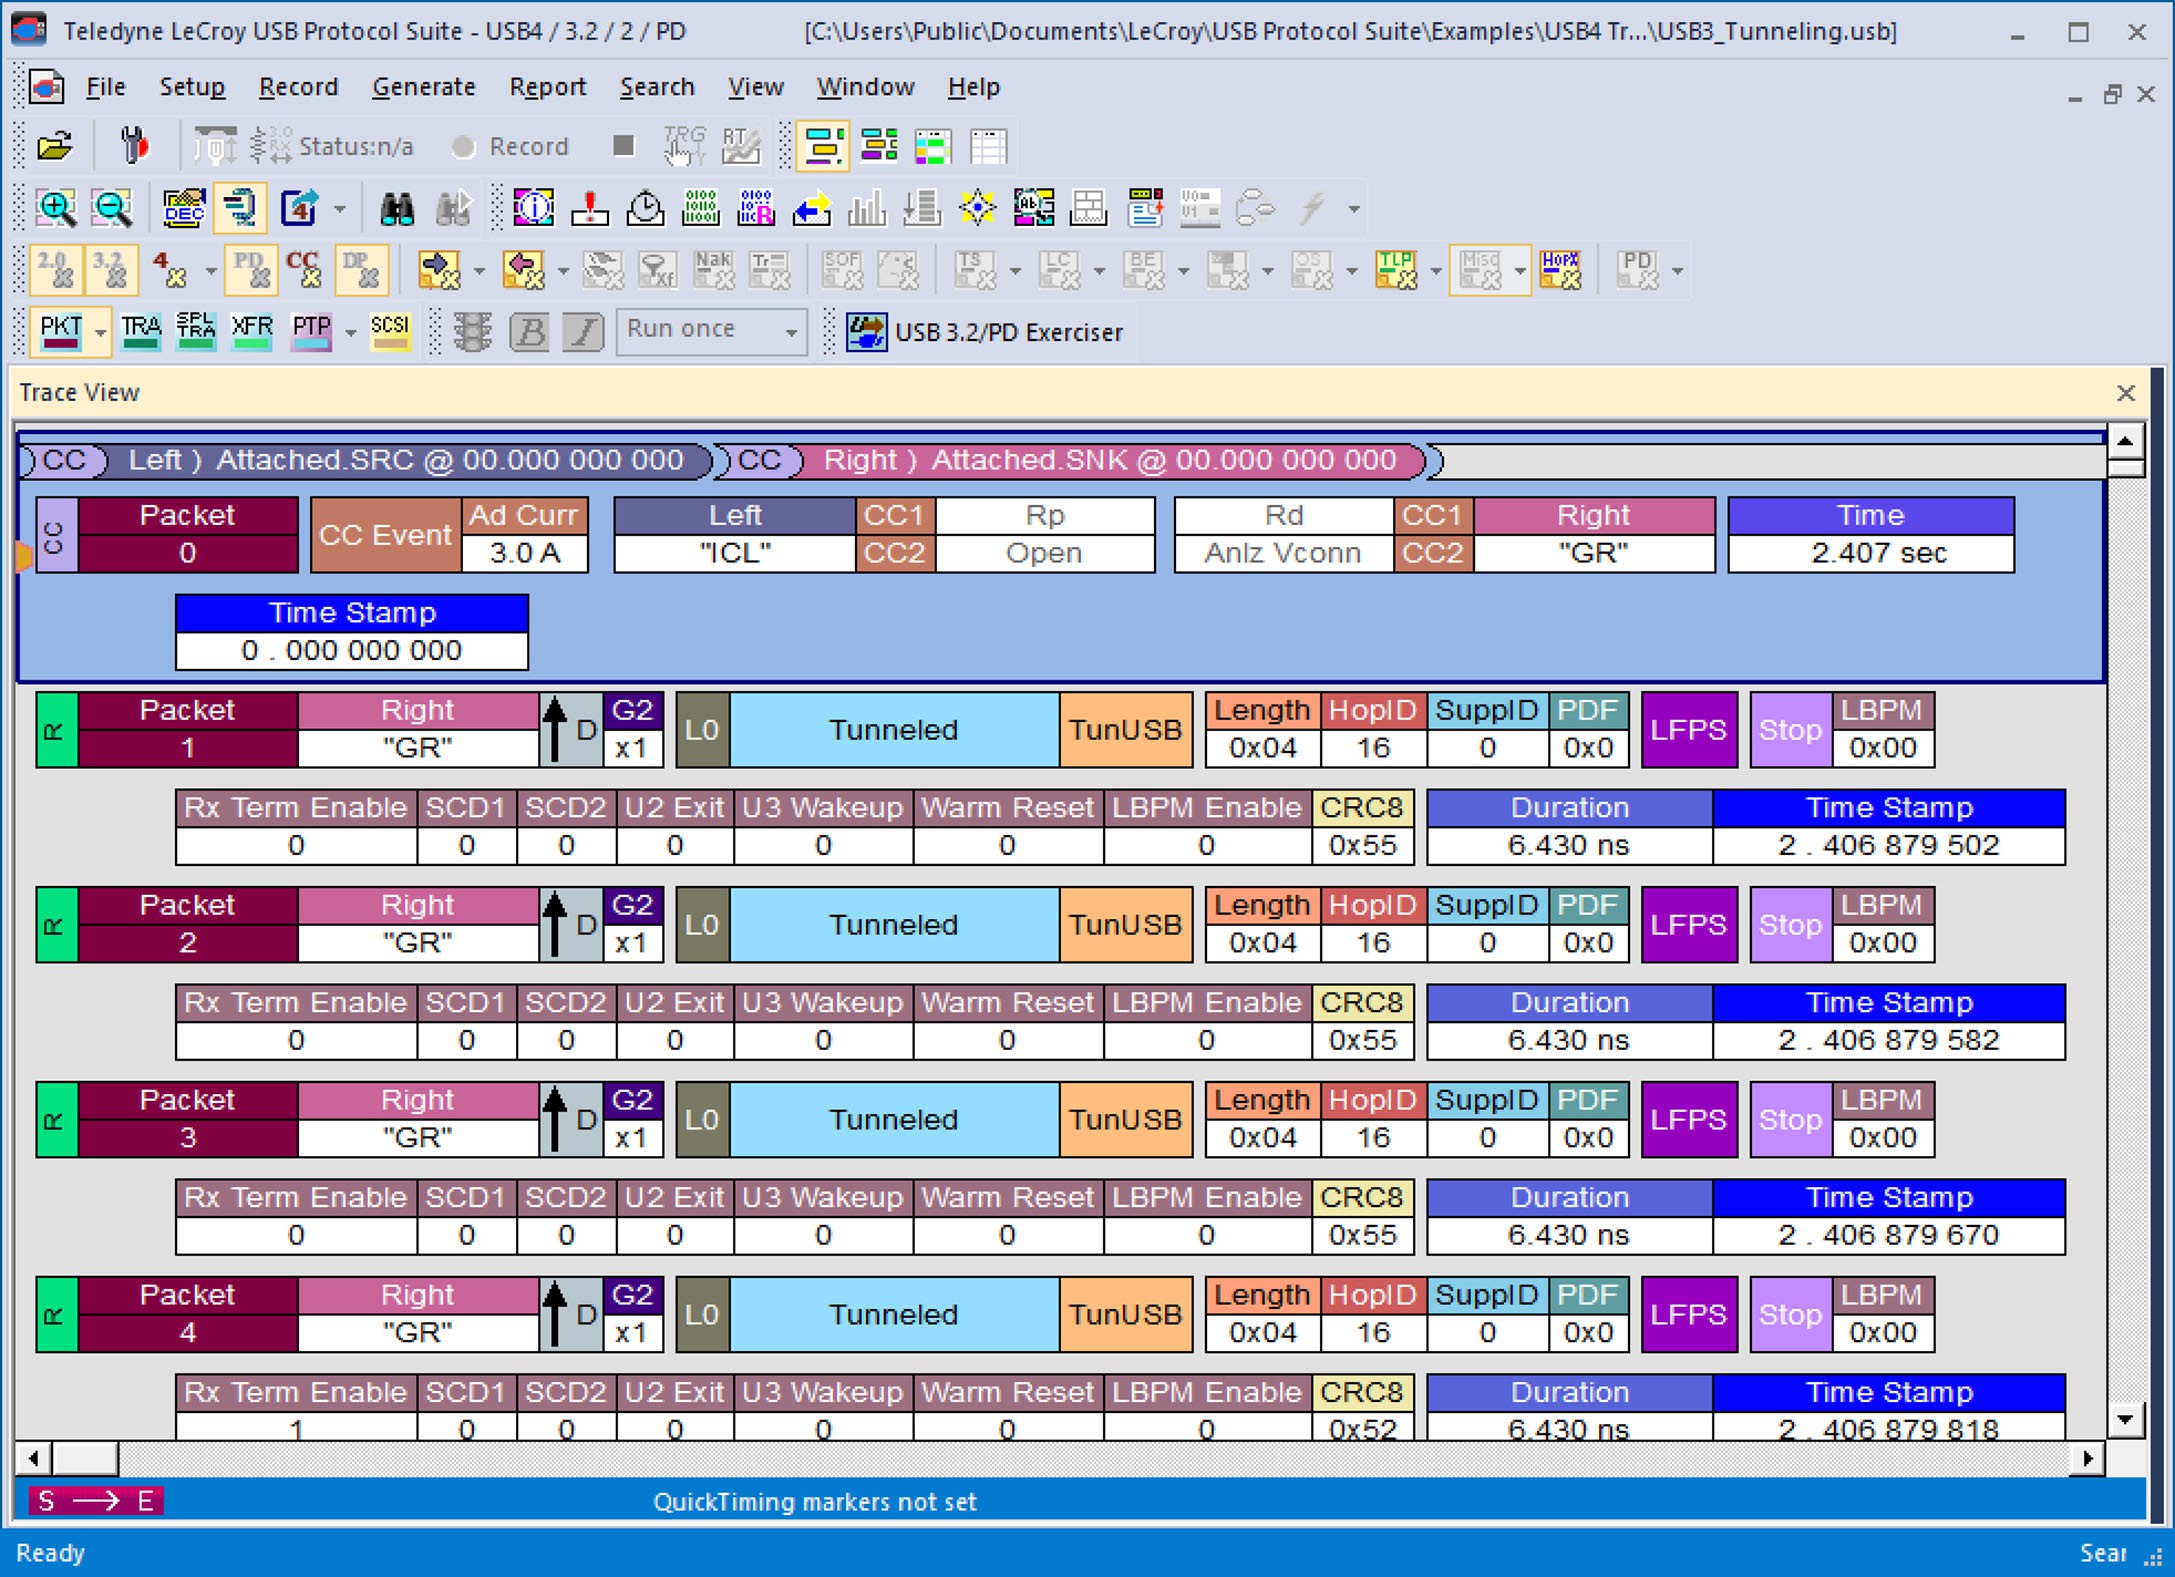
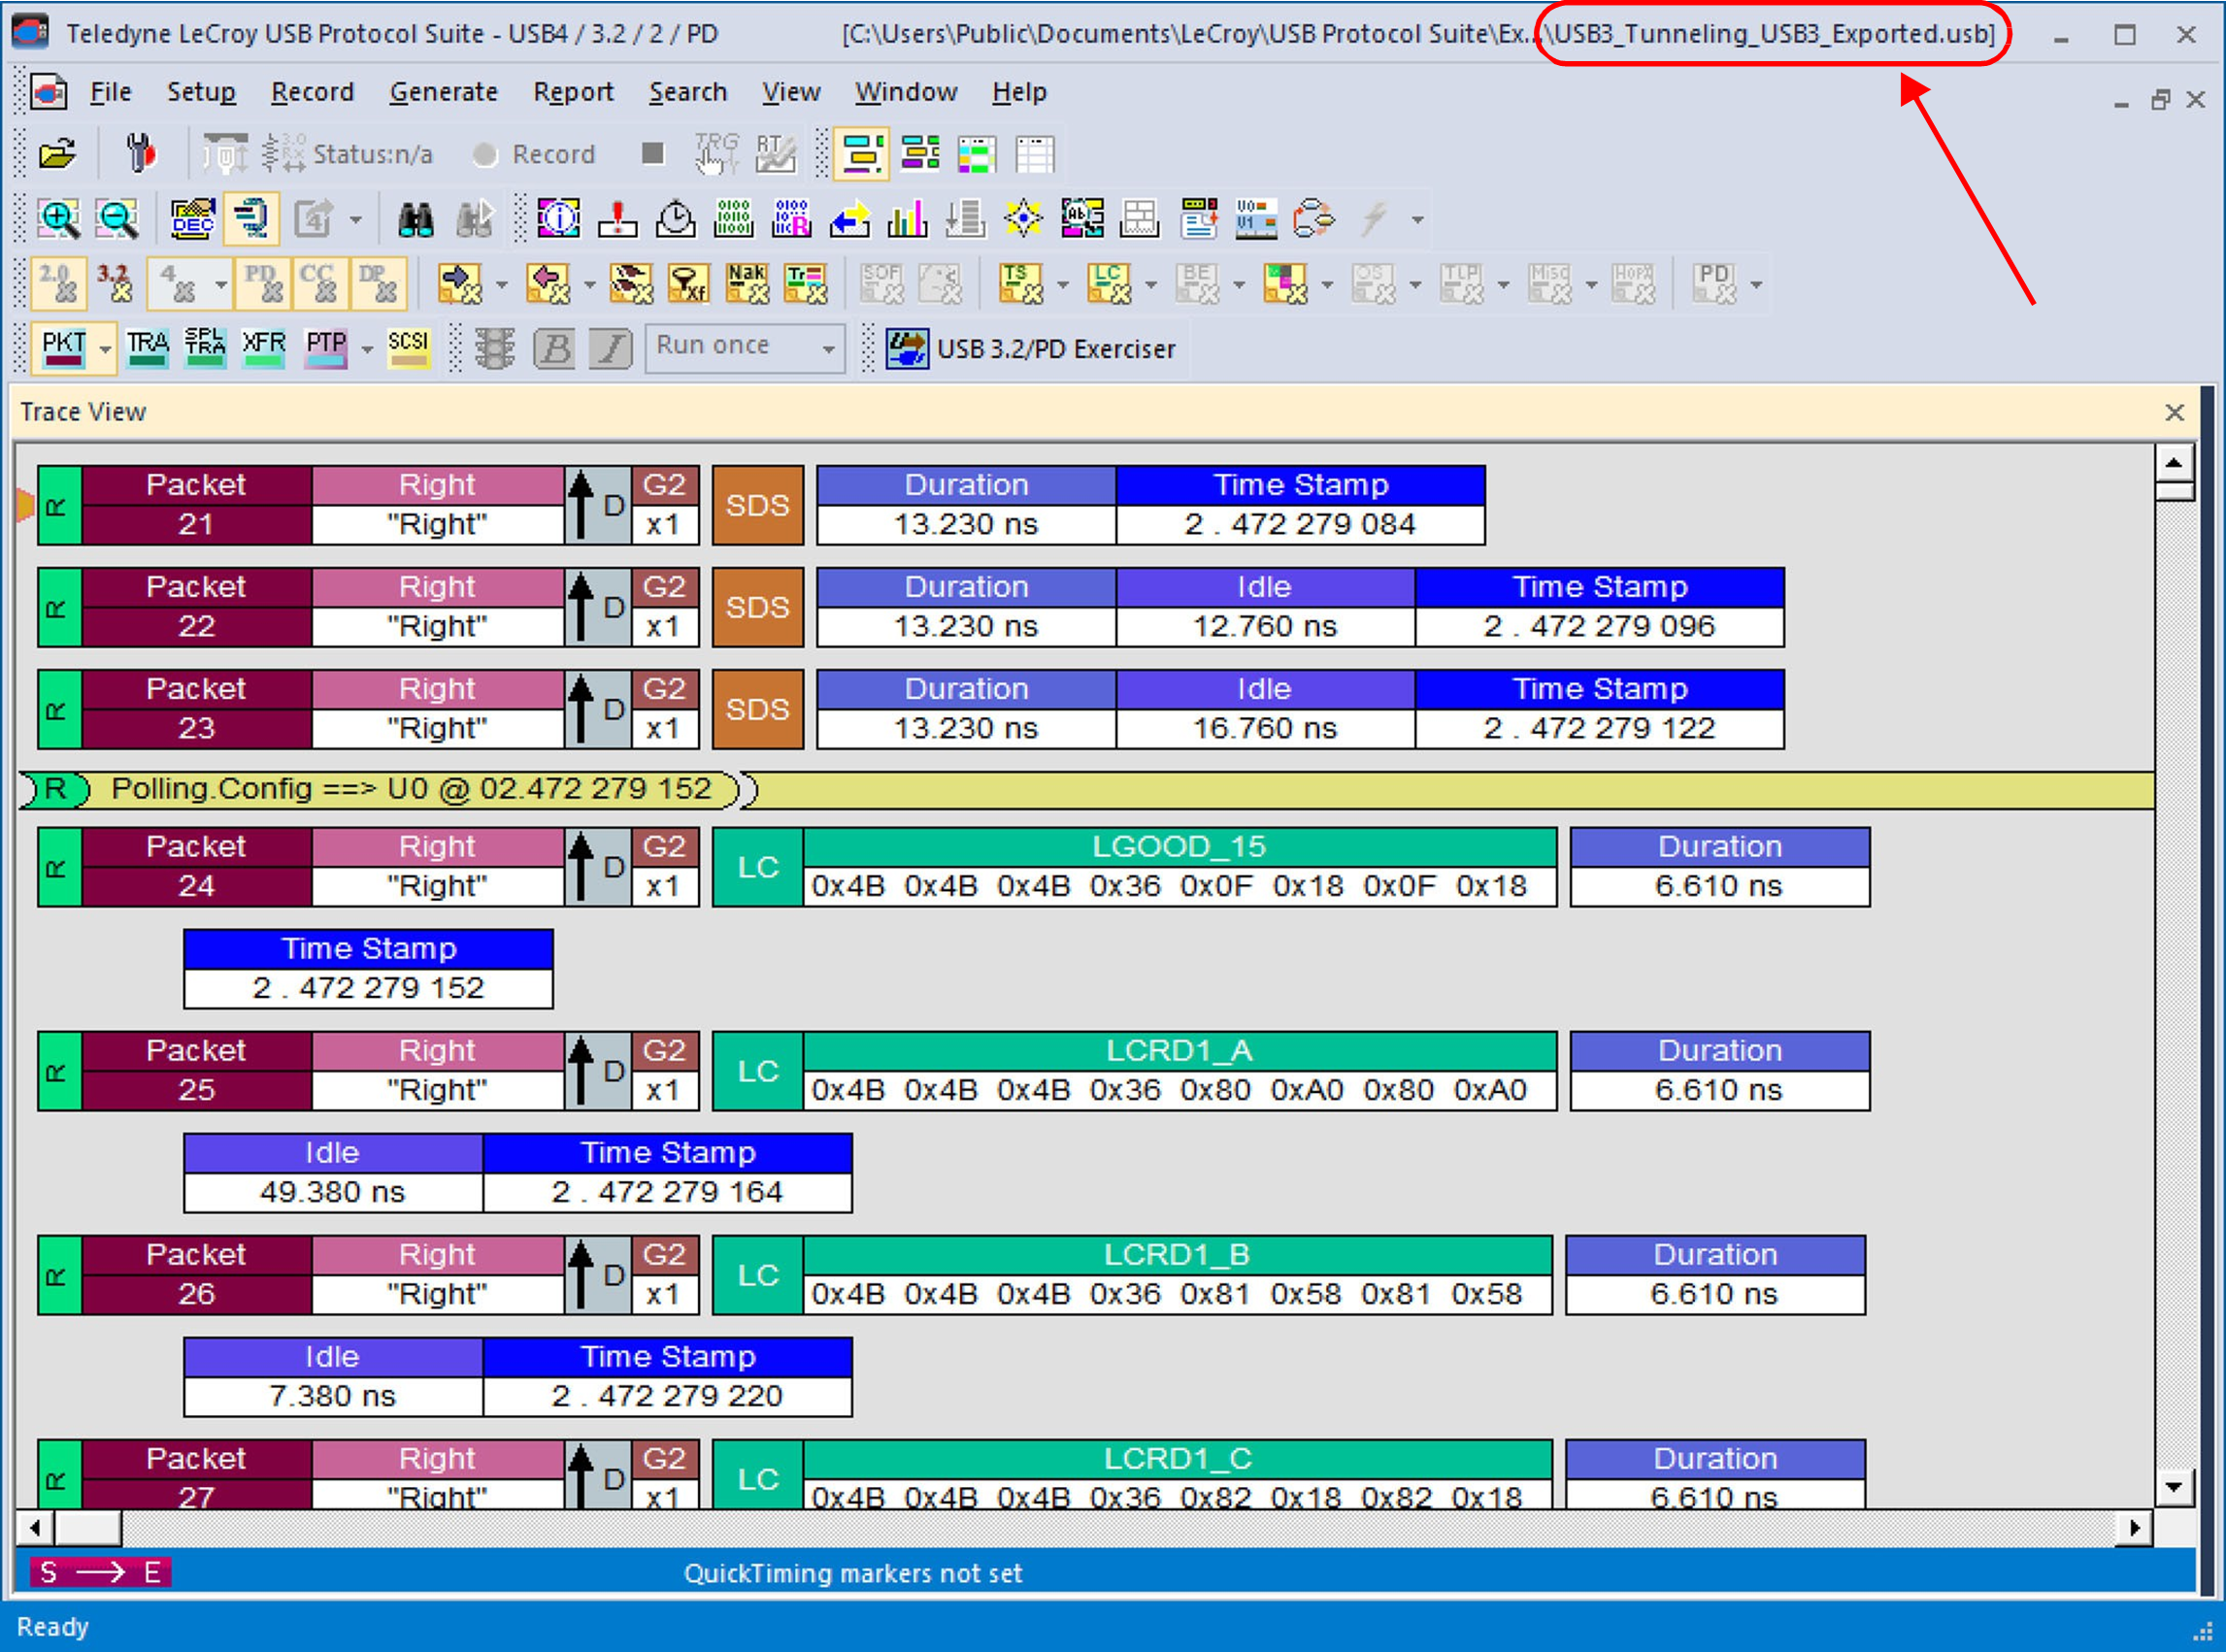
After exporting the tunneled USB3 traffic, the new exported trace will be named as [original_trace_name]_USB3_Exported. This trace is located in same folder as original trace and opened automatically after the export completes.
DP Tunneling
If you load a USB4 trace with Tunneled DP traffic and you select “Tunneled DP” from the drop-down tab, you can quickly export the DP tunneled traffic to a new trace.
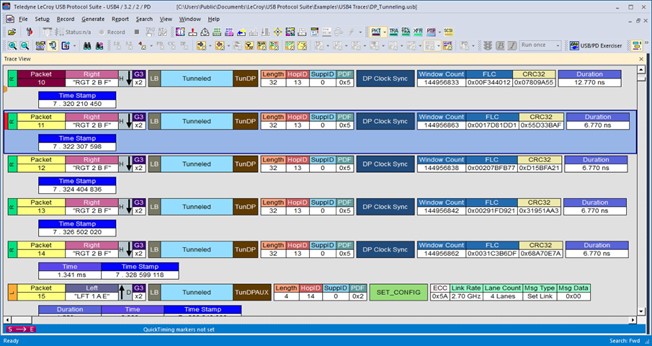
To open the trace after exporting tunneled DP traffic, see Export USB4 Tunneled DP Traffic to DP Native Trace.
Hide Traffic Toolbar
The Hide toolbar allows you to selectively hide data traffic you do not wish to see. The highlighted buttons indicate the loaded trace contains that type of data traffic.

Hide All USB 2.0 Traffic
Click the 
Hide All USB 3.2 Traffic
Click the 
Hide All USB4 (or TBT3) Traffic
Click the 
Hide All Power Delivery Traffic
Click the 
Hide Configuration Channel Traffic
Click the 
Hide All DisplayPort Traffic
Click the 
Hide Traffic from Left DUT/DUT (Exerciser)
Click the 
Hide Traffic from Right DUT/Voyager (Exerciser)
Click the 
Hide Devices
Click the 
Hide All Packets Except Transfers Packets
Click the 
Hide NAKs
-
Click the Hide NAKs button on the toolbar to hide NAKs from a Trace View that may be uninteresting in a given context.
-
Click

Hide Non Data Transactions
Click 
Hide SOF Packets (2.0)
You can hide Start-of-Frame (SOF) packets that may be uninteresting in a given context from a Trace View by clicking the Hide SOF Packets button on the toolbar:
Click 
NOTE: This also hides low-speed EOPs.
Hide Chirps (2.0)
Click the 
Hide Link Training Sequences (3.2)
Expand the Hide Link Training Sequences and select from the options to show/hide TSeq TS1A/TS1B/TS1/TS2. For 3.2 SS+ traces, you can hide the SYNC packets.
Hide Link Commands (Flow Control) (3.2)
Expand the Hide Link icon and select from the options to show/hide Link Commands (LUP/LDN, Flow Control, Power Management, GenT NOP, GenT Link Keep-Alive).
Hide Bus Events (3.2)
Click the icon and select from the options to show/hide Bus Events (LFPS, Electrical Idle, Termination or VBUS On/Off).
Hide Miscellaneous Packets (3.2)
Click the icon and select from the options to show/hide.
Hide USB4 SB Packets
Click the 
Hide USB4 HS Packets
Click the 
Hide USB4 HS Ordered Sets
Click the 
Hide USB4 HS Training Sequences
Click the 
Hide USB4 HS Transport Layer Packets
Click the 
Hide USB4 HS Miscellaneous Packets
Click the 
Hide Other USB4 Packets
Click the 
Hide HopID/PDF Packets
Click the 
Hide Power Delivery Packets
Click 
-
Unknown
-
PING
-
GoodCRC
Hide All Transactions Except Stream ID Numbers
This is found when the Stream Id field of a USB 3.2 Data Packet is selected. It allows you to select a small range of Stream IDs to display without showing other transactions that do not use this Stream ID.
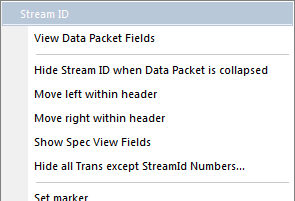
To display the Hide Packets dialog box, below, right-click on the Stream ID field of a USB 3.2 Data Packet and select Hide all Trans except StreamID Numbers.
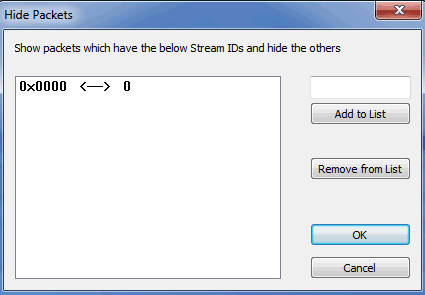
This allows you to select the stream IDs you want to display.
Click Add to List to for items you want to show, and Remove from List to hide items. Selecting the ones you want to see is done because the range of Stream IDs is too large to specify the ones you want to hide explicitly.
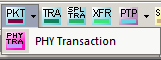
Show/Hide Packets: SuperSpeed+ PHY Transaction
With SuperSpeed+, PHY Transactions are made up of pulse width modulated LFSR signals. By selecting the PHY Transaction level, these are displayed as SCDx, PHY Capability and PHY Ready LBPM Messages. This eliminates showing large numbers of LFSRs and electrical Idle periods which would need to be interpreted as portions of these messages.